Scenery
:
Buildings
Build a 2 Story Outhouse
Sep 29, 2004


By Bob Gentile |
Author
Bio
A 2 story outhouse may seem strange but they did they did make them in the old days.
|
A 2 story outhouse may seem strange but they did they did make them in the old days. All outhouses were built about 50 feet from the home, can't imagine why. The outhouse was normally 3 or 4 ft square and 7 ft tall. The hole of the house was 5 ft deep. When it was filled they would dig another hole and move the building and use the dirt to cover up the filled one. Hope I never start digging and all of a sudden be surprised to find out that at one time there was an outhouse there. Inside was a box from wall to wall about 2 ft high and in the center was a hole cut out 10x12 oblong.
Complete 5 page plan set - PDF format - 6 Mb File - Dial-up about 13 minute download. - Two Story Outhouse PDF Plans
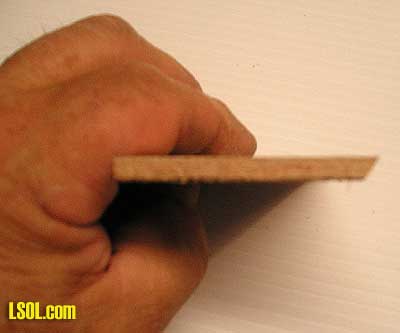
Did they stink? They certainly did. Toilet paper was around but most folks saved their money for more useful things. They would use either newspaper or an old catalog like from Sears or some department store. They would wrinkle it to make it soft as possible. In the winter they would use what is called a Chamber pot at night instead of going out in the cold. In the morning they would go and empty it and than go down to the river if there was one close by and wash the pot. Guess they did not care who was swimming down stream. One more thing. Did you ever wonder what the Crescent was for? I was so you knew it was for the ladies. The men's had a star on their door. Let's build a 2 story out house. First I came up with a size, the height is 9 1/2 inches to the peak and it is 2 3/4 inches square. I plan on building a few of them so I made a jig 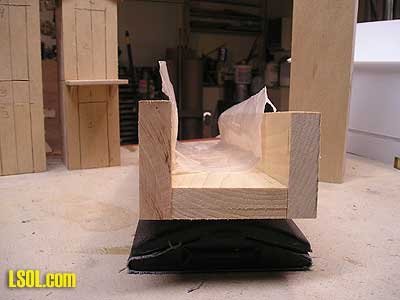 to make assembling them easier. The inside of the jig measures 2 7/8. I pre cut all the wood before I started. I used 3/16 Luan because I got in the job at no cost. Below is a list of the parts. 2 pc. 2 3/8 x 2 inches Roof 2pc. 9 3/4 x 2 3/4 Front and back walls 2 pc. 9 x 2 3/8 Sidewalls 2 pc. 2 3/8 x 2 3/8 floors 1 pc. 2 3/4 x 1 3/4 Landing 2 pc. 3/4 x 3/4 braces Post 3/16 x 3/16 14 inches Rail 1/8 x 1/4 13 inches Base 1 pc 6x8 inches Seat 1 pc. 2 3/8 x 3/4 inches
In the jig I put a side wall 2 3/8 x 9 on the bottom. 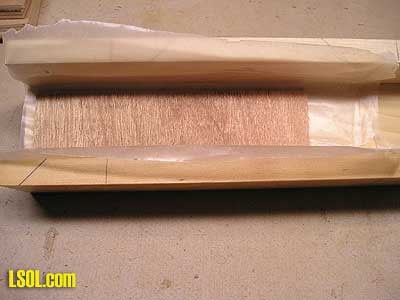 You will also notice a piece of waxed paper. It is there so the parts don't stick to the jig. 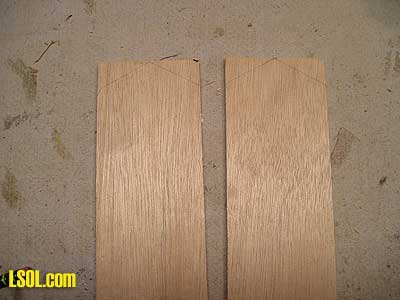 Here is the front and back walls 9 3/4 x 2 3/4. Measure at the top of the wall down 3/4 inches and draw a line across the wall. At the top of the wall measure in 1 3/8, that is the centerline. Where you drew the line across the wall at each end of the line draw a line to the center mark that you made on top and that will give you the pitch of the roof. 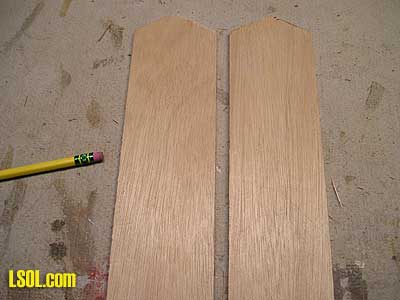 I cut the peaks on my band saw. Hang on for a second I need to get my coffee, it keeps my motor going. Okay I am back. Next I took the four walls with the outside facing down. Draw a line from the bottom of the walls up 4 5/8 inch. Warning this measurement is critical. Be accurate as possible with it. 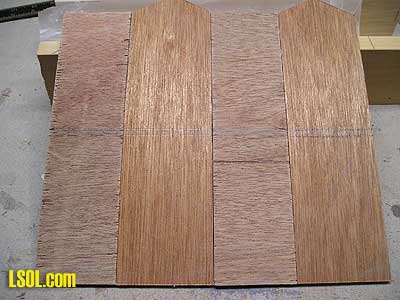
Now I put the 2 3/8 piece in the jig and took the front and back walls and applied the glue on the edge. I then put them in the jig gluing them to the side wall. 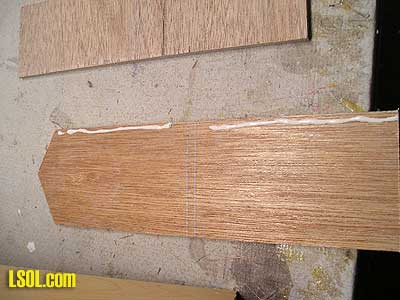 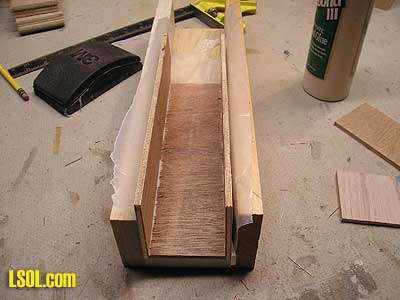 OK, once that is done you will notice inside the 4 5/8 inch mark on the 3 walls, I took one of the floors and glued it on 3 sides and set it on the 4 5/8 inch mark. making sure the top of the floor to the bottom of the wall was 4 5/8 inches. 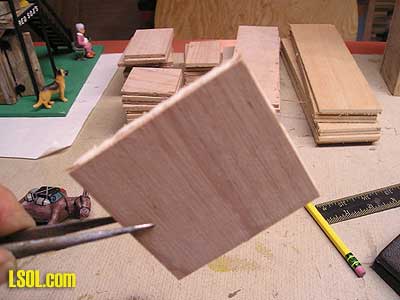 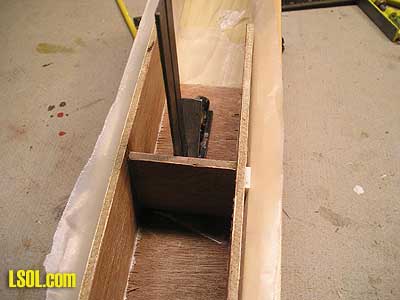 Use a small square installing the floor repeat the same for the bottom floor. The bottom floor bottom should be flush with the bottom of the wall. You will notice in the jig some white wedges they are acting as clamps, that is why the jig was made 1/8 bigger than the outside measurement of the building. I purchased the wedges at a tile distributor. 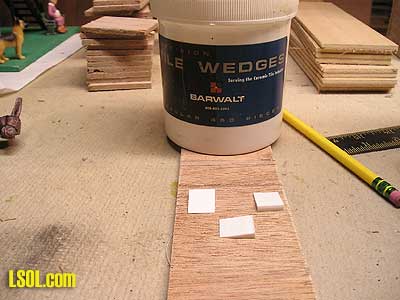
Next I took the remaining wall and glued it in place and put aside to dry. 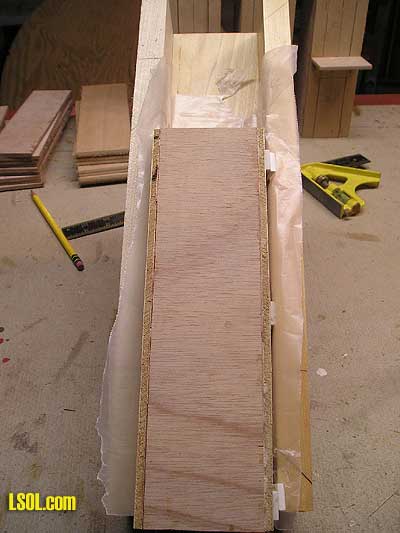 Now that the walls are dry, I removed it from the jig. Look at the center line in the photo below. There is a vertical line 4 5/8 from the bottom of the wall and the outline for the doors. 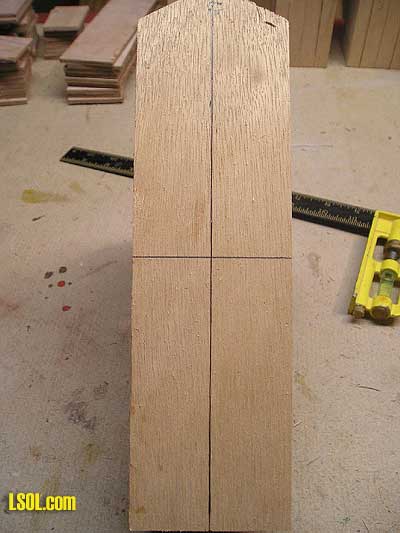 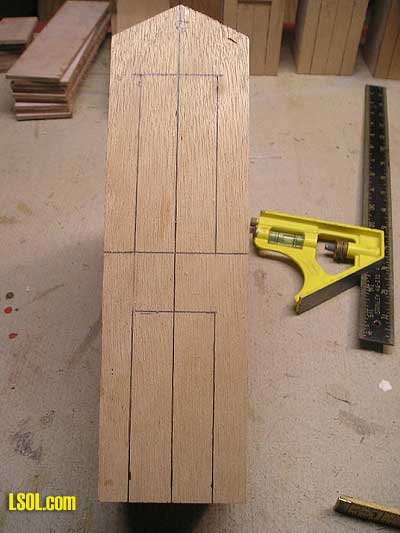 This part is cool; I like the way I made the doors. Draw a centerline 1 3/8 inch from the edge of the wall from top to bottom and 4 5/8 from the bottom of the wall. Mark 3/4 inches on each side of the centerline it will give you the door width 1 1/2 inches. From the bottom of the wall measure up 3 1/2 inches and from the 4 5/8 inch mark measure up 3-1/2 inch for your door height. This is the cool part using a hobby knife or utility knife; I used the latter to cut out the door openings. I did this so I do not need to make doors. The piece you cut out will fit back in there perfect, it has to. 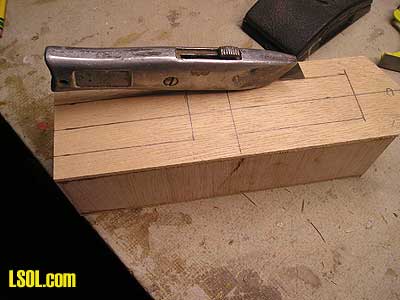 Pretty neat hey, 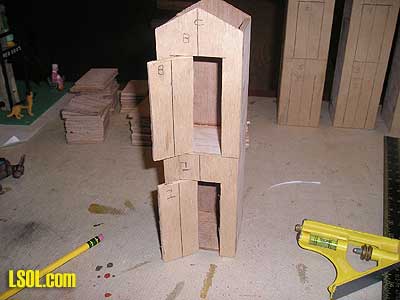 If your 4 5/8 measurement was correct the bottom the door on the second floor would be flush with the floor. The roof parts are 2 x 3 1/8.
  Notice that one side of the roof parts are on an angle, I did that on the sander. 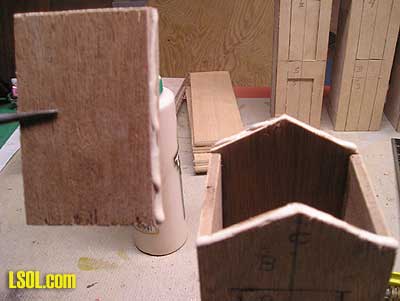 Apply glue on the roof pieces that were sanded and glue to the walls that have the peak. 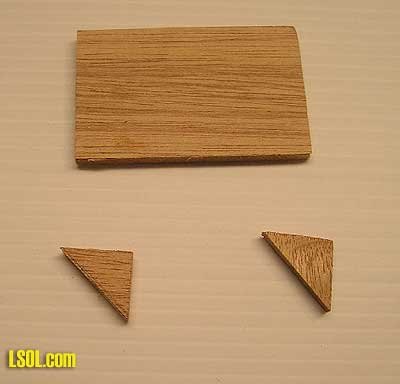 Take a look at the landing and the 2 braces that will hold the landing to the building. Glue the braces to the landing.  Once that is dry glue the braces and landing to the building so the landing is flush with the floor inside the building. 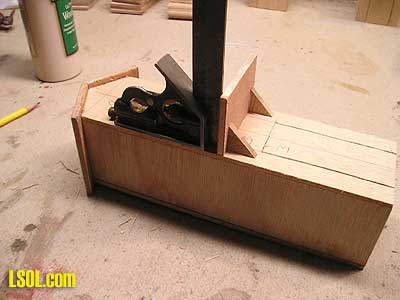 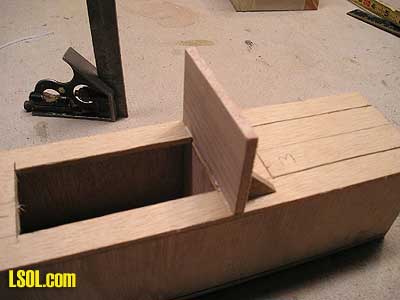 The door should be flush with the floor. Lets take a break I need to go to the hobby shop and get some hinges, if any one shows up tell them I will be right back.
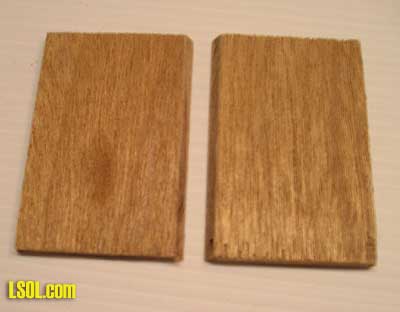
That was fast, got the hinges but before we get to the hinges let's cover the walls. On the building I will be using cypress wood, it was a fence all weathered and beat up and the good thing is the slats are 3/8 thick. I cut them to 3/8, I was than able to cut both sides 1/16 and have the strips weathered and ready for gluing. 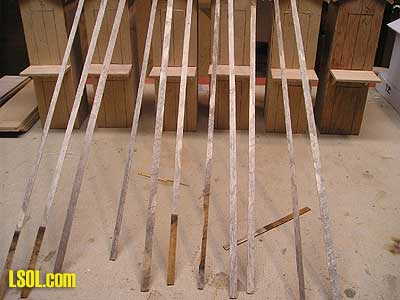 The first thing I did was get the 2 doors and stack them on top of each other along with the strip wood. 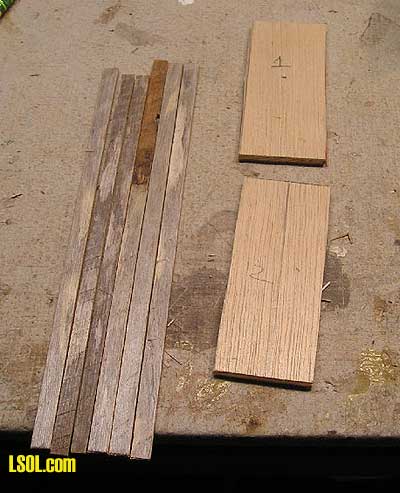 Make sure the wood is right side up so it will go back into their openings. Number the doors 1 and 2 at the top and back of the door. 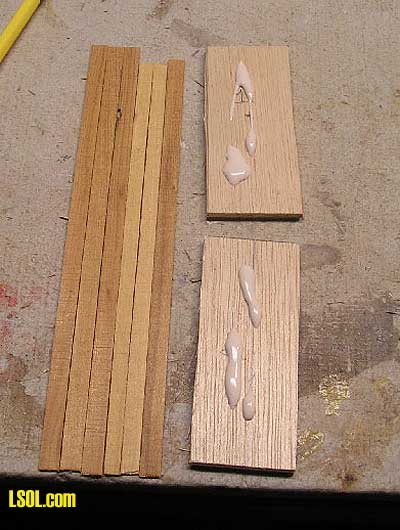 Leave a space between the doors as show below. 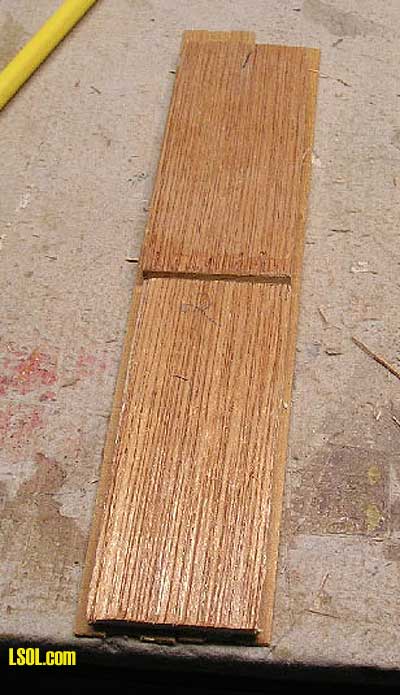 Put the strip wood the entire length of both doors than put aside to dry. 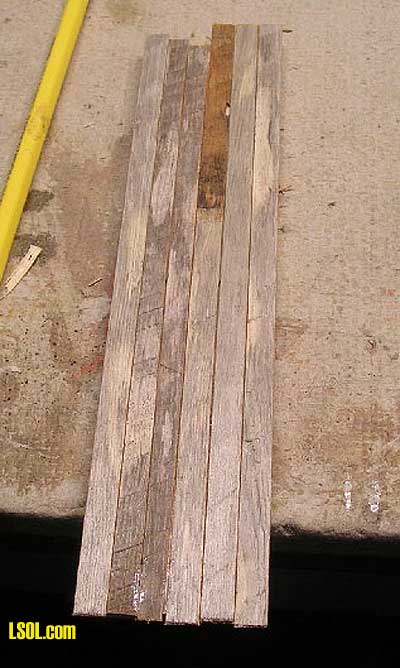 Not getting into detail, but I put the strip wood on the 4 sides of the building. 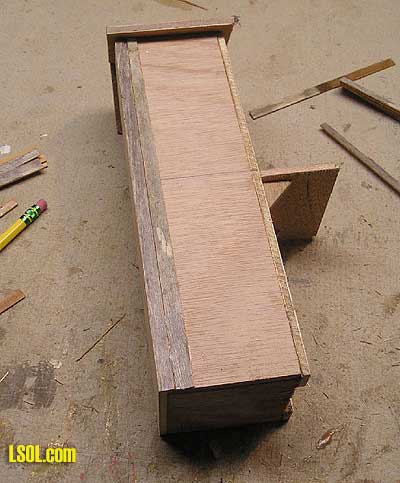 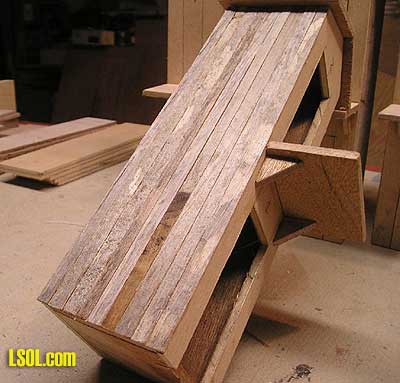
Before I put the strip wood in front I painted the landing. 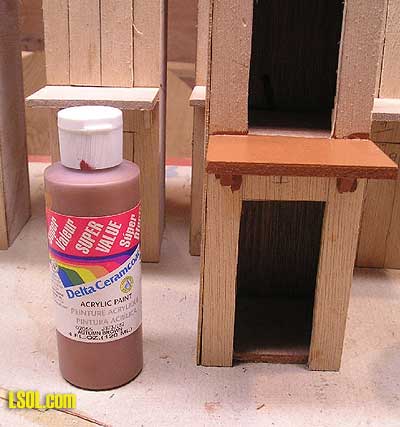 Okay let's get back to the doors. 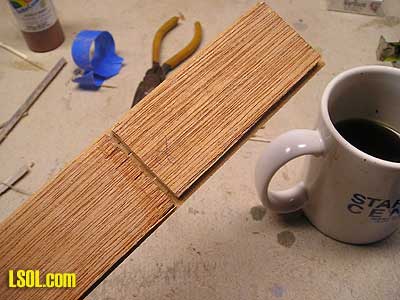 What I did next was to cut between the spaces on the band saw 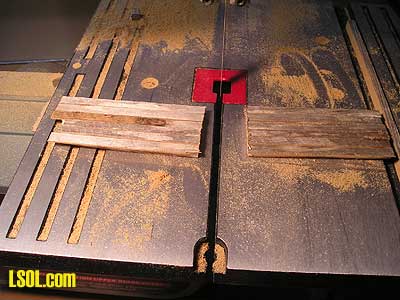 In 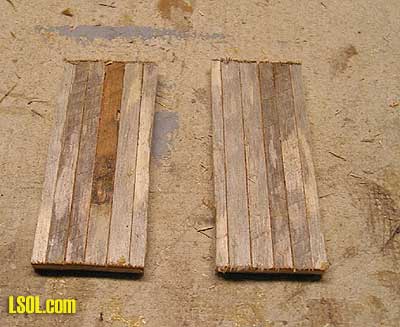 Here are the 2 doors trimmed on all 4 sides using the band saw. Well I did it I made a big, big mistake. I skipped installing the doors because I stopped for dinner when I got back I forgot all about the doors. Well I am being honest here. I will get to it. After we do the stairs. 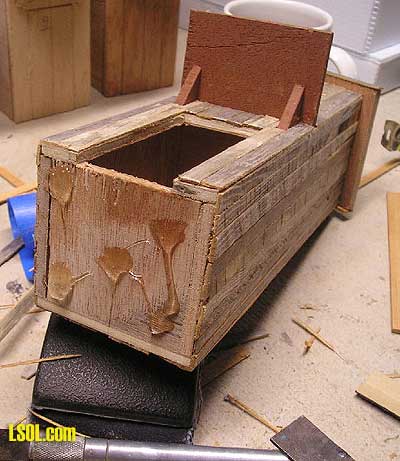 Next we can glue the building to the base. Once that dries you can install the stairs 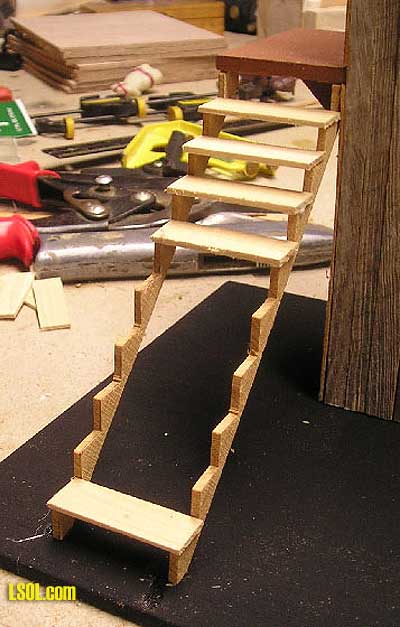 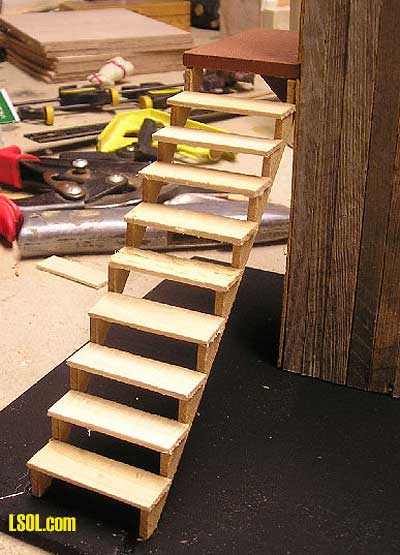 The drawings have a full-scale stringer and step for making a template to create your stairs. 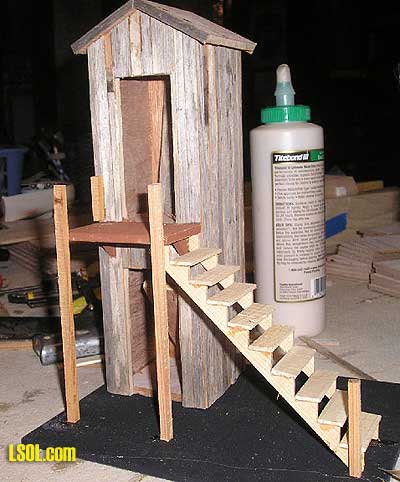 Here are the 4 posts for the rails, notice the small one on the building left of the door, didn't want you to miss it. Now on the base you will notice 2 nylon hinges used for airplane model building. I make them smaller by cutting the first two holes off. That will leave you with 4 holes on each side of the hinge 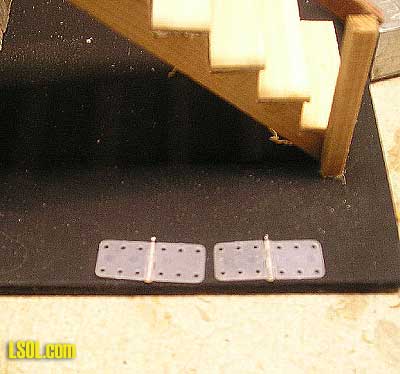 .
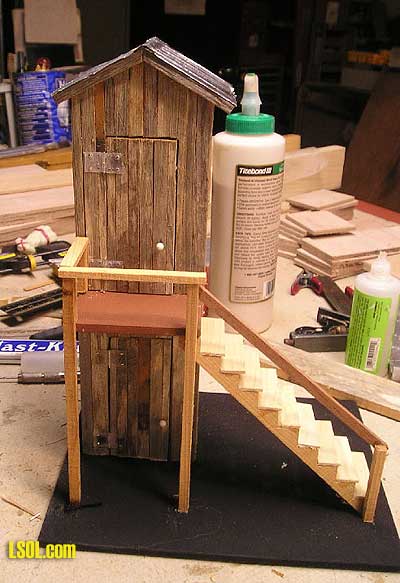
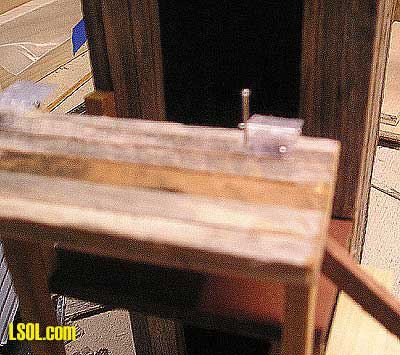 WOW!!!! Blurry photo, sorry. This is where I install the hinges. I first glue the hinges to the door and than drill holes and use common pins for nails. 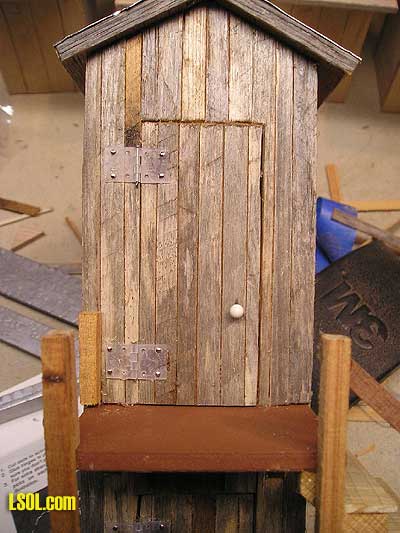 Here is the doors installed with the pins and notice the doorknob a pin also with a little ball, at the end. Cute isn't it? The doors are in and work fine with my method. The roof is aluminum ripped sheeting. That another article someday soon.  In the drawings I have a size for rails. I just cut what scraps I had. So much scrap hanging around may as well use it. So as far as the rails use whatever scraps you have around. 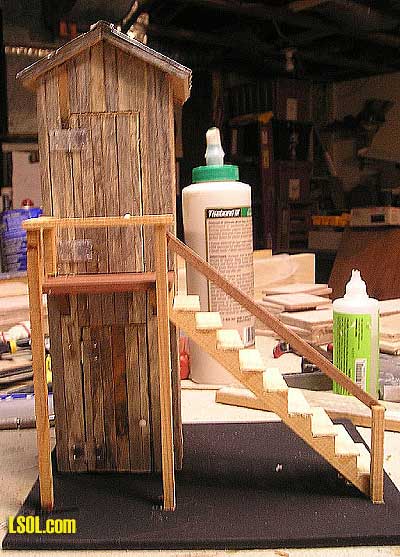 This is the 2 story out house completed. No I did not forget to show you the installation for the seat inside. I was not going to install seats until I started the article and felt it is something I should do. It is not a problem putting it after completion. The size for the seat is 2 3/8 x1 inch high and 3/4 inch wide, with a 9/16 inch hole drilled in the center. It was a fun project and if just one person builds one it will have been worth spending the time doing this article. On to the next project. Top of Page
|


