Track & Bridges
Switching for Fun and Cheap Too!
Jan 30, 2008


By Phil Benedict |
Author
Bio
I'm sure most on this site have seen the movie "Emperor of the North". I have, about fifty times! I'm also sure that most would agree that one of the better parts of that film is when the 'fast mail' is coming and the old Mike has to get to 'the junction' in time to avoid a high speed head on collision. I like that part so much that I decided to replicate that scenario on my railroad.
|
I'm sure most on this site have seen the movie "Emperor of the North". I have, about fifty times! I'm also sure that most would agree that one of the better parts of that film is when the 'fast mail' is coming and the old Mike has to get to 'the junction' in time to avoid a high speed head on collision. I like that part so much that I decided to replicate that scenario on my railroad. This is FUN!!! Even with track power only and a little 'creative wiring' in one loco, this can get real exciting, real fast! Here are a couple of shots of the finished product. The first photo shows you what the finished effect will look like. 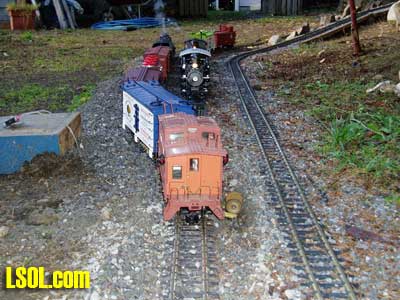
The second shows you the track layout on my railroad. 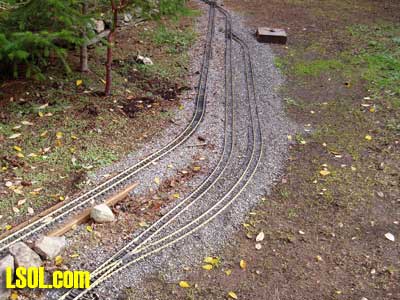
I'm new to the hobby so I hope I'm not 're inventing the wheel' but.. - I found no easy information on directional, automatic switching for passing tracks.
- I could not find springs weak enough to let the lightweight, plastic wheeled stock push the points over and still close them.
So... I came up with a simple system that works great and only takes about fifteen minutes per switch to do. - I don't have to solder up a lot of electronics.
- I don't have to update my plastic wheels to metal on all my rolling stock. - yet.
Let me take you through the whole process, start to finish. I started with a new Aristo Craft, wide radius switch. (The one in the photos is actually on my test track on the bench. I just pushed the locos out of the way to do the job. This can easily be done on a switch in place.) 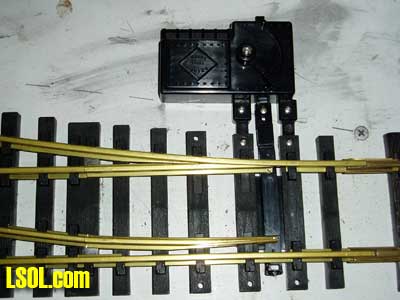
Remove the control unit and the arms that hold it. 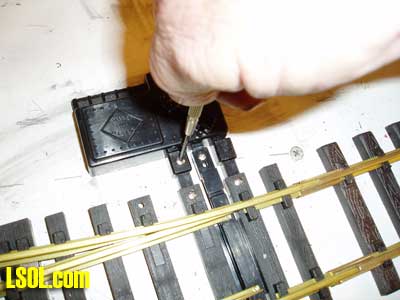
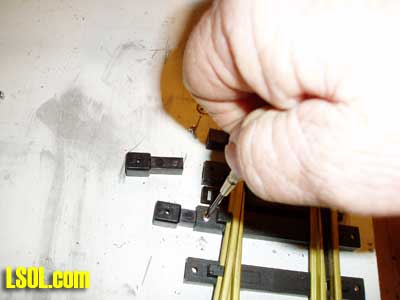
Find a piece of junk track with at least two ties worth of rails or cut one down to that. I glue the rails to the ties before cutting to length of about 11/2". I say about because "It doesn't have to float or fly" so 'about' is close enough. 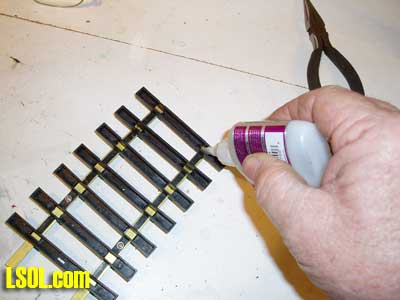
 Next, take the two arms that use to hold the control and file a square notch at an oblique angle, as seen in the photo, for the tie to 'nest' in. They should look something like in the photo. 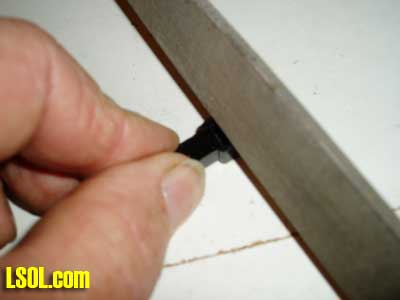
 Take the piece of track and file down the inside rail holders on the first tie only. This is done for clearance for the arms. 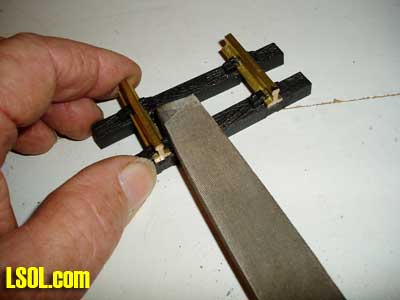
Re install the arms back into the switch on whichever side you want the switch to stay. 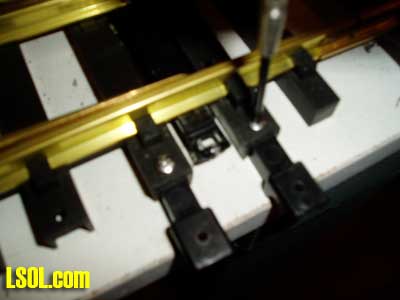
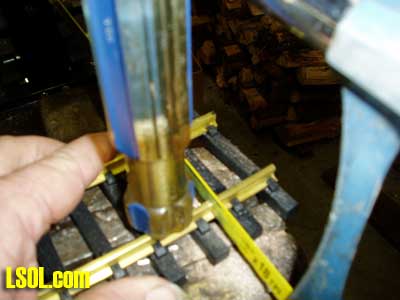
Using the edge of the bench or the side of the roadbed, place the piece of track under the notched arms which should be over the first tie that you filed. When in place and using the existing holes in the arms, drill through the tie with a 1/16" drill bit. Screw the tie to the arms with the two screws that use to hold the control.
It should look something like this next photo now. 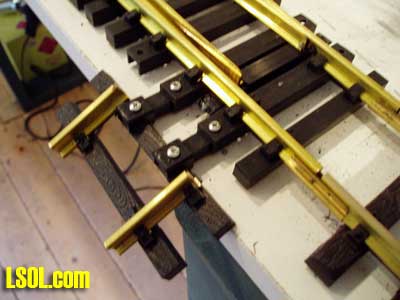
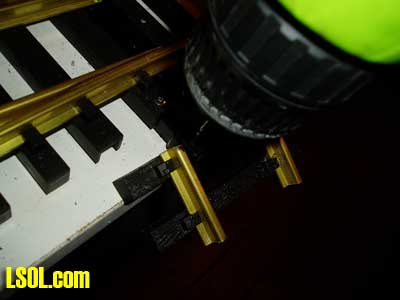
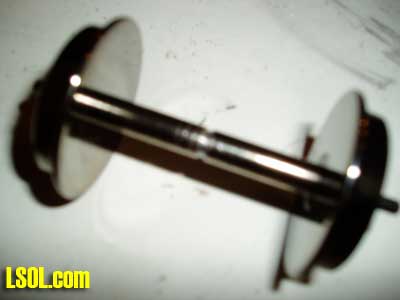
Take an old set of metal wheels, ( the older, the better) and cut a groove close to the center of the axle. I used a cordless drill motor and the corner of the file. 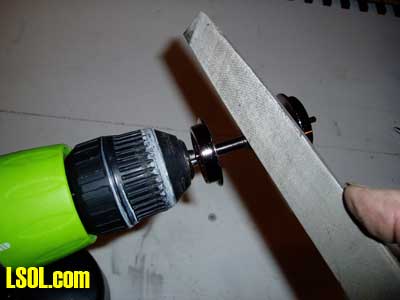
Fashion a hook around the groove in the axle out of a piece of small wire. 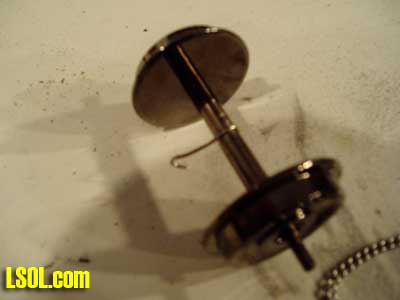
Next cut about 1 1/4" of small chain and make a hook for the other end to hook up to the switch. EBay, dime store, wife's jewelry box, are all good sources for small chain. 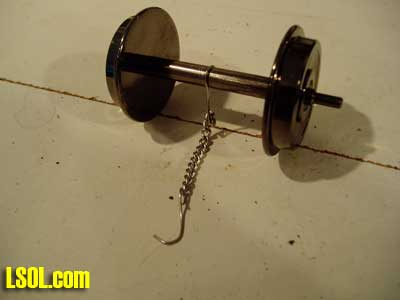
The next photo shows what it should look like when done. 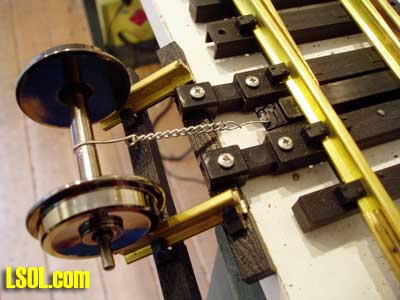
After a few weeks out in the weather it will blend right in with the rest of the 'junk' around the rail yard. 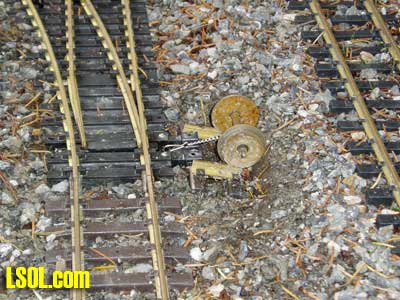
For a little added excitement and additional switching capabilities this little modification can be just the ticket, especially if you have track and/or battery power! I also put an electrical isolation switch on the passing track so it can be a siding also. Simply come down the main line past the last switch, stop, and back the train onto the siding without having to throw the switch. Really cool! I plan to incorporate the isolation switch into the spout on a water tower that will be on that siding. Spout down, no power. Up, off we go! I hope I can find the time to show you how I ended up doing that too. Let me know if you are interested.
| Switch Points |
| Phil, Very clever and the modification looks good too. Your modification should work for most applications where a "spring" switch is required. JD |
| Jon D. Miller - 01/30/2008 - 06:46 |
| Spring switch simplified |
| Phil that is neat. I took apart my Aristo switch machines and reformed the spring to make my switches into spring switches, and the fine tuning really frustrated me. I like your simple solution and I may have to try it when (if ?) I build the Wye and yard. What a simple and elegant solution, thanks for sharing and I for one am interested in the "spout switch" article |
| David A. Maynard - 01/30/2008 - 17:28 |
| Update |
| Thanks guys. Just a little update on how these have worked out so far. They are very susceptible to pine needles and other debris so they must be checked each session. Another problem I encountered with all my switches, these included, was water collecting under the control rod that activates the points. In the cold weather it freezes the switch up solid. I solved this by making drains through the channel that the control rod slides in. This can be done with a 1/16" bit in a cordless drill motor, straight down beside and on each side of the control rod with the switch in place. I drilled four holes per switch and seems to have solved the problem. Other than that, they're working great. |
| Phil Benedict - 01/31/2008 - 14:13 |
Top of Page
|


