Track & Bridges
Put One Here Turnouts - Part 1
Jul 14, 2004


By Geoff Horne |
Author
Bio
One of the biggest problems that you are likely to face as a railway modeller is when the extension bug hits you and you start looking at where to put all of that extra track.
|
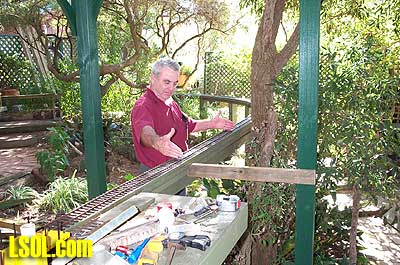 One of the biggest problems that you are likely to face as a railway modeller is when the extension bug hits you and you start looking at where to put all of that extra track. Now comes the tricky part in where the turnouts are going to get off the mainline. Invariably you will not be able to get a set of commercial turnouts to fit without having a dogleg or a kink in the nice flowing curve or the radius coming off not the right size. Faced with this problem many times over my modelling career from N gauge to HO to On30, I simply built them to suit the situation. If I can do it, anyone can, so give it a go. We (the DOGS - see Dunwerken in The Library archives.) had almost finished work on Dunwerken when someone came up with the idea of changing one of the sidings into a passing loop with the addition of a set of turnouts on the mainline. We were able to kill two birds with the one stone (Aussie saying) here because we were in the process of building a sector plate for loading live steam locomotives onto the layout so we just extended the bench work to take both projects. 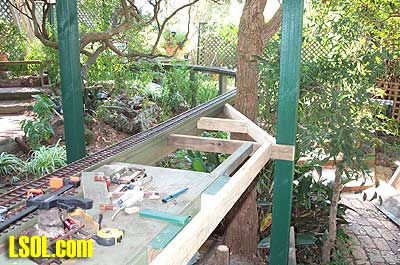 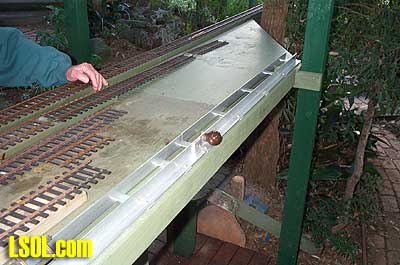 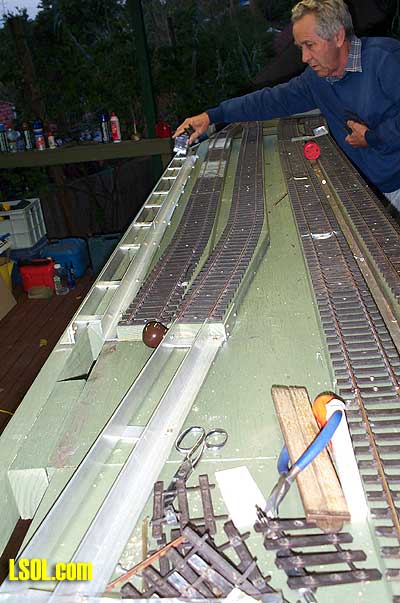
Step 1: After working out where the turnout is going, remove that section of track. In this case we are using Peco flex-track in two foot long pieces so I was able to remove one complete piece. 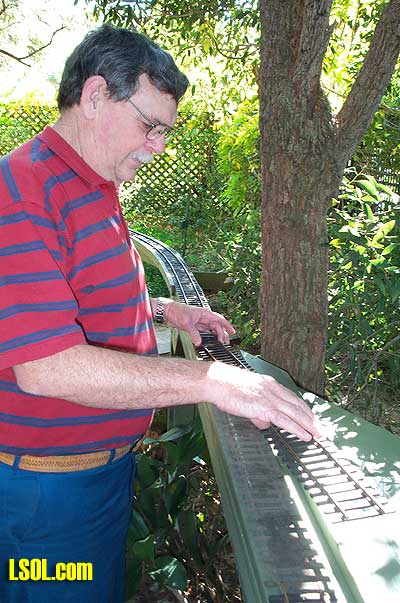 If you are unable to do this simply cut out the size of the turnout plus three inches to allow for the blade mechanism with either a hacksaw or a Dremel or motor-tool. Remove the plastic ties and put the rail aside.
Step 2: If need be draw the turnout on the baseboard as a guide especially for the first few times. This then allows you to work out where the ties are to go especially the longer ones in the centre of it. The sleepers (sorry, ties.) in this case were cut out of Australian hardwood on a circular saw bench and then each one was cut to length as required. 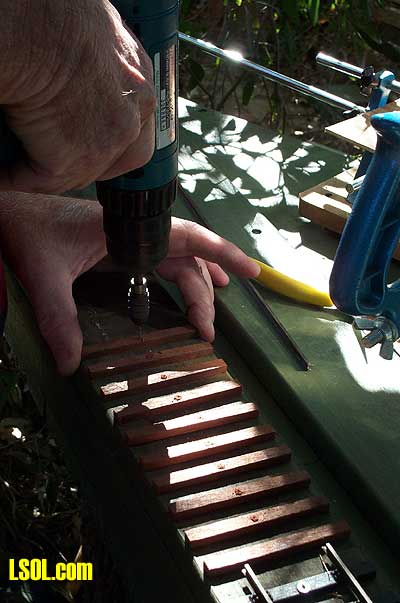 The ties on the trailing side of the turnout were laid first by simply spacing out roughly in place (ours is a very rustic railway and spacing isn't a big consideration.) and then a small hole was drilled in the centre to prevent splitting and were then fixed into place with a nail used in a nail gun (15mm long.) 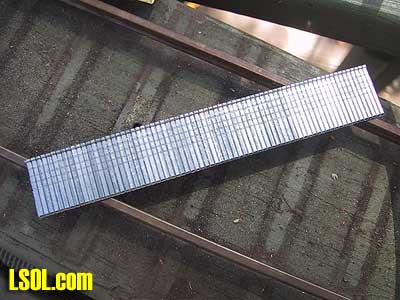 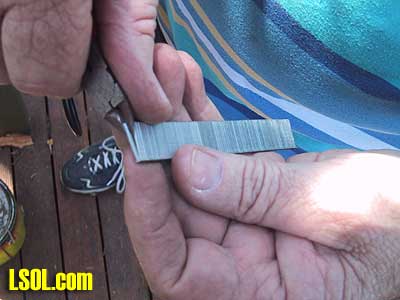 as these are made from galvanised wire. Fix a few ties on the blade end of the turnout as well to support the rail.
Step 3: Work out from your drawing or by looking at another turnout where you have to file the base of the rail away to allow for the blades. I was not in a position to have the use of a vice so I had to do the removal of this metal by perseverance and by taking my time. You can also use a motor-tool if you have one handy but remember that it is very difficult to replace it if you take too much out. 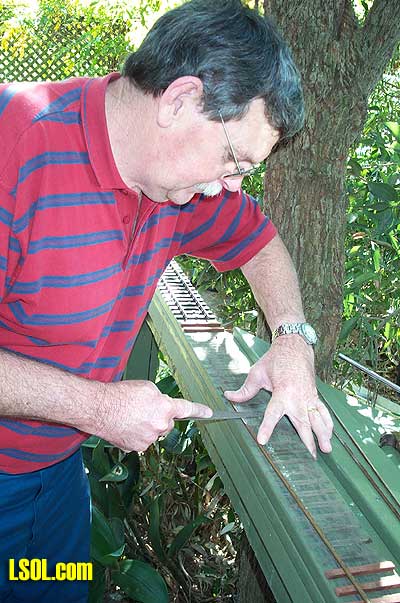 Carry out this operation on both rails and get ready to fix them into position. You will have noticed that at no time have we had to use gauges up to now.
Step 4: Place the through rail in place and fix into position with rail joiners. Clamp a straight edge along the straight section of rail and mark the inside of the ties. Cut some more of the nails ready to fix the rail. You will no doubt have noticed that these nails have a very nice T head and they are perfect for fixing rail and very cheap as well. Using the power or battery drill, drill a row of holes on the marks on the ties and then hammer the nails in part way. 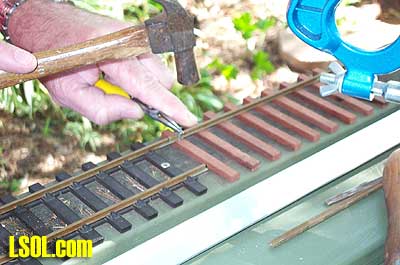 Place rail in position and mark position for holes on the other side. Drill these and then repeat the nailing process. Now you can hammer them home using a nail punch. Place the second rail in position and carefully bend it to the correct radius to suit your application and then repeat the marking and drilling and fixing with the nails. 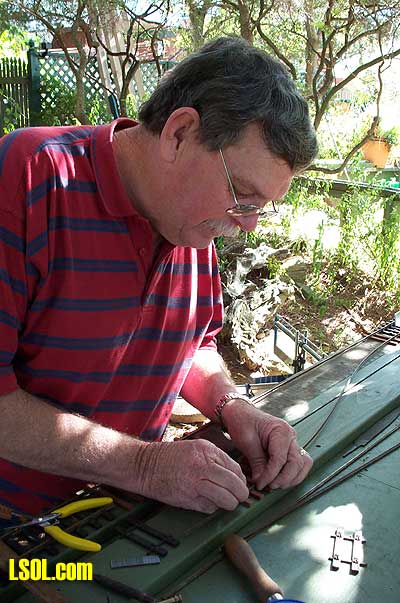 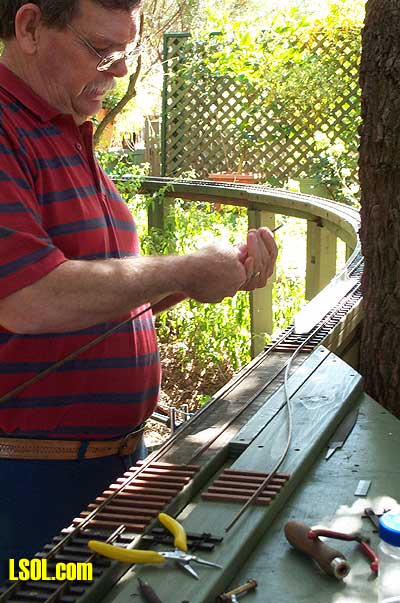 Next part is fitting the blades, frog and wing rails. Top of Page
|


