Track & Bridges
Bridging the Gap for Cheap
Jul 18, 2007


By Phil Benedict |
Author
Bio
I live on an island in the Puget Sound hence a run down to the corner hobby shop is not an option. Now, of course a hardware store isn't going to have a Large Scale Garden Train bridge but it might just have the raw materials needed for me to make something that looks like a train bridge.
|
I live on an island in the Puget Sound hence a run down to the corner hobby shop is not an option. We do, however, have a nice home center in our town. I needed a bridge to span a low area on my first attempt #1 scale railroad. Now, of course a hardware store isn't going to have a Large Scale Garden Train bridge but it might just have the raw materials needed for me to make something that looks like a train bridge. In less than fifteen minutes I was on my way home with the 'stuff' to try my hand at scratch building a bridge. I had a plan in my head, a fifteen foot area to get across and the 'stuff'. How tough could it be? As it turns out.....not tough at all! 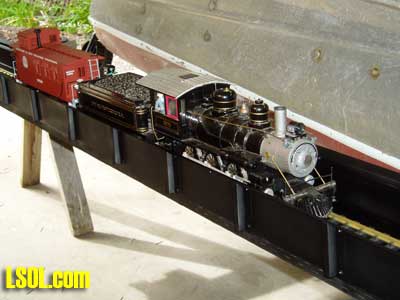 I posted the results on the LSOL forum and immediately received requests for assembly photos. I didn't take any photos of that build so I built another bridge today, with photos! Today's project is a 10' LOA (Length Over) steel railroad bridge. I will attempt to take you through the process step by step. Let's build a bridge!
First off the materials purchased consisted of;
1- 2X6X10', pressure treated plank.
2- 2"x3"X10' galvanized roof flashing
3- 3/8"X10' 'Z' flashing
22- 1" deck screws
80- 1/8X1/8 aluminum pop rivets
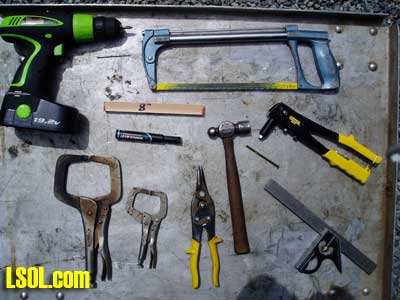
2-cans of spray paint of your choice. 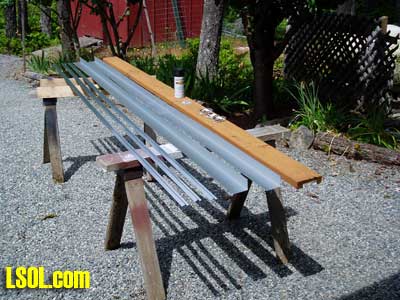 For a ten foot bridge we need to cut the ten foot board down to 9'6". Please bear with me. I promise it will make sense later. 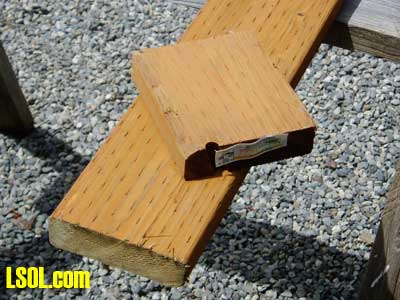 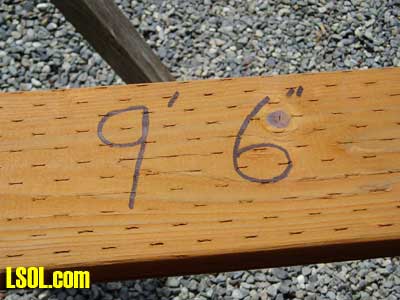 I assume that if you got this far you must have some way to cut the board. If not, have it cut at the store. However, a few tools are needed to assemble this project. These are the ones I used to build it. Not pictured is a measuring tape.
Lay out the 2X3 flashing on the board being careful not to let it bend and kink. The 2' side goes down and the 3' side will make the sidewalls for the bridge. Using the spray paint can as a template, mark the curves on each end of the sidewalls. 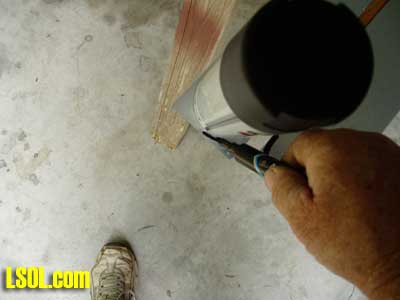 Using tin snips or some hefty scissors, cut the radius marked on the ends being very careful of the sharp sheet metal edges. 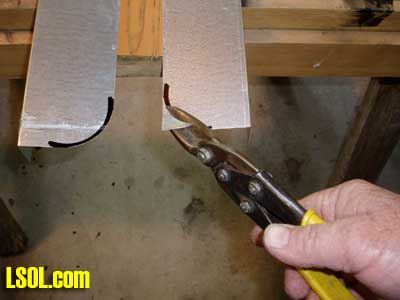 Measure in 3" from ends of 2"X3" flashing and mark on the 2" or bottom side. These marks will index with the end of the lumber. 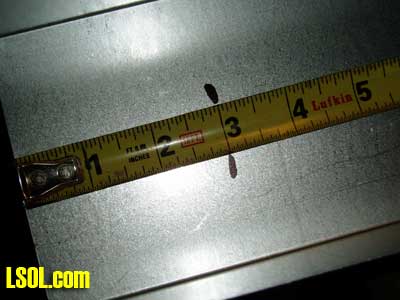 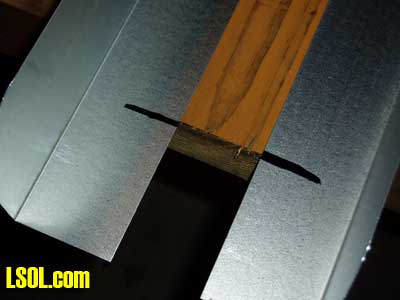 After placing the flashing on the board and lining up the marks but before fastening, we have to think about width. My fattest rolling stock is about 5.5" wide so I decided upon a 6", between the top rails opening. To get this I measured 5/8" from the outside edge of the board to the corner bend of the flashing. In other words, outside to outside of the flashing is 1 1/4" wider than the board, one half of that on each side, hence, 5/8".
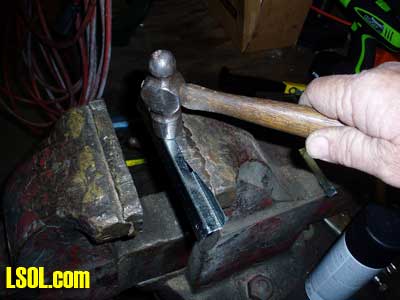
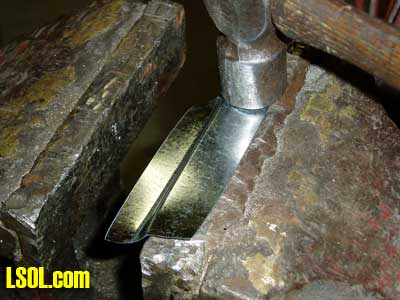
Once the flashing is in place use a #16 nail to punch through the sheet metal and start into the wood. 1/4" is plenty. 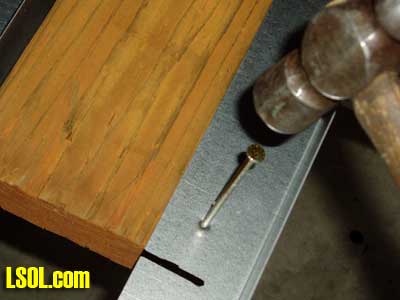 Then drive one of the 1" deck screws through the steel into the wood. Go to the other end and repeat. 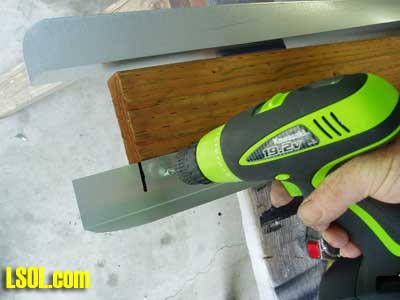 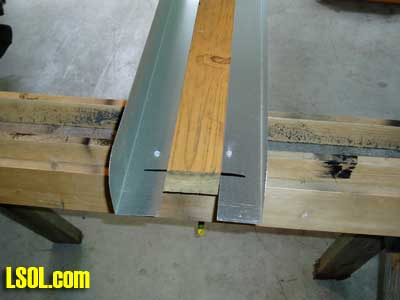 Place screws about every foot or so. 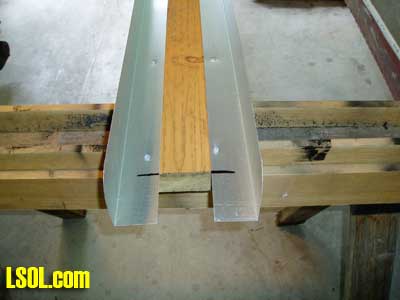 Next take two of the 3/8" 'Z' flashings and cut them to 9'6" in length. (Same as the board) The sheers tend to flatten out the bends in the sheet metal when cutting but a light tapping with a small hammer over a flat surface will restore it to it's original shape. Oh yeah. Save the two ends you just cut off for later. Now find the center line of the board, end to end, and mark it. Place the middle of one of the 3/8" flashings at that mark, holding it in place with the wide side on top, facing outward. Clamp it in place with the middle of the 'Z' against the sidewall. 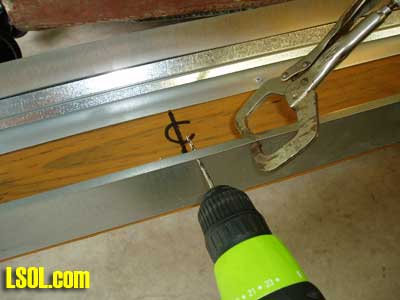

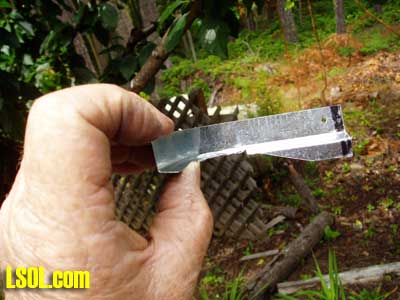
Drill the hole using a 1/8" drill bit. A sharp drill bit is a must from here on out. After drilling put in a 1/8"X1/8" pop rivet. 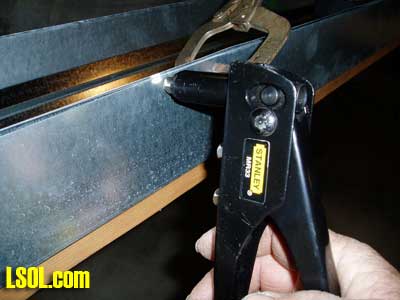 Continue drilling and fastening the top rails every foot or so but DO NOT drill and fasten the last foot on the ends. 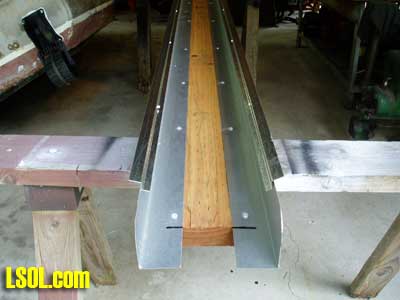 Remember the two scraps of 'Z' flashing? They will become the end caps for one end of the bridge. Cut two more 6" pieces from 'Z' stock. We need to cut a tapered entrance to the top rail and cut off the short side of the 'Z' on down to the bottom or longest end. Don't forget to build two right hand and two left hand end caps. The shears will tear up the edges some but the same tapping procedure brings them right back. 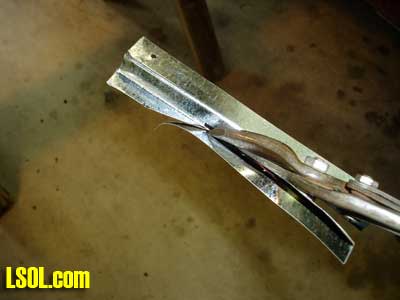
By now they should look something like this. 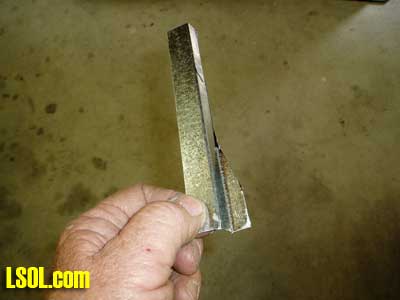 Now the slots for the radius must be cut into the metal. Once the slots are in, bend the metal with your fingers to get the shape you want. Watch out for sharp edges! The flaps can be tapped flat with the small hammer. They will look like this when done.  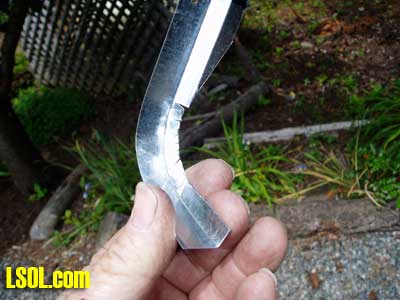
 Install all four ends noting the overlap and the final rivet for the top rails. Just one rivet is needed for the bottom. 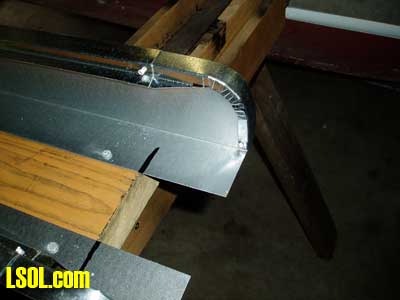
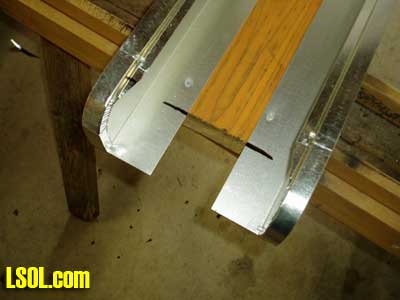
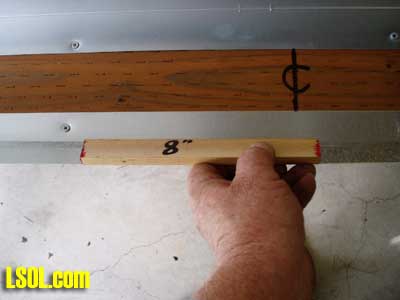
 This is what your bridge should look like now. If you are not into 'ginger bread', slap some paint on it and you're done. 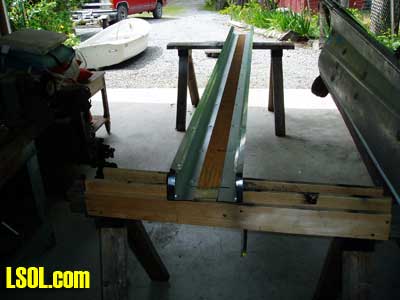 Now we get into a little tedium. Using the eight inch stick, start at the center line and mark the top of the rails with indexing for the stanchion locations.
 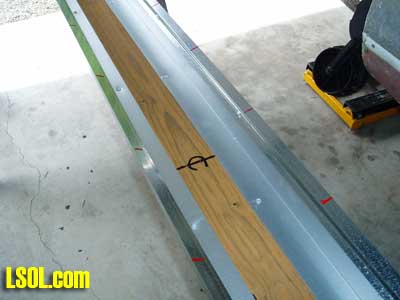 Cut thirty, 3" pieces of 'Z' flashing to make the uprights for the sides. They will get bent up from the shears but, again, the hammer will fix them. 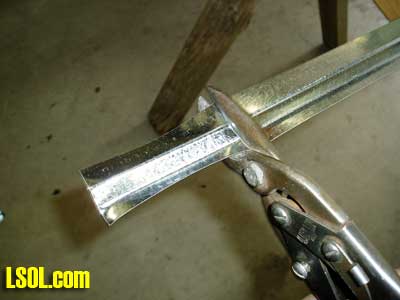
  You have probably noticed that the top rail is not flat but at a slight angle and the uprights need to be cut or ground to that angle to look right. It can be done with a hack saw if the sheets are bundled together. However, using a bench grinder, one at a time is about the easiest way to achieve this. 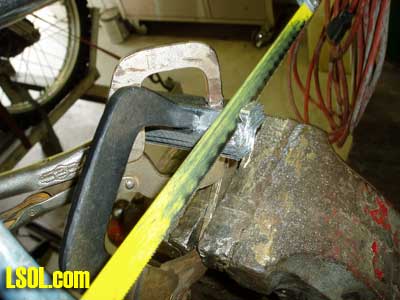
When ready they should look something like this. 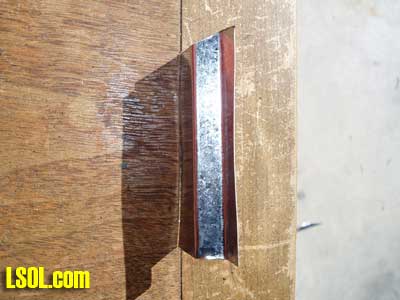 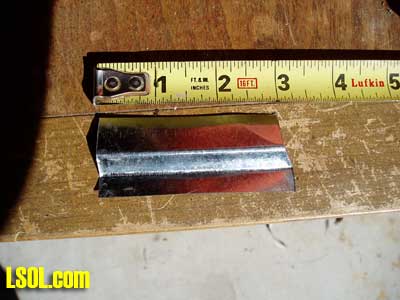 Here we go! 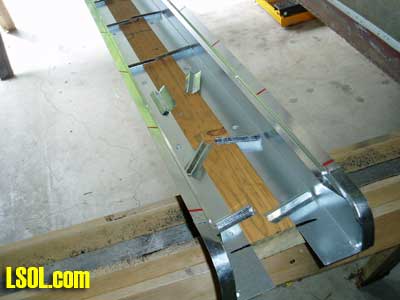 Always drill and fasten the top hole first.
Before drilling the bottom holes check for square and re clamp. Just one of these out of plumb will stick out like a sore thumb! 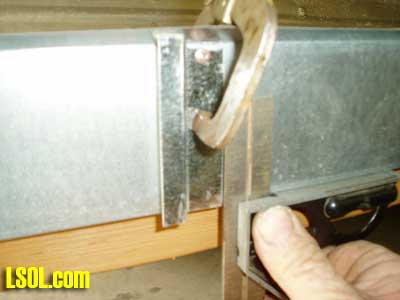 Now that it seems like you have put in a bazillion pop rivets it's time to stand back and admire your handy work. 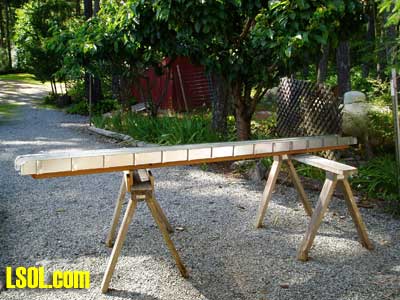 Grab the 'rattle can' and have at it. YOU ARE DONE!!
To set mine I used standard garden blocks as abutments . Two on each end with the farthest apart being at track level and the length of the board apart...face to face. In this case, 9"6', inside to inside. Place another two blocks in front of or inside of the two you just placed but 1 1/2" DEEPER as the board will sit on these blocks. As you can see the outer blocks just hold the sheet metal and give no real support. The inner blocks do most of the work.  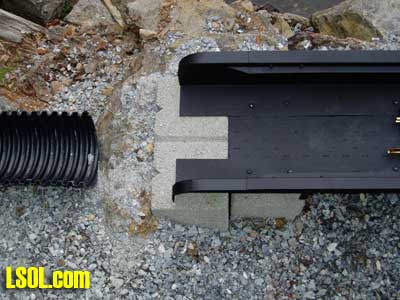 I hope this makes some sort of sense as I am not the best 'teacher'. I will gladly answer any questions about the build and consider it a worthwhile project for somebody who could use a utilitarian bridge that will pass muster to all but the staunchest 'rivet counter'. This is not a long, drawn out project but can be easily completed and installed in a day. This ten footer took only five hours to build and that was with stopping to take photos! The best part? Total cost was only $45!!! With the cash saved you may be able to buy some more track. Well, a little more, anyway.
| Bridge |
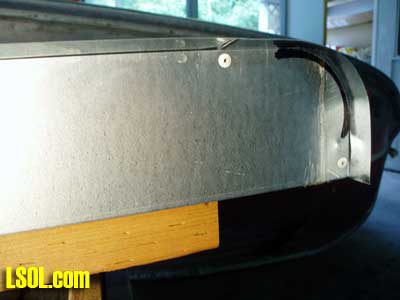
| I noticed the last picture on page 12, there appears to be a bottom lip to the sides. Did I miss a step where a z-strip was added to the bottom to connect the side stanches? |
| Jeff - 01/05/2008 - 17:28 |
| Bottom lip. |
| Jeff, what you are seeing is the painted edge of the 2X6 plank. |
| Phil Benedict - 08/10/2008 - 10:16 |
| Last pictures of bridge |
| What an excelleny idea and superb directions. What I want to know is, what is with the half drain pipe and where did you get it cut (how long is itetc. and do you fill it with gravel? |
| Gerry Keffer - 03/27/2012 - 10:24 |
Top of Page
|


