Power, Sound, R/C
:
Sound
Making your Railroad Sound Alive: MP3 Sound Systems
(Part 2)
Jun 25, 2008


By David Bodnar
LSOL.com Electronics Editor |
Author
Bio
If you want to clip, amplify or otherwise modify a sound file you need an editor. There is an excellent program that does all of that and more. The best part may be that the price is very reasonable: $0.00! Come learn how to use this software to edit, mix and create your own sounds to use on your railroad. Combine this knowledge with the MP3 player you built from part 1 and your railroad can come alive with sounds that you create.
|
Audacity - Sound Editor If you want to clip, amplify or otherwise modify a sound file you need an editor. There is an excellent program that does all of that and more. The best part may be that the price is very reasonable: $0.00! Audacity is the program and it can be downloaded from http://audacity.sourceforge.net/. The version I am using right now is 1.2.6. Download the appropriate version (PC or Mac) and install as directed. 
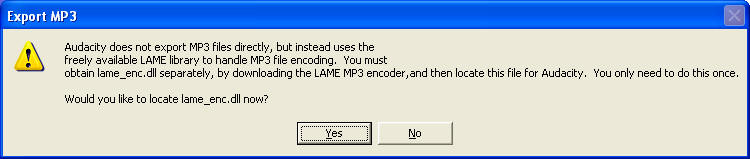
While you are there make sure you also download the Lame MP3 Encoder: http://audacity.sourceforge.net/help/faq?s=install&item=lame-mp3. Audacity cannot export files in MP3 format without this encoder. Download the appropriate file. The PC version is a ZIP (compressed) file. Once it is downloaded double click on the ZIP file to extract the file that is needed: "lame_enc.dll" Copy this file into the same folder that holds the Audacity installation. On a PC it likely to be C:\Program Files\Audacity. When you first try to save an MP3 file you will be asked where the encoder is located. If you put it in the Audacity folder it is easy to find!
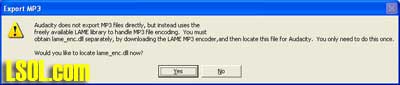
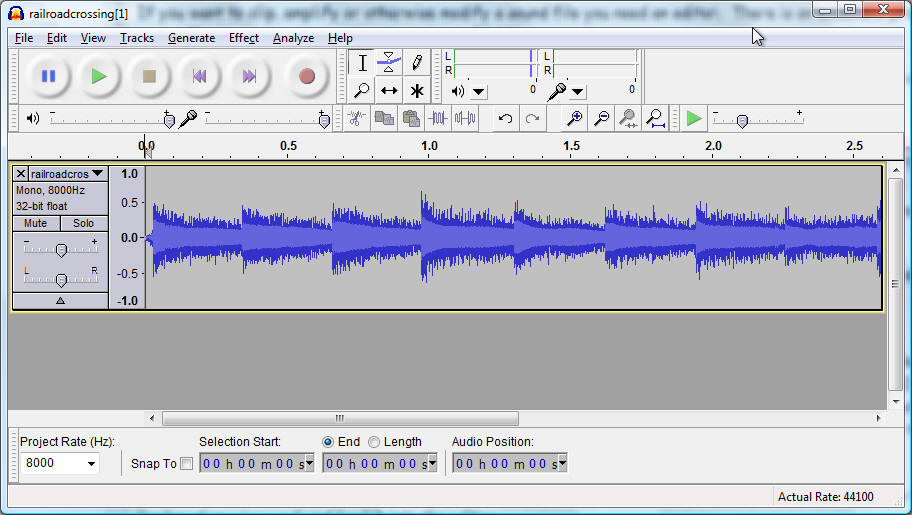
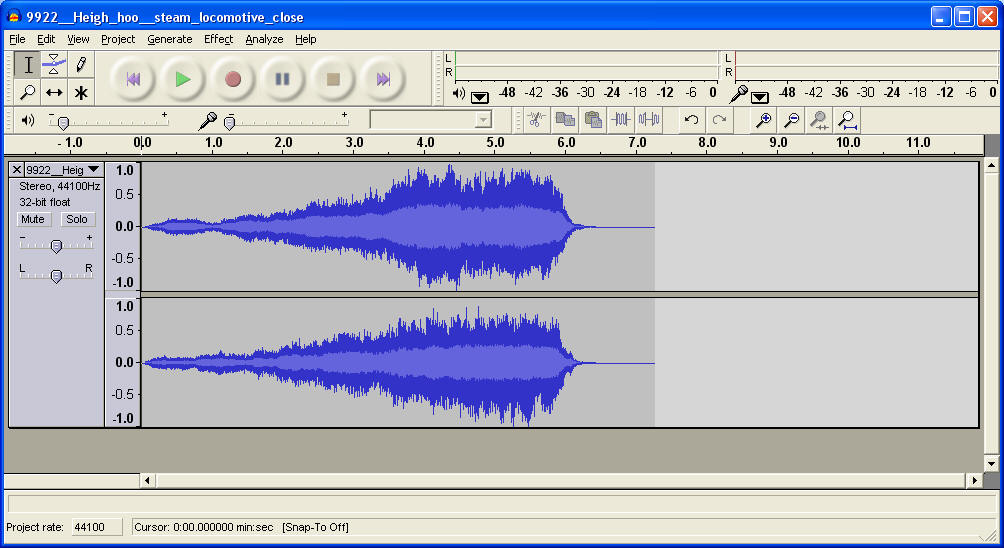
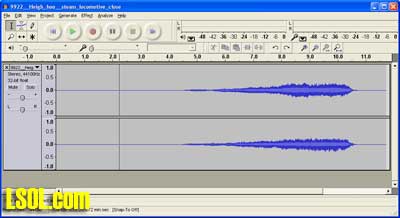
Click for larger image When this box appears just select "Yes" and locate the program where you saved it after downloading. Note that there are downloads for both PC and Mac - I am basing my work on the PC version. I would expect that the Mac version is very similar. Running Audacity Before we start let's download a file from the Internet so that we are working with the same sound file. The file is available from http://www.a1freesoundeffects.com/vehicles.html . The file is called "Railroad Crossing" and is about 1/2 way down the page on the right hand side. Right click on the file and select "Save Target As" or "Save Link As". Make sure you take note of the file name (railroadcrossing.wav in this case) and where it is being saved on your computer. Some computers are set to save such files to the root of drive C:\ and others save to the desktop. Either way you will need to know where the file is to find it later on. To start the editor click on Start / All Programs / Audacity. Next use File / Open to select a file to edit. Find "railroadcrossing.wav" and load it into the editor. On my computer it looks like this: 
Click for larger image
Click on the Play button (the large green triangle at the top) and you will hear the sound play as the cursor moves across the screen.
Exporting as an MP3 File Audacity can deal with most audio formats but our Sound Controller can only handle MP3 files. To export your file as an MP3 load and edit the file as needed then follow these steps: -
Click File / Export as an MP3... -
Give the new MP3 file a name and select the folder where it will be saved - click Save. -
Click OK to exit the next dialog box (no changes are needed). -
The MP3 file will be exported - note that this can take some time depending on the file size and the speed of your computer. -
Note: I usually save the file again right away with the numbered file name that I will use on the memory stick. Saving it again here saves me from renaming or duplicating it before I put it on the USB memory stick. Sound Editor Tasks - Making a Monaural Sound into Stereo The file we are working with is a monaural (mono) audio file. If you want to make it stereo, so that we can modify how it will play through both of the Sound Controller's speakers follow these steps: -
Click Edit / Select / All -
Click Edit / Duplicate - a second copy of the file should appear below the first -
Click on the small drop down arrow just to the right of "railroadcros" ( it is the small black triangle in the center of this image) 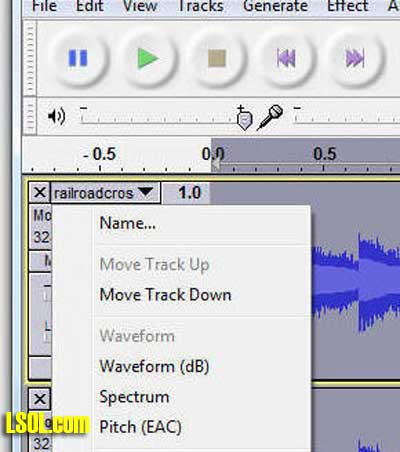
-
From the drop down list of options select Make Stereo Track 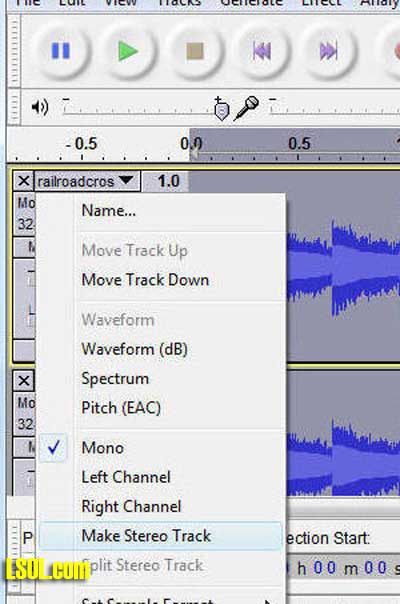
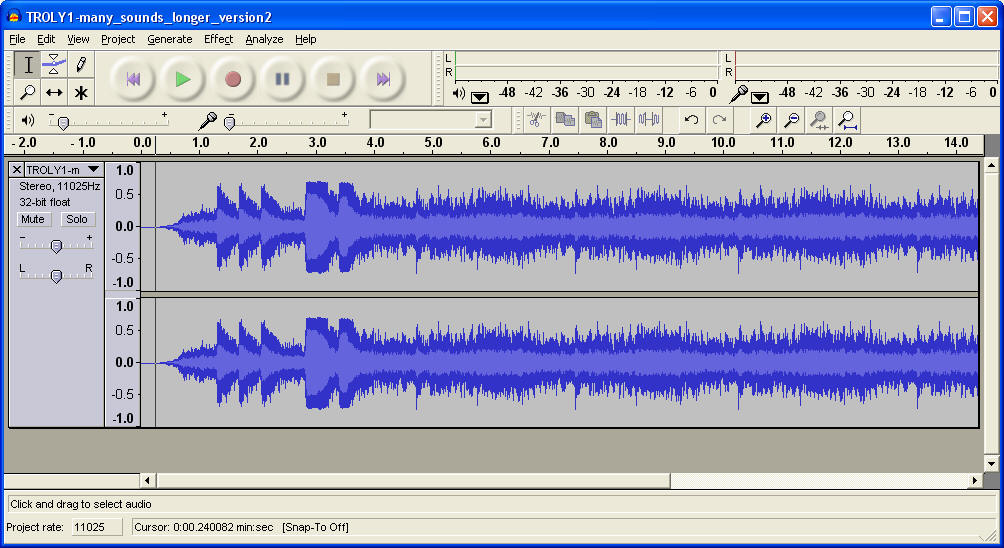
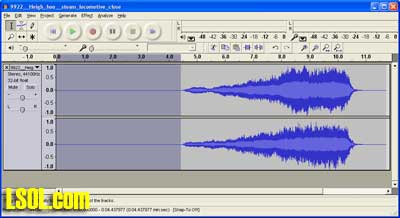
Sound Editor Tasks - Creating Sound for Only One Speaker If you have a stereo sound file it will play through both speakers. Audacity can easily take that stereo file and change it into a file that will only play from one or the other of the stereo speakers. You might want to do this if you have the two speakers in two different buildings. Perhaps one in the saloon and the other is at the train station. You could have all of the dancing / partying sounds coming from the saloon speaker and the train arrival / departure sounds coming from the other speaker. Here we have a stereo sound with the left channel track at the top and the right channel track at the bottom. 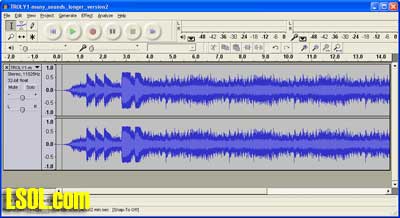
Click for larger image
-
Find the Left Right slider at the far left of the screen.
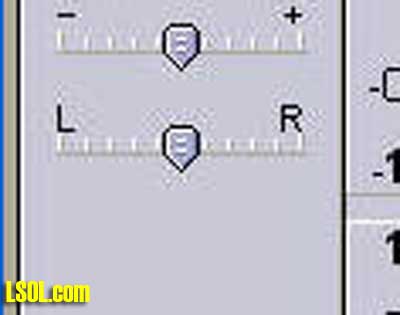 -
Move the slider all the way to the "L" position. That gives all of the volume to the left channel and no volume to the right channel. -
Note that nothing changes on the screen! -
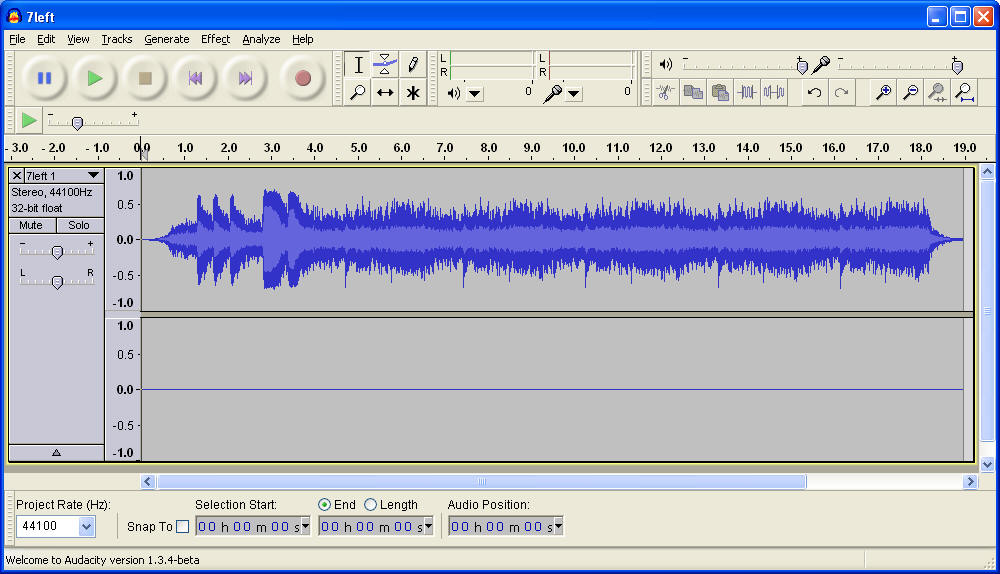
Export (save) as an MP3. Call it something like 7left.mp3 so you remember what you did. -
Next move the slider all the way to the right. Export as 7right.mp3. -
Now open 7left.mp3 and note that there is nothing in the bottom box, the right channel. If you open 7right.mp3 you will see that the reverse is true. 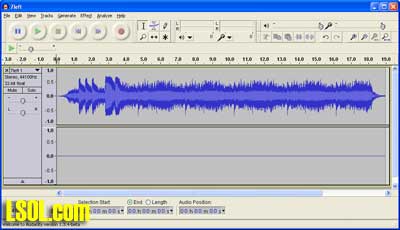
Click for larger image
Sound Editor Tasks - Changing Volume If you want to amplify part or all of a sound file follow these steps: -
Load in the file that you wish to change -
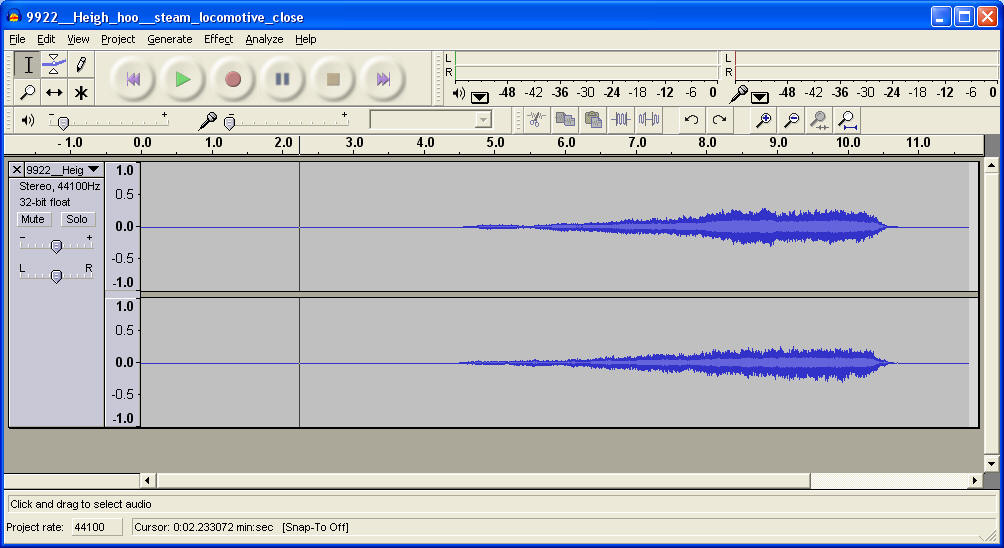
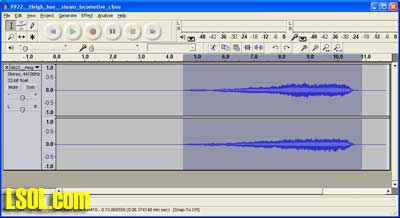
Highlight the section that needs amplification - in this example file the entire sound is too low so we'll amplify most of it.
Click for larger image -
Highlight the part of the file that you want to amplify by placing the cursor at the start of the area, holding the mouse button and dragging the mouse to the other end before releasing the button. (If you wish you can use the keyboard to highlight the section you want to change. Click the mouse at the beginning point, hold the Shift key and then hold the Right Arrow key to highlight the section. Release both keys when done)
Click for larger image -
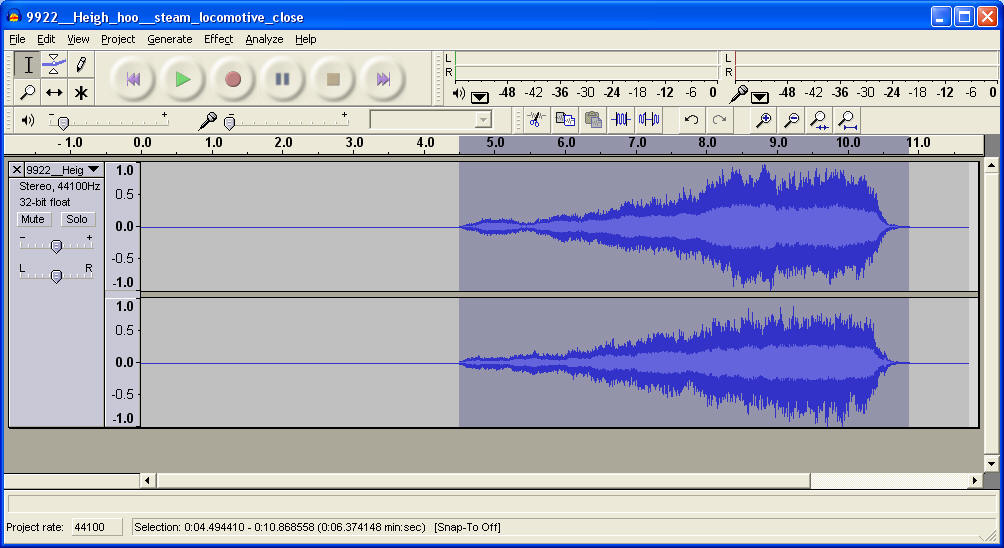
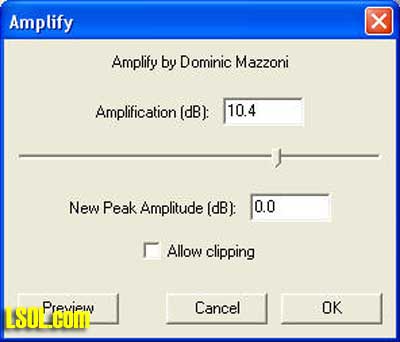
Click Effect / Amplify... -
The program will estimate the maximum amplification that can be done without clipping and fill in that number. In this case it is 10.4 dB. Accept its recommendation and click OK
 -
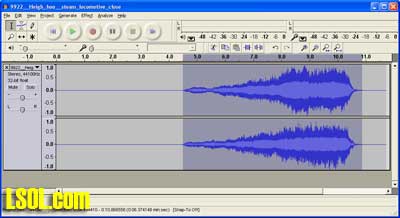
The change will be made and displayed
Click for larger image -
Test the file change by playing it. It should be considerably louder. -
Remember that there is an Undo under Edit - an easy way to back up should you make an error or change your mind!
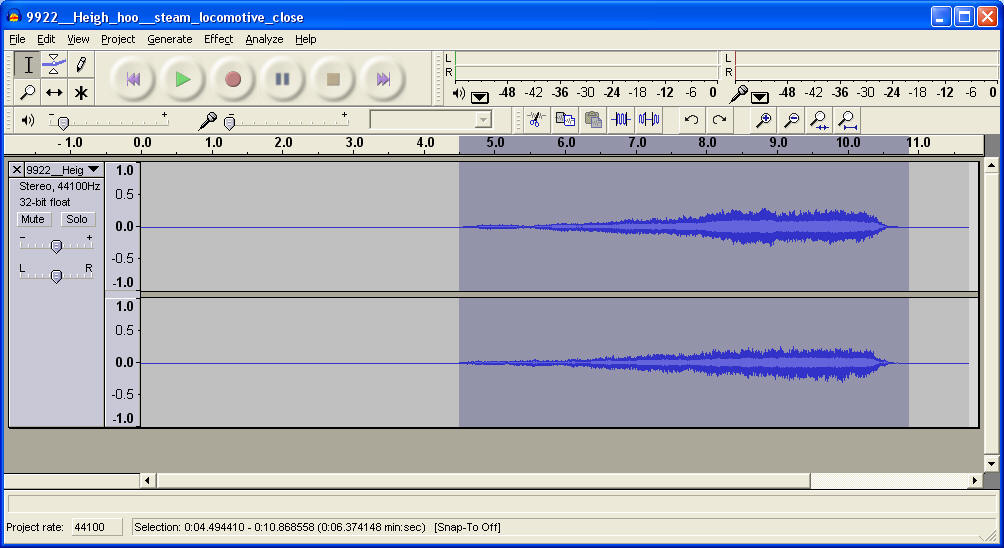
Sound Editor Tasks - Selecting a Section of a Sound File (also called Cropping) In the file above there is a good deal of silence at the start and some at the end of the file. Let's remove it so that just the sound that we want remains. -
Use the mouse or mouse & keyboard to highlight the silent area to the left of the sound
Click for larger image -
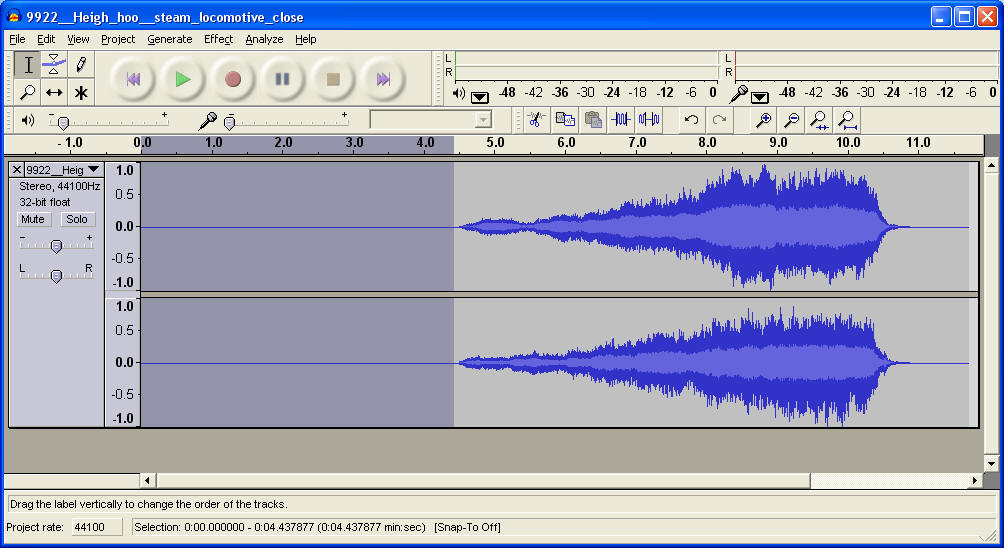
Click on Edit / Delete in the menu or just press the Delete key on the keyboard to remove the highlighted section

Click for larger image -
Try deleting the silent area to the right -
Test by playing and don't forget the Undo command!
Recording Your Own Sounds with a Microphone Audacity does a great job of editing sounds but it will also allow you to record your own sounds with a microphone. Plug a microphone into you computer. Follow these steps to record your voice. - If there is an audio file showing click on File / New to get a clear screen.
- Click on the red circle to the right of the play button. Begin speaking into the microphone. You should see the sound displayed as you speak. Use the microphone volume slider in the upper right to adjust the volume.
- Adjust the microphone volume and your distance from the microphone so that the sound comes close to but not beyond the edges of the display. If the lines hit the top and bottom you will be "clipping" the sound and it will be distorted.
- Click the square Stop button two buttons to the right of the Record button to end recording.
- Press Play to play back your recording.
- If you want to save it just follow the steps we used before to export an MP3 file.
- If you want to erase it to try again click Edit / Undo Record or just click File / New .
Tip: You can quickly export a section of a sound file by highlighting just the section you want to make into an MP3 and clicking File / Export Selection as MP3. That will make an MP3 file that contains just the highlighted section.
Using Music You can load music files into Audacity just like any other WAV or MP3 file. There are any number of railroad songs in the public domain that can be found on the Internet. Video Tutorials In order to get you off to a good start with Audacity I have created two short tutorials. They show you step-by-step how the program is used. The first video shows how to start Audacity, load a file, make some minor changes and then export the file as an MP3 that can be used in the MP3 Sound Controller. 1.wmv
The second video is a bit more advanced and shows how a monaural sound can be changed to stereo. It also shows how the sound can be modified so that the stereo speakers make the sound appear to move past you from one side to the other. 3.wmv
Other Thoughts The unit would be great on any home or club layout but it is also a natural for temporary layouts that we put together at various venues. There is also a version of the unit that works much the same way as what is described here but without track side mounted switches of any kind. Instead it is operated by an 8 channel wireless remote control. 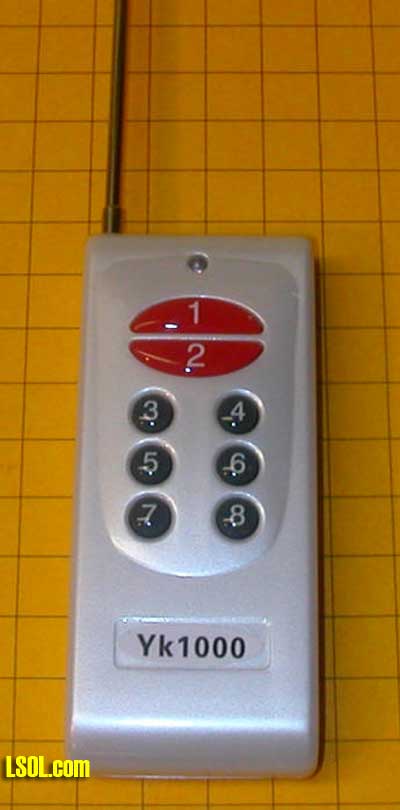
This allows you to trigger any of the eight fixed or random sounds by pressing a button from anywhere on your layout. In an open area the range is hundreds of feet! Please contact me if you would like to give this very capable unit a try or have any other ideas for the MP3 Sound Controller. |