Scratch & Bash
:
How-to's
Making Train Trays
Jul 9, 2008


By Bob DeForge |
Author
Bio
Carrying engines and rolling stock to be used on a layout set up for a special occasion such as a flower show, train show or when visiting a friend's garden layout, usually presents itself as a challenge.
|
Carrying engines and rolling stock to be used on a layout set up for a special occasion such as a flower show, train show or when visiting a friend's garden layout, usually presents itself as a challenge. So how do you do it without dropping the engine or one of your favorite passenger or freight cars? There are as many ways to carry engines and rolling stock as there are Large Scale operators or garden railroaders. Each person seems to have their favorite way to get those pieces of rolling stock from their vehicle to the tracks without dropping small parts or worse yet, the entire engine or car on the way. When I was carrying my engine and rolling stock to a layout recently 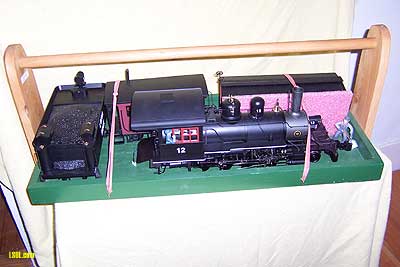 I was asked about the train trays I was using...where I got them, how much they cost, etc. My answer was that I had assembled them from mostly recycled wood and materials I had around the workshop and house. 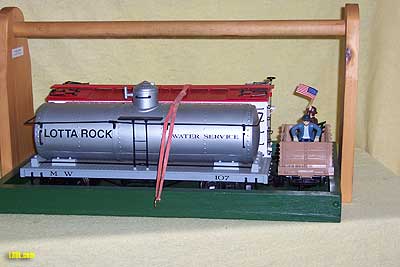 I needed a tray that would accommodate my 2 SD45 Santa Fe War bonnets 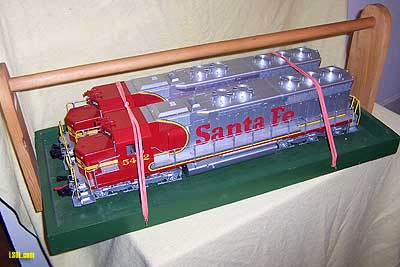 so they were used for measuring purposes to design the larger of the two trays described in this article.
 Essentially we are looking at constructing trays that will carry whatever sized engines or rolling stock you plan to carry to the tracks. The trays have two basic parts, the tray itself, and the handle with which to carry the tray with its 'cargo.' Using 1/2" plywood, cut a piece 31" x 14". 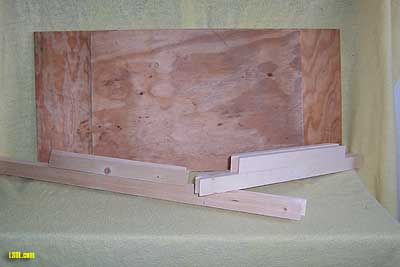 Next cut the sides of the tray 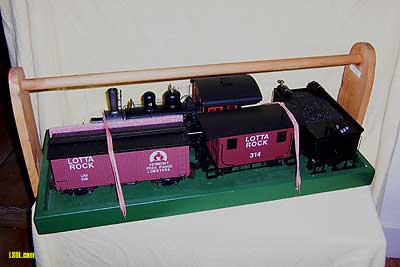 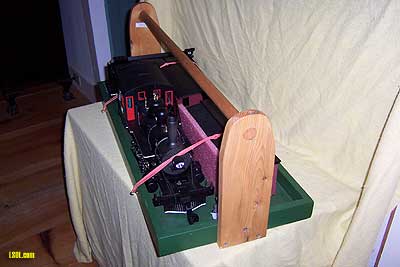
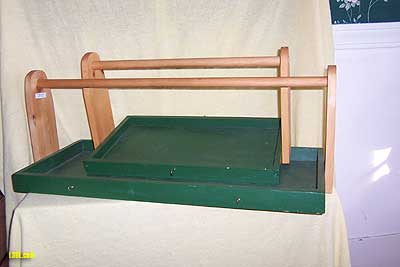
2 pieces 31" long and 2 pieces 14" long x 1 ?" wide x ?"thick. These will become the frame for the tray. Cut the corners at 45 degrees and after placing a healthy drop of Gorilla Glue in the joint, fasten it and make a frame. 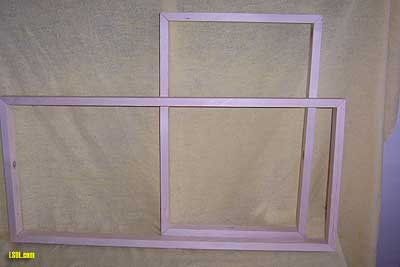 Now drill and countersink holes in the plywood to which you will attach the frame. 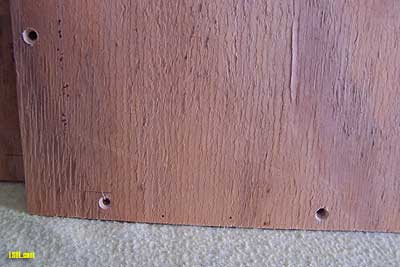 Using 1 5/8" galvanized screws, attach the plywood to the frame from the underside of the tray. Set the screws into the plywood so they do not protrude. You should drill holes through the plywood into the frame before attaching with screws, to prevent splitting the frame material. 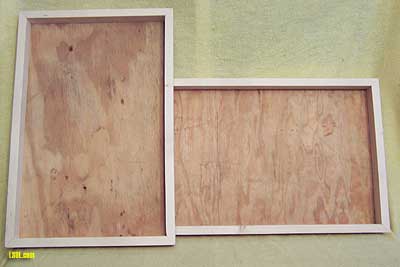 Now that the tray is complete, let's turn our attention to the handle.
Cut two pieces of wood 12" long x 4" wide x 3/4" thick. Place a 4" diameter can on the top of each piece to outline the top for rounding. 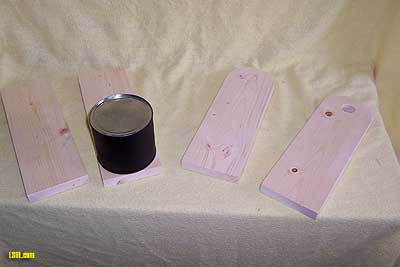 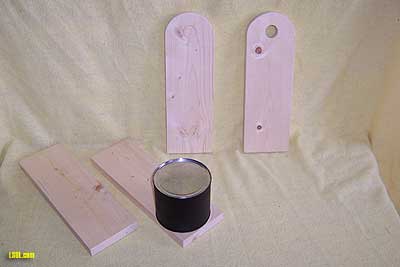 Cut a 1" diameter hole centered 2 1/2" from the top of the rounded end of the handle upright. This will accept a 1" hardwood dowel cut to size after we have the upright attached to the tray. Drill and countersink 4 holes per upright (7/64" drill is a good size). One is placed through the top to attach the dowel/handle and three on the lower section of the upright (one centered 1" from the bottom and the others 1/4" from each bottom edge and 3/4" from each side edge) in order to attach it to the tray. 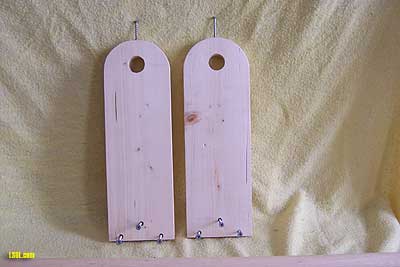 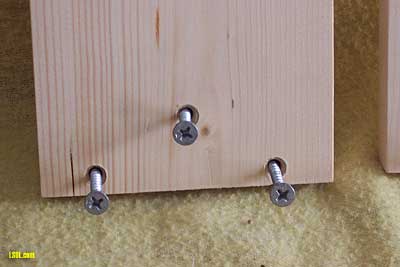 Be careful drilling into the plywood to avoid splitting it out. Use 1 5/8" galvanized screw to secure the handle holder to the plywood bottom, a 1 1/4" screw to secure the handle holder into the end side of the tray and a 1 ?" screw to secure the dowel handle in the handle holder. 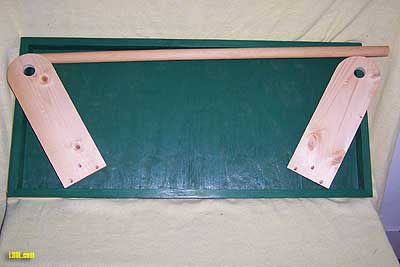 Cut dowel to size (32 1/2"), insert in the handle holders, and secure with the 1 1/2"screw .
You might want to consider constructing a second, smaller tray at this point. Cut the 1/2" plywood piece 21" long x 14" wide. Next cut two pieces 21" long x 1 3/4" x 3/4" and two pieces 14" long x 1 3/4" x 3/4". These four pieces will become the sides of the smaller tray. Cut, drill and attach the handle holders just as you did for the larger tray. The dowel will be 22 1/2" long for the smaller tray. Now you're ready for some finish. I used dark green latex paint for the trays. Two coats will keep the trays looking fresh and provide some weather protection. For the handle I used liberal amounts of Clear Wood Finish (CWF) ( 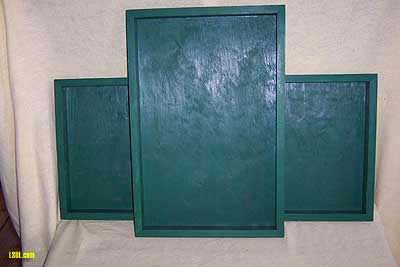 In order to secure the engines and/or rolling stock in the tray I used 2 cup hooks on each side of the large tray placed 7" from each end and large rubber bands attached to one another. 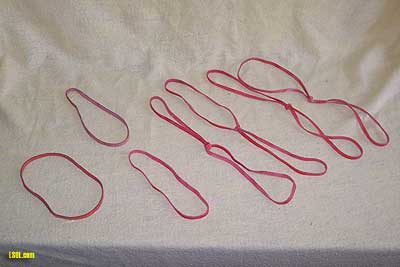 (I used 1 hook centered per side on the smaller tray.
Hook one end of the rubber bands on a cup hook, over the engine or car you are securing and hook the other end over the cup hook on the other side of the tray. ( 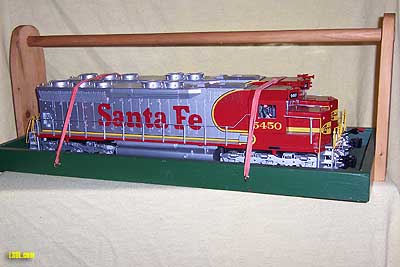 You may know your local postmaster and be able to get some of those large red rubber bands. If not the local Staples or Office Depot should have a supply. The cup hooks are available in any WalMart, Home Depot or Lowes and of course you can pick up the 1" wooden dowels and any other screws, paint or wood you might need while you're there. 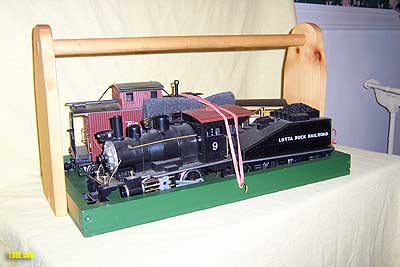 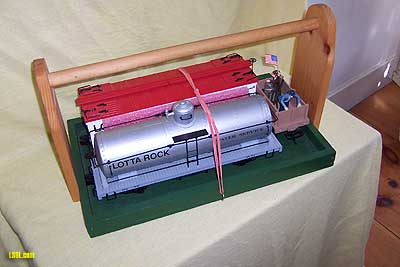 I hope your trays will serve you as well as mine have in safely carrying your engines and rolling stock to the next layout where you can have fun running trains, and answering questions about where you got your train trays.
| Making train trays |
| G'Day Bob...Congratulations on well written article. The trays are universal and can be used for carrying different locos and cars without having to make one for each item you own. I will be looking at making some the same as yours and will be passing your idea onto another garden railroader who carries his locos jammed into a foam box. Well done. Dave |
| Dave Clarke - 07/09/2008 - 03:53 |
| Comment |
| Thanks Dave> I have also found these trays to be a great gift for a fellow Garden Railroader. They certainly don't cost a lot to build. Bob |
| Bob DeForge - 07/14/2008 - 06:30 |
Top of Page
|


