Scenery
:
Buildings
The Picket Fence
May 2, 2007


By Bob Gentile |
Author
Bio
While I was in my workshop just puttering around, I came up with the idea of making a picket fence. Come learn how to make your own.
|
While I was in my workshop just puttering around, I came up with the idea of making a picket fence. I save all my scrap wood for small projects such as the picket fence. First I started with a 3/8x3/8 stock. In this project I will be using cedar wood 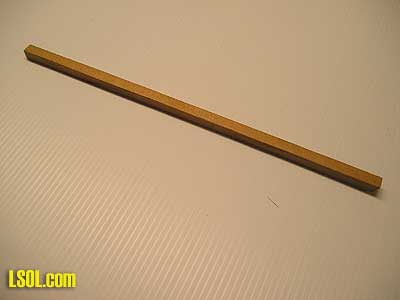
Next I made strips 1/8 x 3/16 inch used for gluing the pickets to. I will call these pieces the rails. 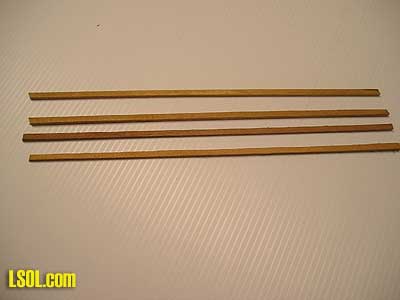
My next step was to cut the 3/8/x3/8 stock into 2 1/2 inch pieces. You can set a gage on the band saw but in this project I put a piece of tape on the table and made a mark 2 1/2 inches and used the miter gauge. To be honest I was too lazy to set up a gauge.
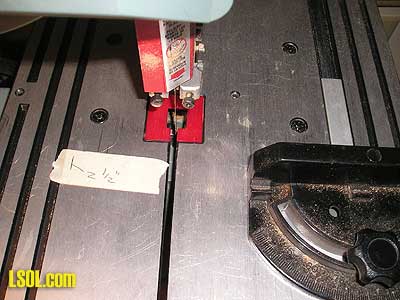
I cut several pieces 50 to be exact 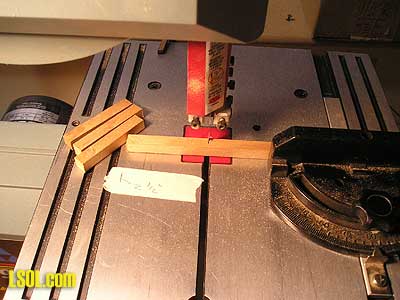
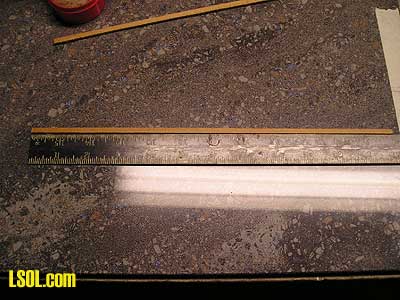
I put the 3/8 stock on the line and was able to get all the same size pieces (2 1/2 inches.) I took the 2-1/2 inch piece and marked the top 45 degrees on each side with a square (0005). Once I had accomplished that it was off to the sander and I sanded the 45-degree marks I had made on the 3/8 stock. 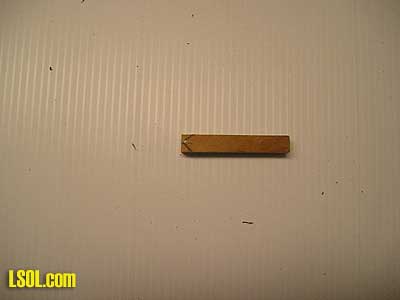
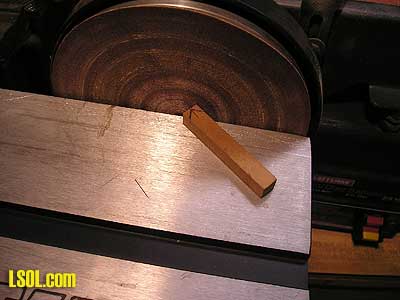
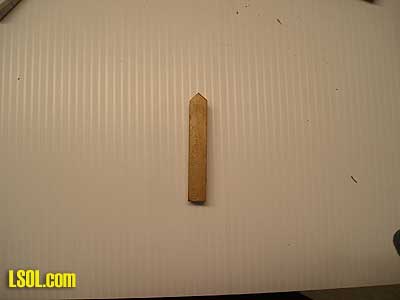
Okay it was a trip to the band saw to cut the wood I had marked and sanded on a 45 Degree. 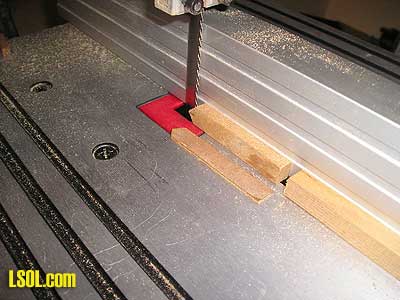
I set the fence so my picket's would be 3/32 inch . 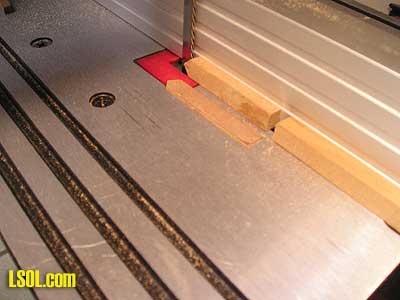
Okay as I sit here and have my coffee break and listening to music, I came up with this system for putting the picket fence together. First I cut a bunch of pickets. 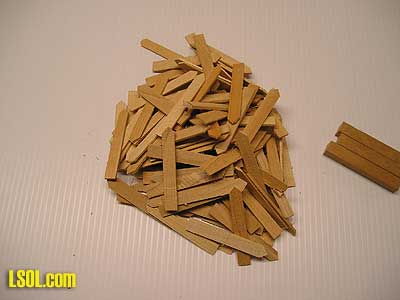
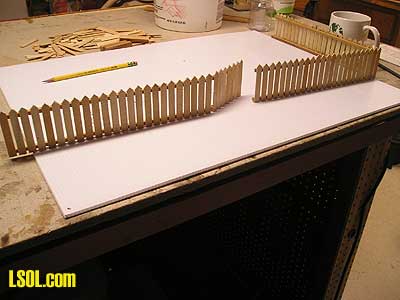
I took a ceramic tile 16x16 and used it for making the fence. The reason for the tile is so I can stick the rails for the pickets to the tile using Mini Hold.
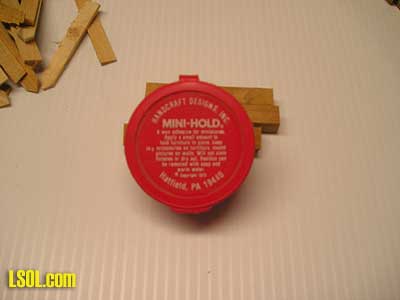
I put a piece of tape on the tile for a gauge. From the top line to the bottom line it measures 2 inches. I put the square on the bottom line and set the rail piece (I mentioned it earlier) against the square with Mini Hold. 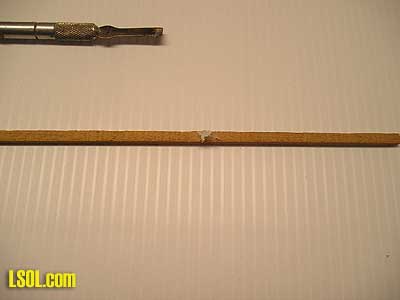
I repeated this step for the top rail also, this gives me the top rails parallel to each other. 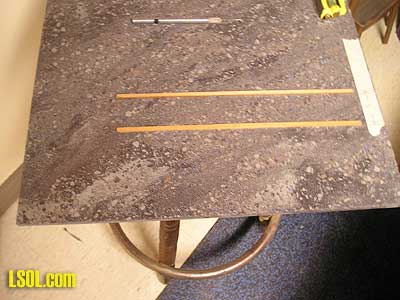
Next I took a piece of scrap and put it parallel to the 1 rail (bottom) with a 1/8-inch space. 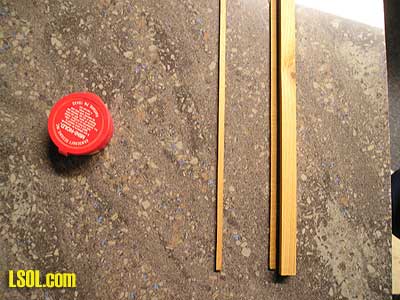
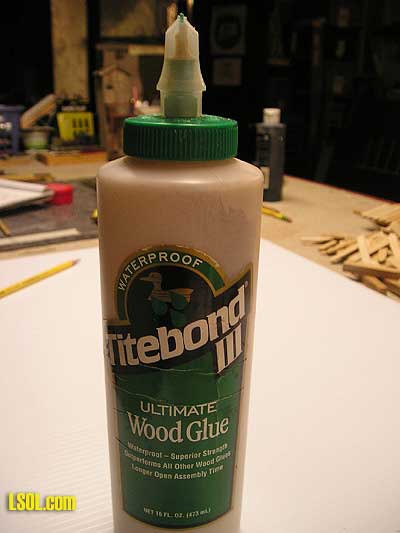
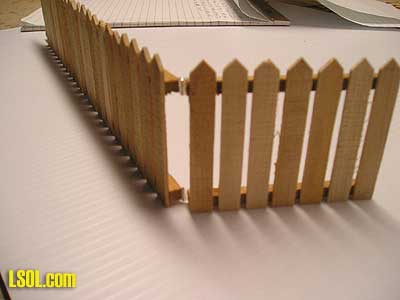
That piece is 1/2 x1/2 and that is so I can put the bottom of the picket to it and it keeps the picket height pretty straight. I started gluing the pickets left to right on the rails using TITEBOND 3 waterproof. glue.
I set the pickets with a 1/16 space between the pickets. I did it by eye but one can use a 1/16-inch spacer. If its crooked all the better I don't want it looking like a piece of fine furniture. Let me mention here that your rails can be as long as you wish. Mine are 12 inches long. 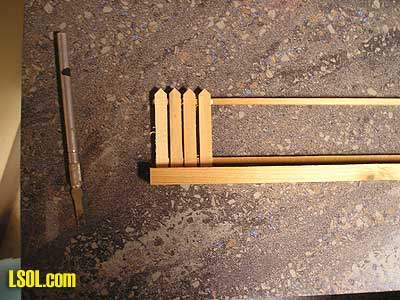
Well this section of fence is done. 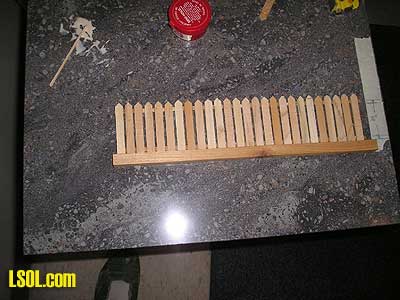
I made 8 sections and something was missing. Oh yes, what is a picket fence without a gate? The gate can be made several ways. I choose to make a section 3 inches long. Once that section was made I just took nylon hinges.
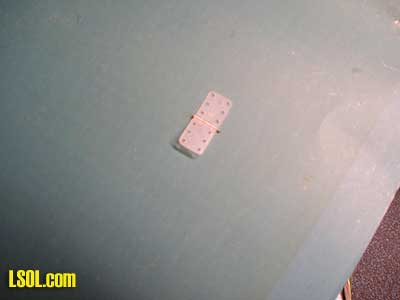
and cut them in half and installed them. I used common pins for the nails on the hinges. I installed it on a 12-inch section of fence. 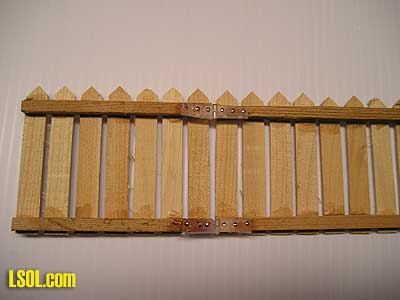
There is Warren on his way to work at the Ice House. 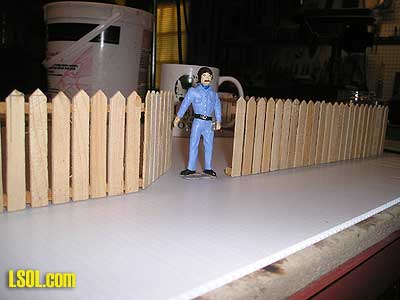
The picket fence will look good around structures, junkyards, and play grounds. This was a simple project and it was fun, give it a try the fence will look good around your buildings. Top of Page
|


