Scenery
:
Buildings
Build: General Store, Filling Station and Garage
Sep 10, 2008


By Bob Gentile |
Author
Bio
In this article I will be building a garage, filling station and store all combined. This is a simple building that anyone who has a desire to scratch build can do easily.
|
In a previous article we discussed uses and methods of using CORO PLAST . In this article I will be building a garage, filling station and store all combined. This is a simple building that anyone who has a desire to scratch build can do easily. It is a very friendly material to use. I will warn you here that building with CP is fine but it is very light. It will need weight and in this article we will discuss how I added weight to the building. The filling station was a common structure in the 1920's, 30's and 40's. They could be found in rural areas of our country and may still be in some areas. It was not uncommon to see filling stations and General stores combined. On a trip recently in New England I did come across one and was impressed with it. I did not have my camera loaded to take a photo so this is going to be building by memory with no photo. Not a problem for me. 
These are the tools I will begin this project with and are commonly found tools in your workshop, except for the PLAST-KUT knife. In the building process I will more than likely be using and gathering more tools. This tool can be purchased in the LSOL by call them toll free at 866.576.5266 if you missed the last article I mentioned it there. This is not a sales pitch nor do I claim to be a salesmen. This was a very handy tool during construction of this building.
I will be using either Marine goop or outdoor goop that can be purchased at most hardware centers. In a conversation with supporting LSOL member Elaine Haggenbottom, we discussed the use of goop. Her feelings on the goop was that the odor was to strong for her environment. I agreed that it did have a strange and strong odor. So if you use it, use it in a well ventilated area. Keep in mind that this is my first attempt with this material. I am using this glue because I have had great success with it. I used a black magic marker to mark the sizes of all the pieces for the building. 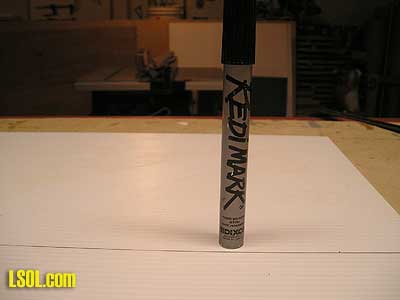 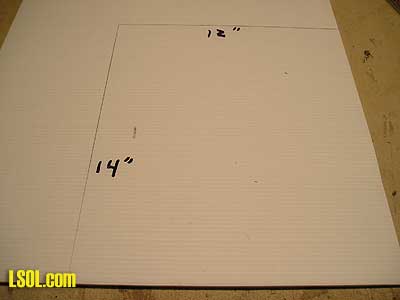 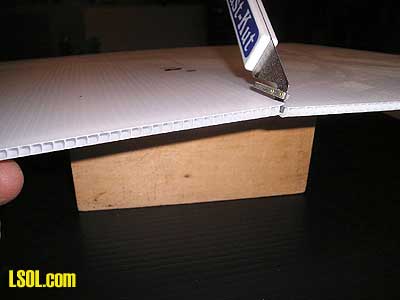
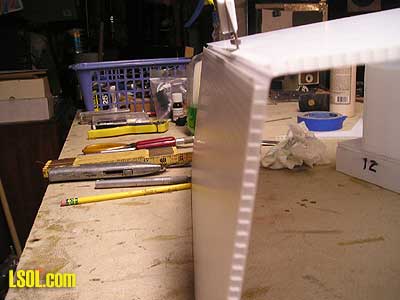
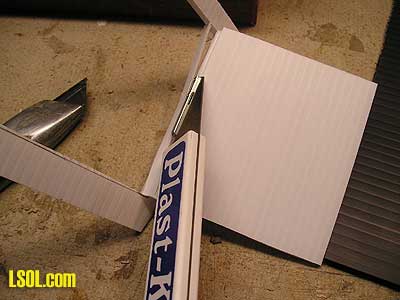
I will cut my pieces with the Plast-Kut knife for vertical cuts and the utility knife for horizontal cuts. The lines I drew, just drag the PLAST-KUT knife top to bottom vertical with the tube. 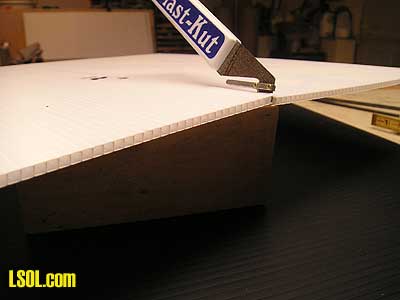  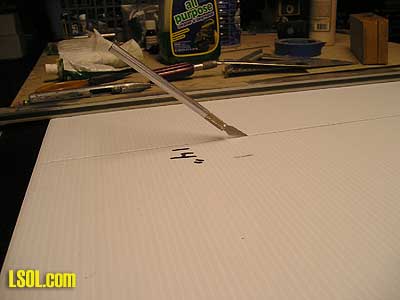 I say tube referring to the corrugated part of the CP. Horizontal cuts are made with the utility knife. I cut half way into the board and turn it over and cut the remaining with the PLAST-KUT knife.
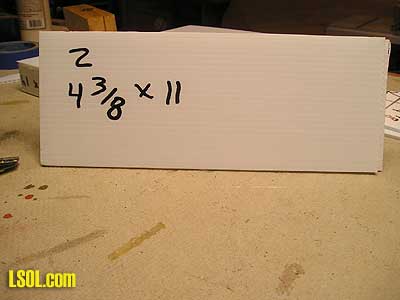
My next step was to cut pieces for a foundation. 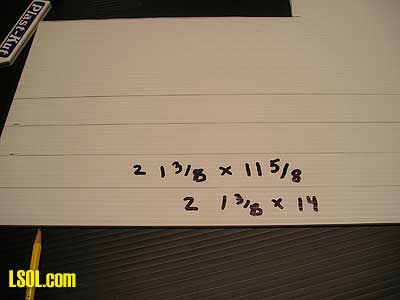 I wanted a foundation to get a step effect in front and to have porch in the front also. The sizes for the foundation are 2 pieces 1 3/8" x 11 5/8". Next was 2 pieces 1 3/8" x 14" inches. Suggestion here, try and layout your building whatever it may be so that your cuts fall in the center of the hollow tubes, makes it much easier that way. 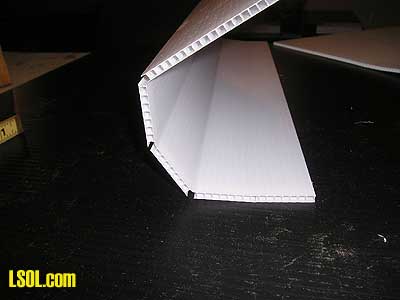
You can see how I cut into the hollow part of the board. Once I made my cut turn the board over and cut the back side and I had my cuts made.  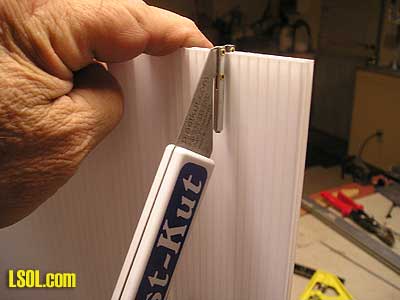 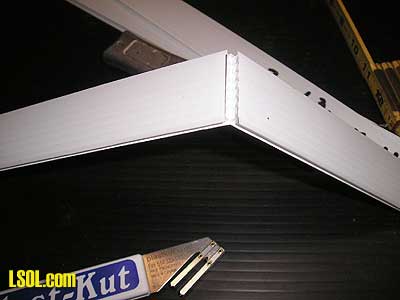 Here I cut the lengths of the foundation across the grain halfway through. I then turned it over and cut the back side, use the PLAST-KUT knife as often as you can it makes the job easier to do.
I glued the foundation to the base. 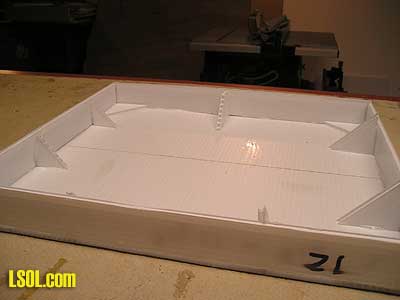
I first cut some 45 degree braces, use scrap pieces and glue to the edge of the base. Once your braces are glued and have dried, glue it to the base. I will now cut the walls for the building, 2 pieces 11" x 7 3/16" and 2 pieces 11" x 7 3/16". 
 Excuse me this typing is getting my petite little fingers tired, I need to take a break, be right back. I am back and nothing like a fresh cup of coffee.
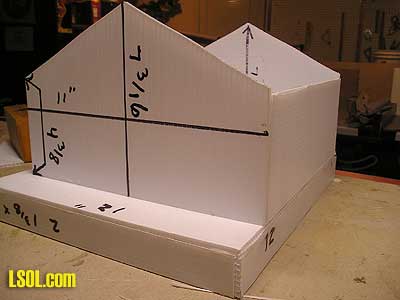 Okay, I cut the peaks on the 11 "x 7 3/16" pieces front and back walls. Make a center line from the top down. Next make a mark 4 3/8" from the bottom, make this line horizontal across the wall. From the 4 3/8" mark on the edge of the wall make a line up to the center line at the top of the board and it will give you the pitch for the roof. On the front wall mark and cut 2 windows 3" x 2" inches and one door opening 4" x 2". Cut the openings at this point. Once you have your cut outs glue a piece of plastic over the entire cut outs on the inside of the wall. 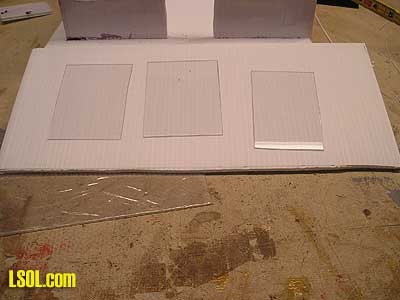 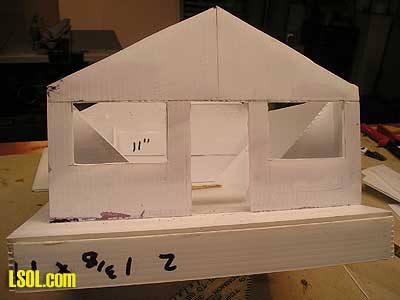
Once the plastic was installed I sprayed the plastic with Dull-KOTE. 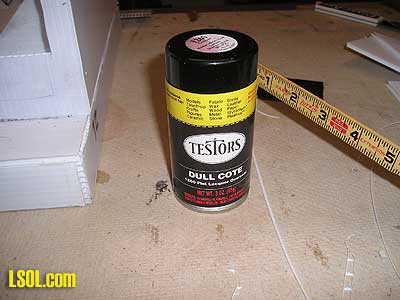
My next step was to get some weight into the building. I took a full size brick cut it in half and I used silicone to glue it to the base on the inside of the building. That will keep it from blowing over in bad weather. 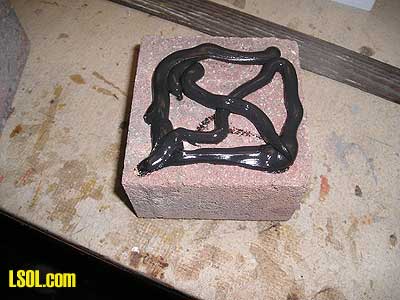

This is getting to be fun. My next step was to make the roof. I cut a piece of CP 13 3/4" x 12 1/2" . Be sure your hollow part is running front to back. Get the center line of the roof and make 2 cuts down the center next to each other the length of the roof in the hollow part. 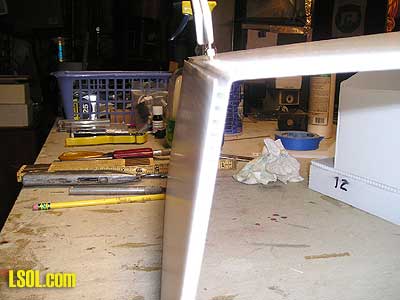
Once I completed that I cut the hollow parts in the 2 cuts I made and you can see the space in the inside of the roof. 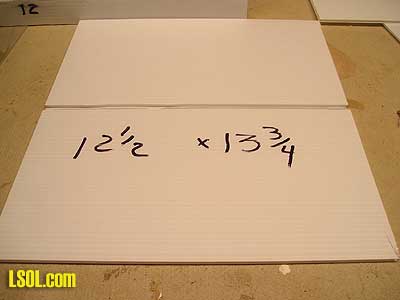
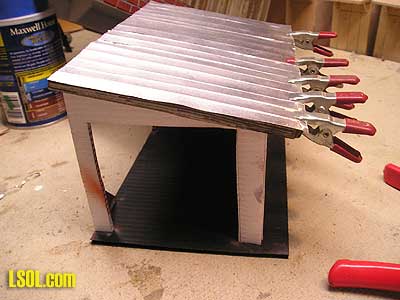
I folded the roof and glued it right to the building. 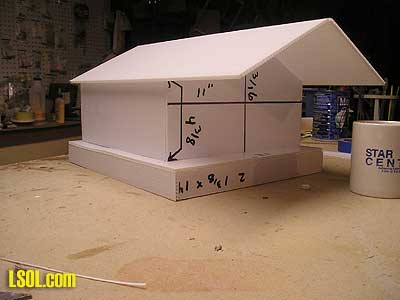 In this photo you will notice a large overhang on the roof. BIG MISTAKE, so I cut it down to 12 1/2" x 13 3/4". Hey I make mistakes just like everyone else that is why they have erasers on pencils. Are you wondering about the openings for the windows and doors and where I glued the plastic over the openings? 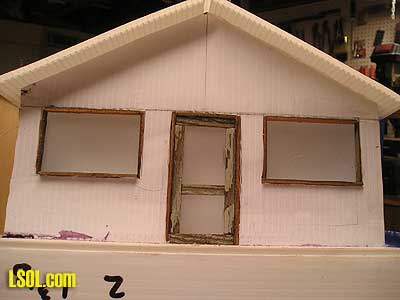
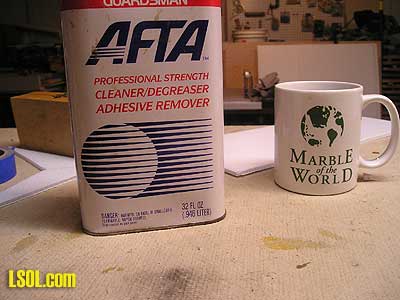
Just cut some strip wood 3/16" and glue it to the edge of the CP making sure the strip wood is against the plastic. I did the same for the door and the other window. If you get a little glue on the plastic don't panic. There is a cleaner, solvent called AFTA used for taking spots out of carpet. Just with a damp rag wipe it off it will not harm the plastic.
My next step was to cover the foundation and my choice was to use plastic brick sheets made by Precision Products. I had a sheet of this material from a earlier project I had done. I save everything but it does come in handy and call me a pack rat if you wish. I installed it. 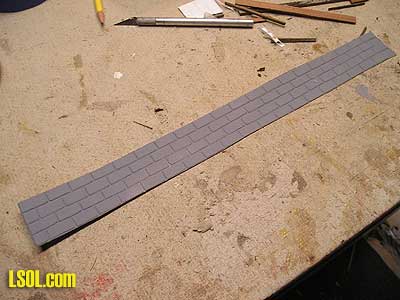
Then I primed it with KRYLON paint. 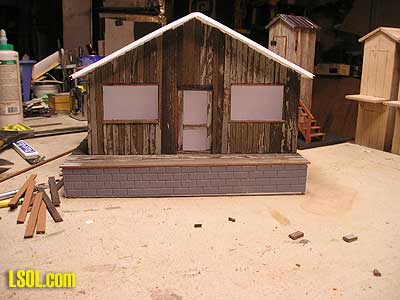
I will not get into too much detail on covering the CP with the strip wood. It is a simple step gluing it to the CP. The strip wood was cut to 5/16" wide and installed. Notice in the photo the windows and doors are trimmed with the strip wood also. 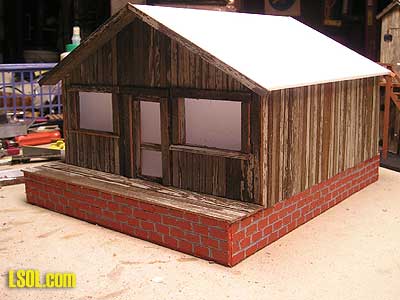
The windows and doors are a simple procedure. The roof material is a thin sheet of metal given to me by supporting member Wes Smith on a recent visit to his home. 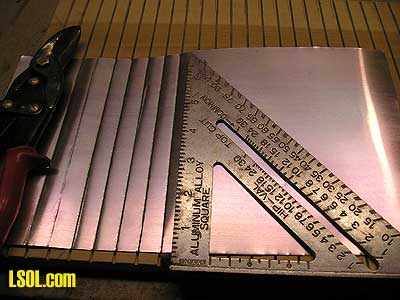
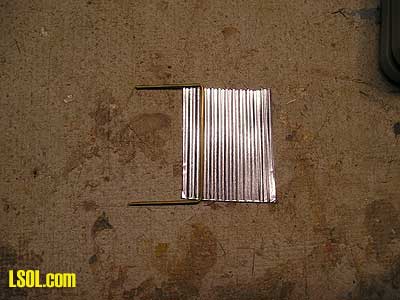
In this photo you will notice a jig. That jig is a piece of poplar wood with grooves spaced every half inch and 1/8" deep. It was cut on the table saw. I measured half of the roof and cut a piece of metal and put it on top of the jig and with a speed square I made the grooves.The square keeps the grooves parallel to each other. I used a spline tool that is used for replacing screens. 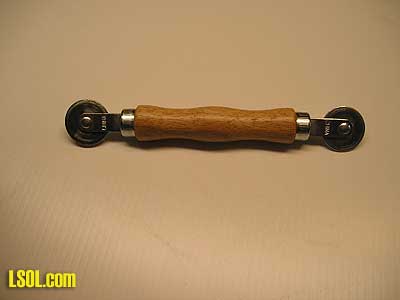
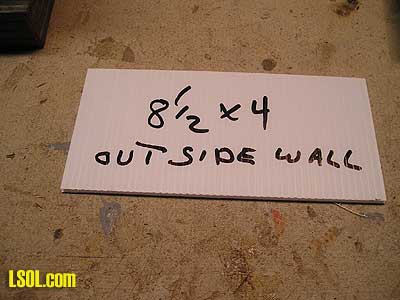
Just rolled on the side of the square to make the roof material. I did this gently, 2 or 3 passes to get the depth I wanted. It was then placed on the roof. 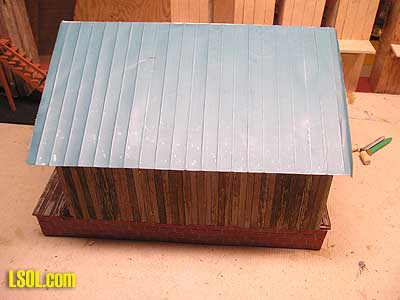 What do you think? Not bad for the first time. If you are wondering if I will weather it, no doubt I will. Next is the Garage, OH NO!! It's The War Dept, (my wife), calling me for dinner, be back shortly. Well that was fast and dinner was good as always, (Pasta) Okay the garage is small because I am going to add on a junk yard next to it and I will be using it on my modules. Real Estate is at a premium so I had to shrink the garage a bit. The Garage is simple, the front and rear walls are 5 1/2" x 5 5/16" and the outside wall is 9 1/2" x 6 1/4". The base is 9 1/2" x 6 3/4". I cut a door opening in the front 4" x 4" inches. 
My next step was to glue the walls to the base. I used the same procedure as in the main building. 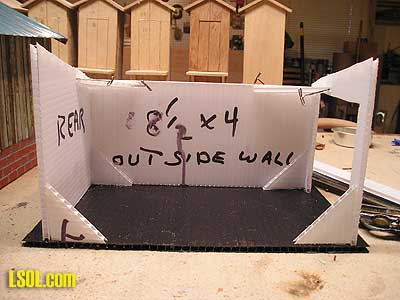
I covered the 3 walls with the strip wood. Notice there are only 3 walls because the side with no wall will be against the main building. Let me mention here if you make a building with CP and use a magic marker you will need to remove it before painting. AFTA will remove the markings. This photo shows the garage on the side of the building. 
At this stage of construction with the building done, I started putting some detail parts on.
Here is the installation of a canopy over the door. I took a scrap piece of corrugated tin laid it on the table and made a U shaped bracket the width of the tin and door. Next I folded the tin over the U shaped bracket. 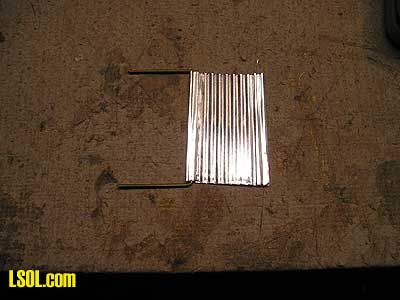
I drilled a hole on each side of the door and installed the bracket in the holes. The top part of the canopy I glued to the top of the door trim. 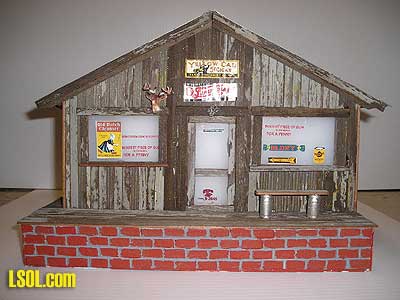
This is a cool way to paint small detail parts. The 2 milk cans will be used as a base for a bench seat. I had to paint the 2 cans so I took some Mini Hold (A wax for holding small parts), put it on the bottom of the cans and stuck it to a scrap piece of plywood and sprayed the cans. Using this method keeps small parts from moving when spray painting. Mini Hold can be purchased at any craft store.
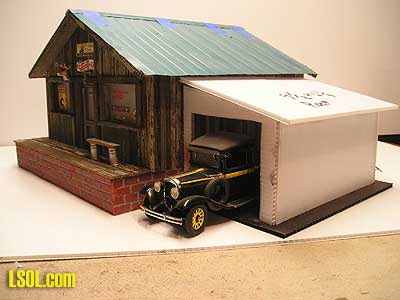
These photos show the building complete with some detail parts. Notice the deer head on the front wall. The gas pumps in front are a nice touch. 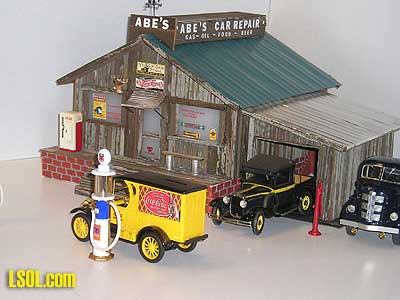
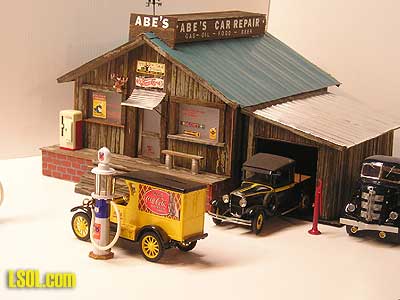
Those pumps can be purchased at the LSOL store and they are very neat. I enjoyed working with the CP and I see no problem with this building withstanding the outdoor elements. Would I make another building with this material? Yes, there is no doubt I would.
| Combo Building |
| Nice Bob, what are all the 'outhouses' in the background ? |
| Joe Wilson - 09/10/2008 - 05:15 |
| Nice |
| Great job. Had not thought of using CP plastic for buildings. I'll try it. However, you need a wheelchair ramp to make your building ADA compliant. (Oh yea, that didn't exist in the 30's). |
| Bob Freeman - 09/10/2008 - 09:13 |
| Interesting Building |
| Bob, aka Gator, aka The Wood Butcher. Great job as usual. Easy to follow directions. Even I could probably build a structure like that. JD |
| JD Miller - 09/10/2008 - 16:15 |
| Building Looks Good |
| Hey Bob, you did a bang up job on that gas station. That CP makes a nice looking building. Ron |
| Ron Hill - 09/10/2008 - 19:31 |
| Why should we be surprised? |
| Why should we be surprised at another Great Building from the Master Builder? Fantastic looking store, etc. Bob.. Hadn't remembered you using plastic for the windows and doors, nice and easy touch. An update on your inclusion of my thoughts on Marine Goop: either I'm getting older OR getting used to it, but the smell doesn't bother me any longer!! And the large tube boggled my mind, but after hearing from David, I've discovered a popsicle or metal tool puts it where I need it, in small globs.. I have noticed the Marine one has kind of disappeared OR been replaced by an "outdoor or All Around Goop". Fun to read your informative articles... Thanks, Elaine |
| Elaine Haggenbottom - 09/12/2008 - 08:11 |
| Coroplast |
| Bob, I did not catch your earlier article about building with Coroplast. Where do you get it? I have bought signs from sign companies using the material, but I have not seen it available at retail. I have several building projects coming up that this would be perfect for the base structure. Thanks for the great idea. Bob |
| Bob Freeman - 09/14/2008 - 18:02 |
| Coro Plast |
| Bob I got the coro plast at the local sign co here town.Try it was fun working with it. I have never seen it in local stores,I think you really have to go to sign Co. Bob Gentile |
| Bob Gentile - 09/15/2008 - 04:05 |
| Comments |
| Anything this man came up with was always very interesting. And you are right Jon, I have collected many of the voting signs, and used them on many of my house re-do's. Altho I've never created a building with them, the signage is extra special. We'll miss all of the great contacts on this site... Thanks for the memories!!! |
| Elaine Haggenbottom - 12/11/2013 - 07:00 |
Top of Page
|


