Scratch & Bash
:
Accessories
More Cheap Accessories: Better Boxes!
Mar 17, 2004


By Bob DeForge |
Author
Bio
A recent article by Jo Anne DeKeles about inexpensive boxes prompted me to write about another way of making boxes for your garden railroad layout.
|
A recent article by Jo Anne DeKeles about inexpensive boxes prompted me to write about another way of making boxes for your garden railroad layout. 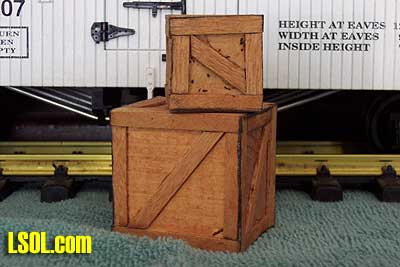
Materials for this project are inexpensive, as the basic boxes are cut from scraps of wood. If you have a supply of wooden coffee stirrers and some waterproof glue, then you are all set to build boxes for your layout that will stand up to the weather. 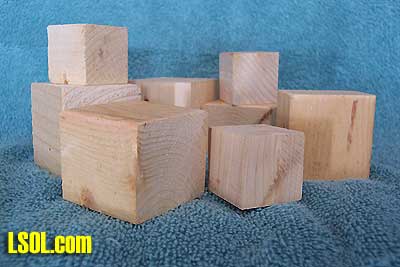 Cut some pieces of scrap wood 1.5 inches on each side. You may also cut some that are 1 inch on each side as well as any other size that suits your needs. You can also buy pre-cut blocks at the local craft store.
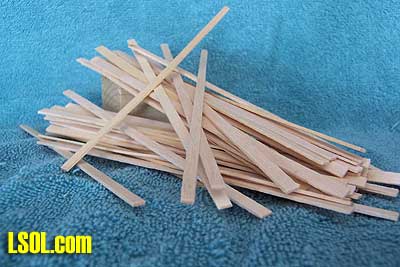 Get a supply of wooden coffee stirrers. You can find these in the supermarket in the coffee aisle. Sizes approximately 5.5”long x 3/16”wide x 1/16”thick. Cut these to size for each side of the ‘box’ of wood. At this point, you need to decide what your favorite way is to cut the coffee stirrer wood to size. I found that using diagonal cutting pliers was the fastest way to get the job done. You may choose to use a modeler’s small miter box and back saw or even a power tool such as a small bandsaw, or scroll saw. Watch your fingers! Cut several pieces so that you can assemble several boxes at a time.
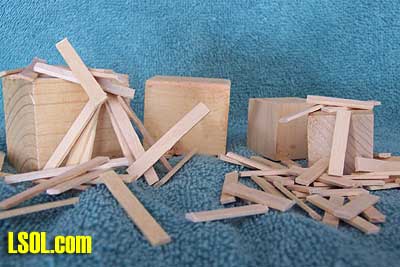 The next step is deciding which kind of glue to use. If you want to get these boxes done and placed on your layout quickly, use something like Quick Grab or Duco wood cement. If you want those pieces to be forever bonded, use Gorilla Glue or some other waterproof glue. If you use Gorilla Glue, may I suggest you wear disposable latex gloves, as the glue really sticks to your skin until it eventually wears off.
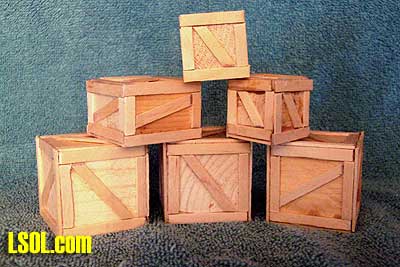
When using the waterproof glue, your patience will need to come into play, as the glue does not ‘set up’ quickly, so you’ll need some handy rubber bands to ‘clamp’ the wood trim pieces to the blocks. If you are using Quick Grab, you can move right along and get the block trimmed up quickly and ready for finishing.
Now that you have your blocks of wood trimmed, let the glue dry thoroughly.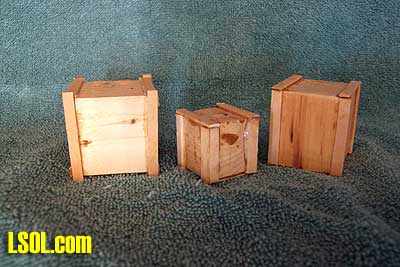
Next you’re ready to apply some sort of finish. I have used Clear Wood Finish (CWF). Thompson’s Water Seal or something similar can also be used. (0031) You may choose to weather the boxes with dry brush techniques, or some other method. I left mine to weather naturally outside and they darken up nicely. 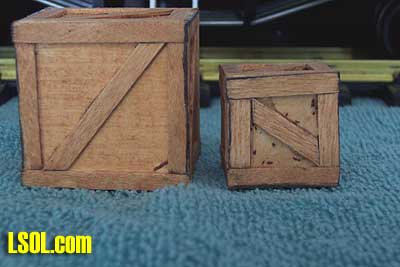
The real advantage to this method of building boxes is that they may be left outside on the shipping depot platforms, in the back of a pickup truck or wagon without concern for their falling apart quickly. If a piece of ‘trim’ loosens, it can be quickly reattached with a bit of glue. You can also custom cut and build boxes for your particular layout needs without paying out large amounts of cash ‘a la e-bay!’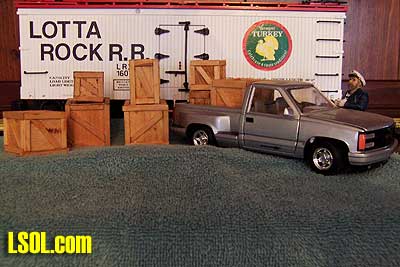
Top of Page
|


