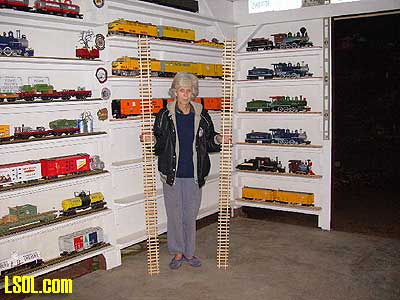
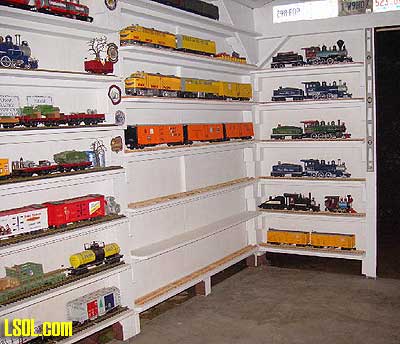
I don't know if you're like me, but I built 225 plus feet of shelf space for storage for my engines and rolling stock. And of course you have to have track to set them on.
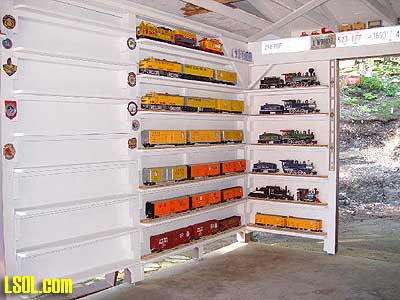

One day I needed a piece of track and what I had in my track storage area, would not fit. So I took one of the pieces off the train shelf and it was a perfect fit. That's when the light bulb went on. Why was I using good track on the storage shelves that could be used on the railroad?
I thought, why not use cheep aluminum track? After some price checking (anywhere from $1.00 to $2.00 a foot), I thought why not make some out of wood?
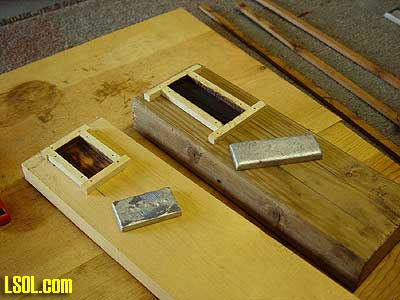
I took a small piece of pine, 1"x 8"x 24" long to use as a template to see what it would look like. I took a piece of Aristo track and traced out the outline of the track on the template and colored it in with a felt pen so I could see it. It's hell getting old and blind at the same time. This became "Template, Mark 1. Mod. 0"

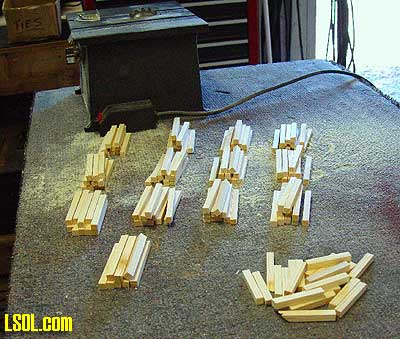
Right off the bat, I could see this was going to be time consuming! Cutting the rails was not that hard. I made the first ones 3/8" X 3/8". But then there were the ties! They were cut 3/8" x 3/8" x 3 1/2" long and I only needed about 8 Bazillion ties!
I knew after the first "test" track ( "Track 1. Mark 1.") , that I may have created a monster! I only had to cut up about 110 rails in different lengths from one foot on up to 104".
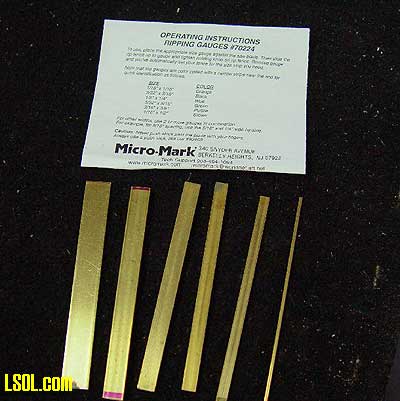
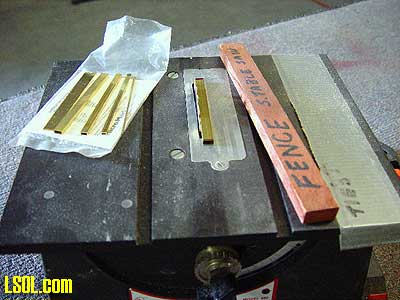
The set up on the Dremel wasn't all that hard. I have a set of "ripping gauges" that I found in the Micro-Mark catalog a few years ago. They save a lot of time when you're setting up to rip in small measurements.
They are still in the catalog, part #70334 - $13.95 a set.
Then it was time to cut bait or cut ties.
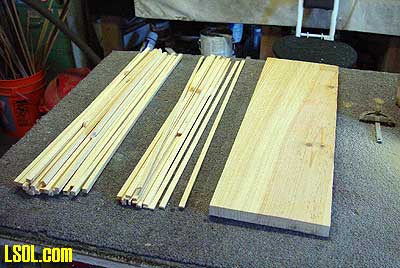
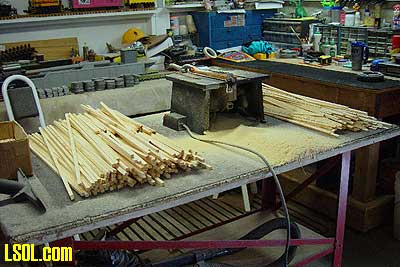
I ripped a ton of boards down to 1/2" on my trusty Craftsman 10' table saw, and then finished them off on my small 4" Dremel table saw. A short word about the Dremel: They don't make it anymore! Back when I got mine in the early 70's, I think it was around $79.95. Now 30 plus years later, I would be lost with out it. Micro-Mark still sells the blades and drive belts for it.

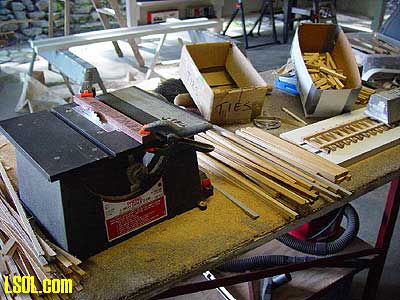
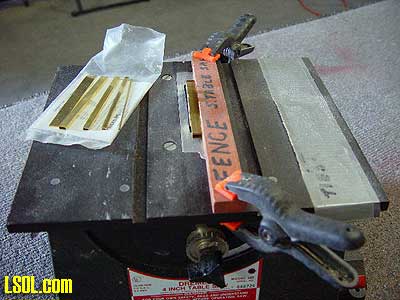
The cut off for the ties was easy. Taking a strip of silver tape and placing it 3 1/2 inches from the blade gave me an easy cut off point. After a little trial and error, I was able to cut off 2 ties at a time.
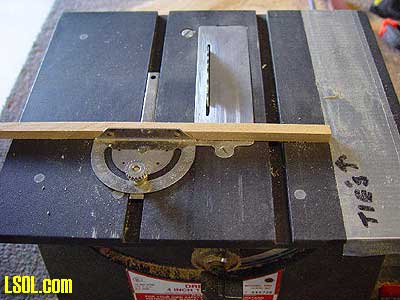
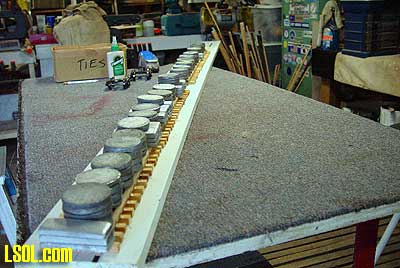
I also needed a new track template at about this time. Using a 1"x 8" x 8' of decent pine, I filled the knot hole with putty, sanded it and double coated it with 2 coats of white latex primer. Took some track, traced it out and "Template, Mark 1. Mod. 1" was ready.
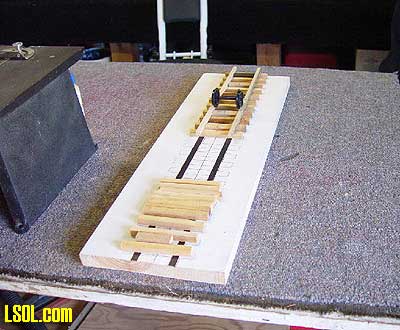
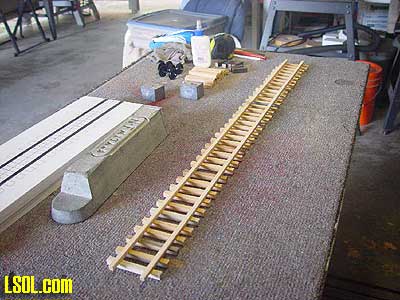
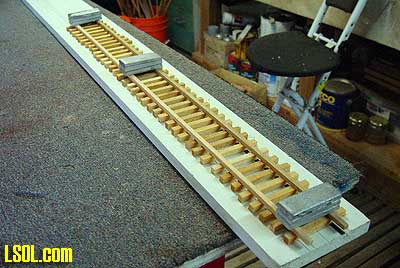
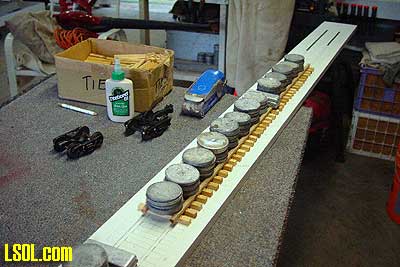
Now for the fun part, laying down the ties. I just took my time and put them down in the tie area on the template.
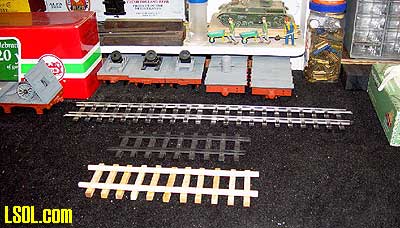
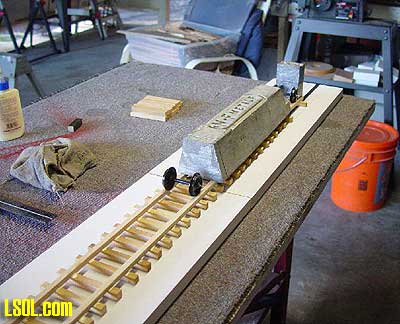
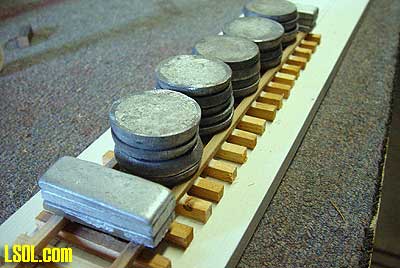
They will move, but you can get them in order before your glue the rail down. A good way to gauge how many ties you need is to lay a piece of rail on the edge of the template like in the photos below. This will help you determine how many ties to put down.
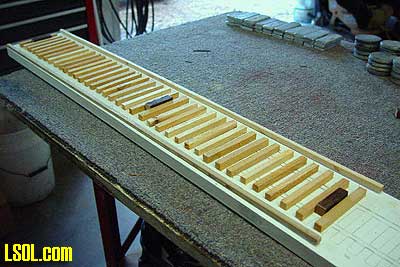
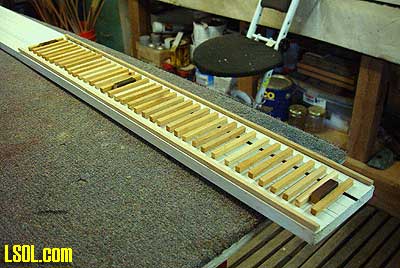
The little dark spacers you see are used to keep the rail at the right width when you glue and hold the rail down with weights. They are 1/2"x 1/2" x 1 3/4". On a short rail (1' to 2') I put a spacer inside the first tie on each end and one in the center.
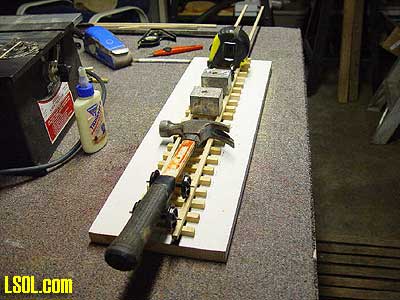
The first few sections I made, I used anything for weight! Hammer, tape measure, the weights for my Dash 9's.
Then one day the light bulb went on again. I have a small melting pot. Think the cost was around $50.00 and it came with a pair of heavy duty work gloves. I picked it up at www.webmolds.com I have used over the years to pour molds of model soldiers, cannons, and other little trinkets. Why not use it to melt down some tire weights to use for "track" weights.
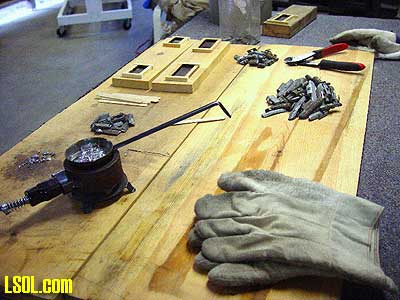
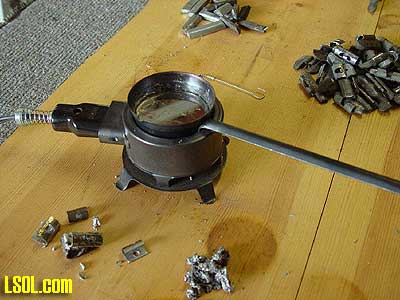
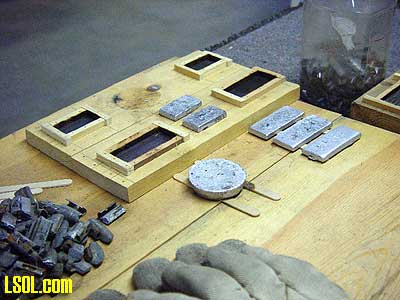
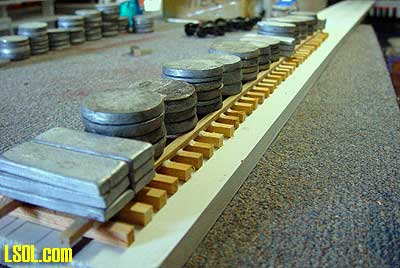
To make the round weights, I just filled the ladle with lead and melted it, then let it cool for a few minutes then tapped it out on to a wood surface to let it fully cool.
A little disclaimer here! If you're going to melt tire weights, have plenty of ventilation and wear a respirator! Wear gloves when handling the weights and wear HEAVY gloves when handling the hot weights. The fumes from the melting process is NOT good for you! And be sure not to lick your fingers after!
The other weights were hand made. Real simple to make. See the pictures. The wood will burn and char from the hot metal, but hey, after 30 or so weight's, make another one.
And now, back to making track.
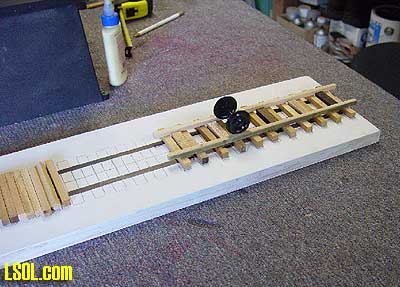
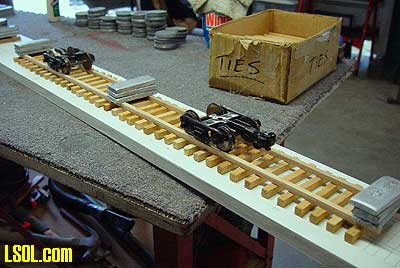
Once you have the ties down and the spacers in place, you gently lay the rails down as close to the ends of the spacers as you can. Then take some weight and put it on top of the rails at each end and in the center. Once I had the weights on, I would start at one end, lift the weight and make sure the rails were snug up against the spacer. Then I took a set of train trucks and made sure it moved freely up and down the rails between the weights.
While you are doing this, the ties will have some movement. Trust me, they will move! Now is the time to go back and get them straight again. Do short sections at first until you get the hang of it.
Now to start the gluing. I used Titebond lll as the glue of choice. It takes a while to dry and dries clear to some degree. And you can move the ties around a little if you need to, before you load the rail up with weights. You do not have to use a lot of glue. Just a gentle squeeze on each tie does the job.

I do one side of the inside rail first, then the outside of the second rail. Then I go around to the other side of the table, do the inside rail and then the outside rail. Again, some of the ties will move. You can adjust them as you go.
Do a section, put on some weights...... do a section, put on some weights... you get the idea. It really goes faster than you might think.
After the track was weighted down, I would let it set for at least 4 hours, depending on the temperature, before I started taking off the weights. But before you take off all the weights, you need to glue the two end sections and the center where you first put the weights on. Ya forgot about them didn't ya? A way to get around this, is to move the weights on the end and the center, after you have loaded the rail with weights and glue them, then put the weights back on the ends and the center. Saves maybe 10 minutes in the long run.
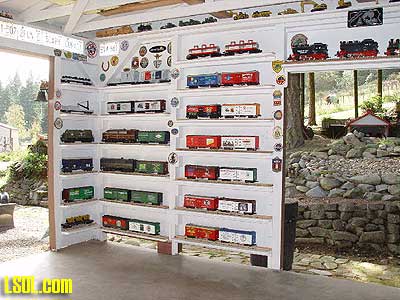
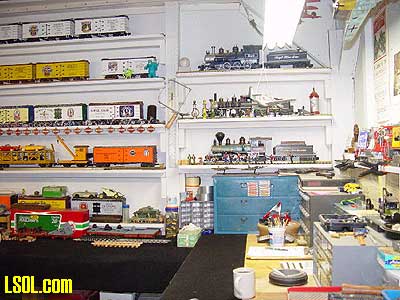
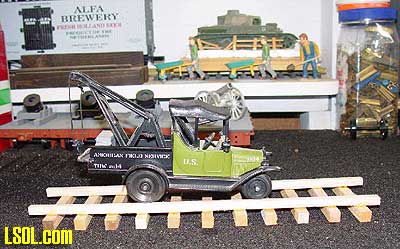
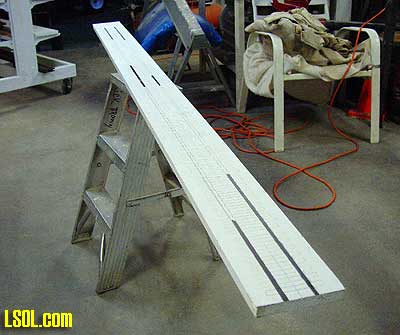
In most cases, I put the rail on the shelf and loaded it up with cars and engines.
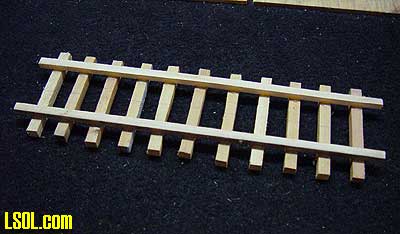
You can stain the ties and rails, or paint them. If you choose to paint/stain, do it after you get the track/rail glued just to be on the safe side and make sure the glue holds. I chose to leave mine natural.
With this little project, I freed up well over 225 plus feet of track I can use on my railroad.
If you are confused on any aspect of building your own wooden rails, just post your questions in the forms or e-mail me by way of LSOL.