Installing sound in our Dash-9 locomotive has really changed our perspective on Garden Railroads. We have one engine with some analog sound. It was several years ago and I had to cut a lot of wires to install it. Plus it never worked just right when we ran it. The Phoenix 2K2 board has great sound right out of the box and it is easy to install in a newer engine. So far it has run flawlessly. Speakers
An amplifier is only as good as the speakers that it powers. The larger the speaker the better the sound. When we mean large, it is not just the physical size that counts, but the size of the magnet that powers the speaker.
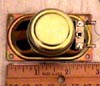
At this point I did not feel like removing the speaker in the Aristo-Craft Dash-9 as it looked like a big speaker and I did not think I could find a bigger one to fit in the same area.
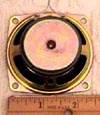
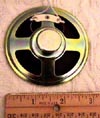
Phoenix Sound has several aftermarket speakers you can install.
In your case your engine may not have even come with a speaker, or the one installed at the factory is small. A cheap speaker will give you cheap sound. If you have ever seen the speaker inside a personal computer you will see a small speaker with a small magnet. Good for beeps, not good for horns and bells.
Sealed Enclosures
Another area that is important is having a good enclosure. "Straightforward in design, the sealed box is nothing more than an airtight enclosure whose purpose is to enhance speaker performance. When a woofer is installed in one, the sound waves that emanate from the front of the speaker cone are separated from the rear-firing waves. This improves bass response, since opposing waves can cancel each other out when they aren't isolated. Superb damping, good power-handling capability, and simplicity of construction make the sealed-box enclosure an ideal candidate for a variety of installations." Copyright ? 2002 by WHE Inc
Sealed enclosure acoustic suspension designs are airtight. The drivers are connected to the enclosure and sealed so that no air moves past the driver to the enclosure's interior. The enclosure itself is also completely closed to outside air. A sealed enclosure is like a room with no windows and no doors, there is no way for air to enter or exit. Sealed or acoustic suspension enclosures represent a compromise, they offer superior bass response and the most accurate sound reproduction possible, but they are the least efficient form of enclosure. They require more power than other enclosure designs to generate a given sound pressure level (volume), but they will produce sounds with the greatest precision.
This was an area I knew I could take some action. There was lots of space around the Dash-9's installed speaker to put a sealed enclosure to help improve the sound. Go here for complete details on How Speakers Work - Sealed Speaker Enclosures
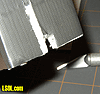
Well I opened up the Dash-9 again. It did not take very long as I had not put all the screws back in again. By now I had opened the unit up a dozen times so I was getting really good at it.
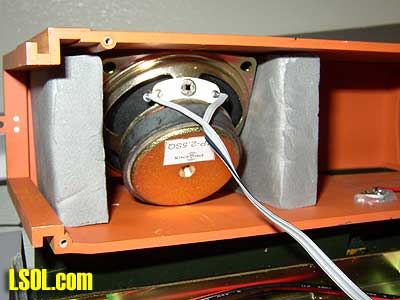
The speaker on the Dash-9 is located at the end of the unit. The sound comes out of the vents at the top in the back of the unit.
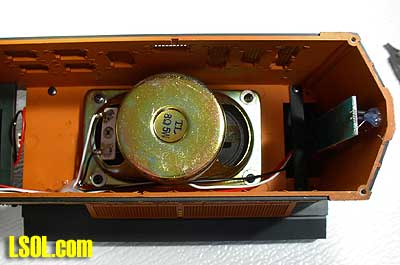
You will notice that the speaker is sitting in a very large hollow space in the Dash-9. Based on previous experiences I figured I would build a simple sealed enclosure around the speaker to make the sound more robust.
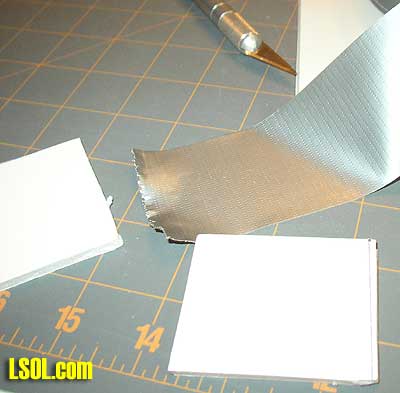
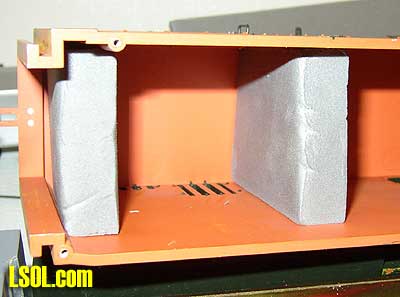
I really did not need anything sophisticated. I just needed to build a box that I would be able to seal to keep the sound inside. I went for my three trusty building items; an Xacto blade, some foam core board and some duct tape.
Using a ruler I made some rough measurements. I want to make the box long enough so that the metal channel on the base of the Dash-9 would push the box up to the top of the Dash-9 to make a good seal.
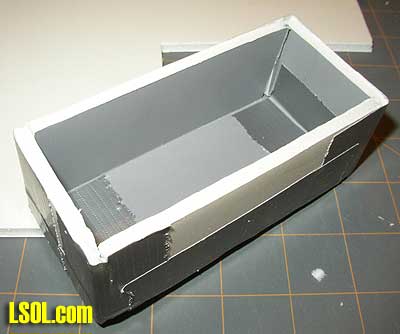
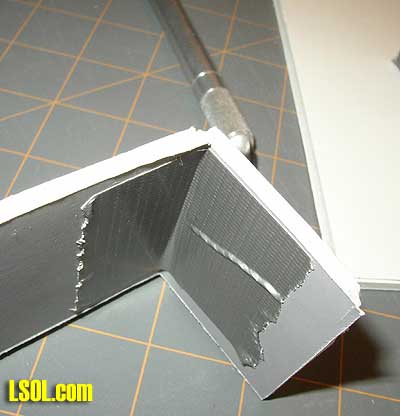
The finished box I sealed in duct tape on all sides inside and out. This would make the box as air tight as possible.
I did cut a small tab on one side to let the wires through. I would take a small piece of duct tape and seal this once the box was in place.
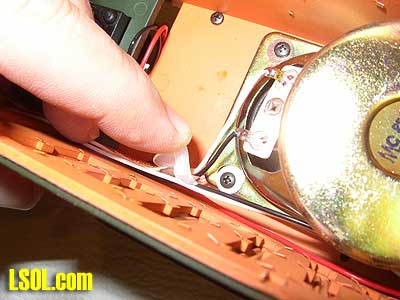
On my Dash-9 some wires were glued to the side of the unit. This would not allow the box a seamless fit to the side wall. I removed the glue and placed the wires through the tab I had made before. Be careful as there is not a lot of slack in the wires when you move them.
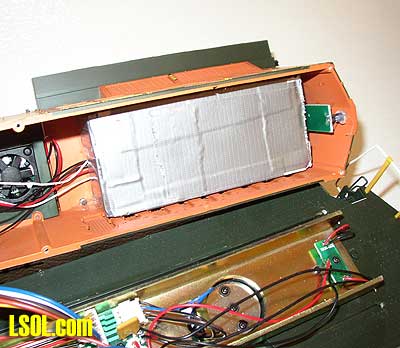 Here is a look at the box in place. Here you will see how the metal channel will hold the box in place to the top of the unit.
Once we placed the unit back together we tried out the sound. WOW, what a difference. The tinny like sound was replaced by a deeper bass sound. At full volume, inside the house, the noise was deafening.
One thing I still did not like is that all the sound was coming out of the back of the unit. It was obvious that the sound was coming out of a speaker from the top of the engine.
Second Speaker So.. I opened it up again. I had not replaced any of the screws during the test period so it was a matter of popping the top. I looked around inside the unit and noticed that there were some vents in the front of the Dash-9 on both sides of the unit.
I did not feel like building another box, so I looked around and found some thick foam that the Phoenix sound card had come packed in. I cut myself two pieces and glued them on either side of the open vents in the front of the engine.
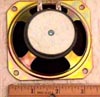
As we had not used the speaker that came with the 2K2 sound board we used it here. We fit it at an angle in the opening and cold glued it in place. We attached the wires to the 2K2 sound board so that it would power both speakers.
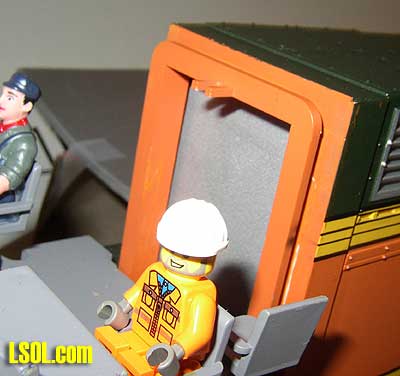
Here is a view before we put the cab back on. (That's Bryan Lego man that helps drives this Dash-9) When the cab is on and you look inside the gray just blends with the rest of the inside of the unit.
We then put the unit back together for a test run. Man, what a difference. The sound was still louder in the back, but there was an over all sound coming from the whole train. When the horn blew it sounded like it was coming from the middle of the train. The engine sounds and bell sounds were more balanced as well. The two speakers did a much better job than just one. They really brought out the full sound of the 2K2 board.
Let me know if you upgrade any of your current engines with these ideas. Take pictures as it might just make a good article for someone else to follow.
Top of Page