A couple of months ago, I received my monthly issue of Mainline Modeler and it contained the first of three articles on Baltimore & Ohio Railroad speeder sheds. Since I had an ARISTOCRAFT Brass Speeder and Trailer and nowhere to house it on my railroad, I thought I would scratch build a shed for it using those three great articles.
Later I was looking on the internet for some parts for another project and discovered that Ozark Miniatures http://ozarkminiatures.com/newhome.htm was offering a new speeder shed as part of the line from their John Mower series. Hmmmm - if there was a kit for a shed, it should be easier to build than create one from scratch.
So I ordered the $29.95 kit from Ozark Miniatures and will now review the product and provide a step-by-step view of how I put it together. I ordered the kit from the Ozark Miniatures website and it arrived in about two weeks. All of the parts came in a large plastic bag.
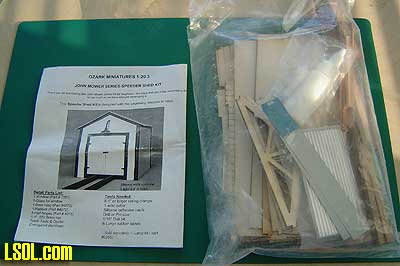
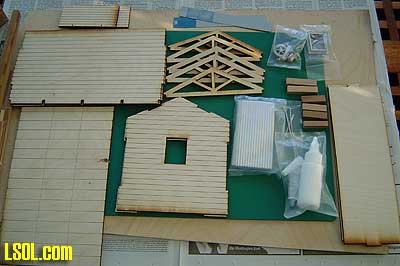
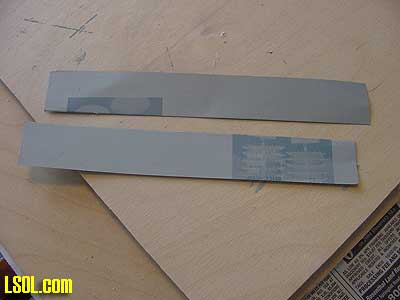
The kit includes a red cedar floor, sides, ends, rafter frames, trim material, roof, doors and the framing for the foundation.
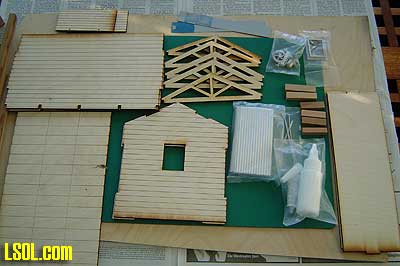
It also includes: corrugated aluminum for the roof, a cast metal window, door hinges, latch and padlock, a small cast "junk" parts and two small pieces of plastic to be used for the roof cap.
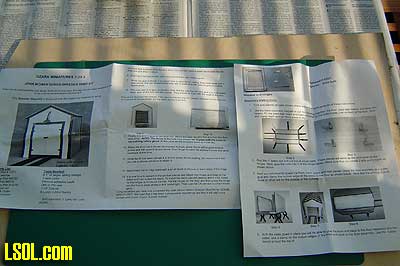
Also included are two sheets of instructions and drawings of the model.
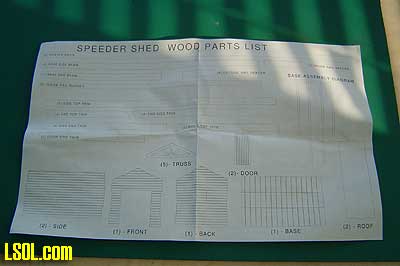
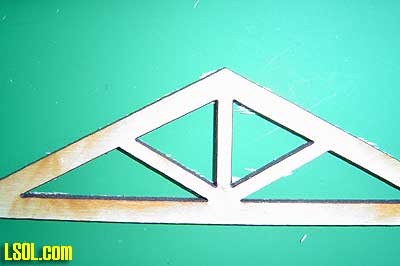
The wood parts are all laser cut and came a little rough on the edges. 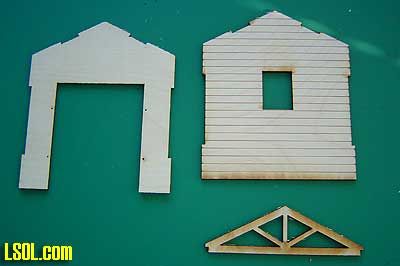

.

I thought that they would have been a little smoother since they were laser cut, but they quickly cleaned up using a hobby knife.
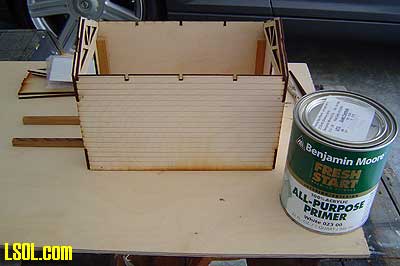
After cleaning up all of the rough edges, I laid out the pieces of wood required for the building foundation. They consisted of two pieces for the long sides, one for the back end, two long pieces that extend out to become the "rails" for the speeder to enter or leave the shed and three short pieces for the front end. There is a piece of plywood for the floor. These all went together easily and fit without any cutting.
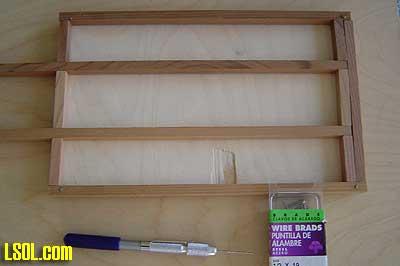
I glued all of the parts and used small brads to give strength to the joints.
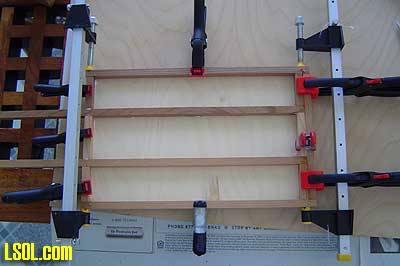
I used several clamps to hold the base together while the glue dried.
For all gluing on this project I used White Lightening acrylic all-purpose caulk.
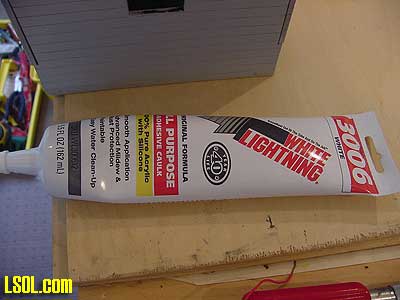
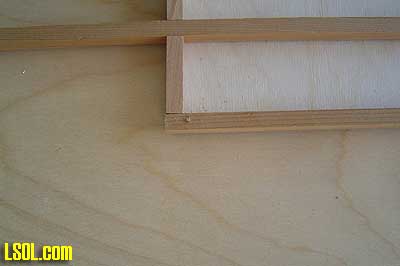
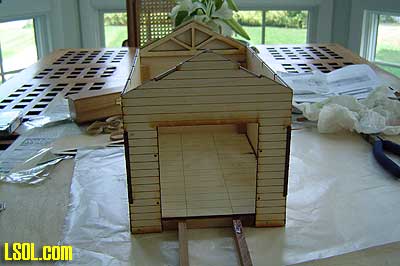
I used the white version because that is what I had on hand, but I would recommend the clear version as it dries clear. After the glue had dried completely, I started putting the side and end pieces of the shed up to see how they would all fit together. They didn't! I should have done this step before I glued the base together. The sidewalls were too short for the base. This required me to figure out how to make this work without destroying the base I had just finished. As you can see, the base was just a little too long.
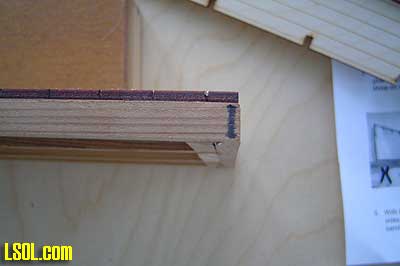
The marker line on the base in the picture shows you the magnitude of the problem.
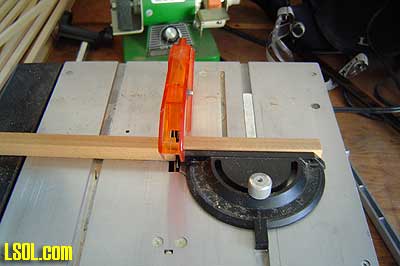
Rather than tear the base apart, I decided to just saw off the extra length with my miniature table saw. 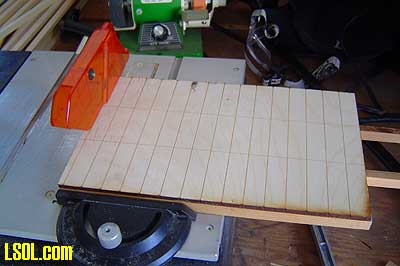
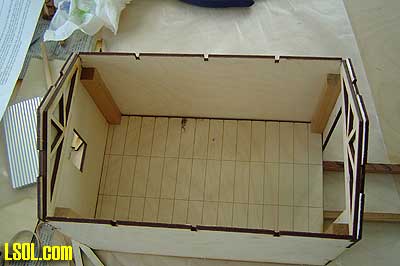
Doing that made the base the right size to fit the walls together. (Next time I will remember to try out all of the pieces and measure the fit before I start gluing. There is nothing like experience to remind how to do things the right way the first time.) I assembled the side, back and front walls to the base.
I used some 1/2 inch square cedar posts from my scrap bin to strengthen the joints on the walls.
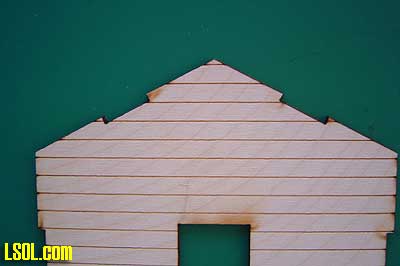
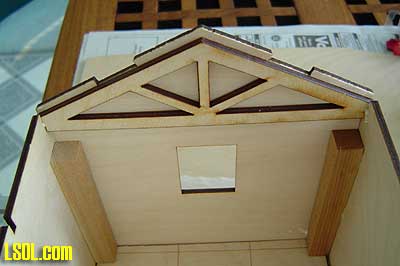
I put the end rafters in place against the front and back wall and left the others off because I was going to give the whole shed a coat of primer on the inside and out.
I used small brads to help hold the sides and ends together and fasten them to the base and the support posts inside. I pre-drilled the holes for the brads using my pin vice and a very small bit.
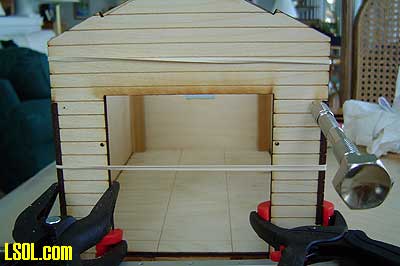
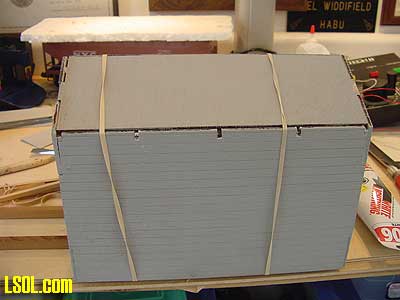
The brads were also secured with glue to help hold them in the holes. I used large rubber bands placed around the structure and clamps to hold it together while the glue dried.
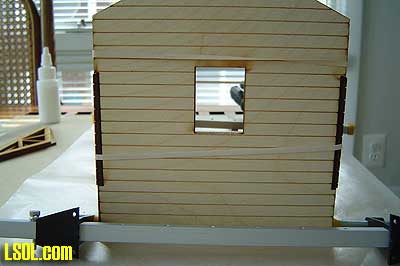
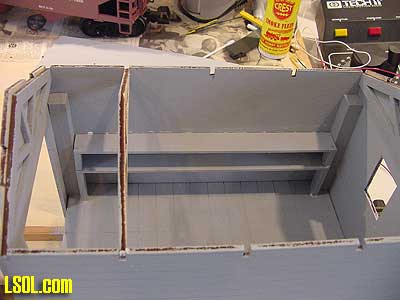
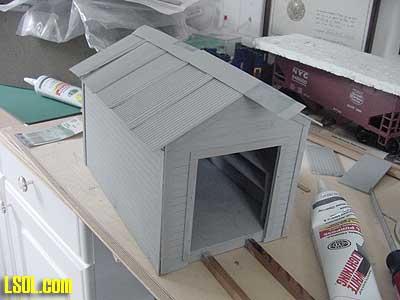
I primed the assembly with an all-purpose Acrylic primer that I had tinted to a light gray color I wanted to use on the inside.
I primed it with a brush to get a heavier coat and to make it look more real. I find that in many cases a brush on wood gives a more realistic finish. 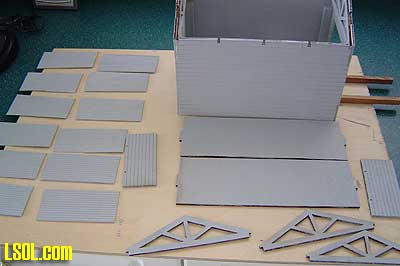
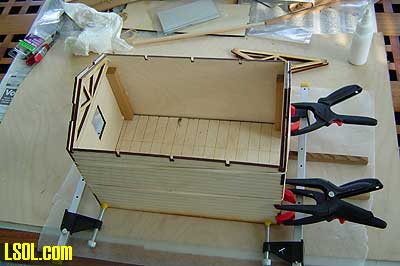
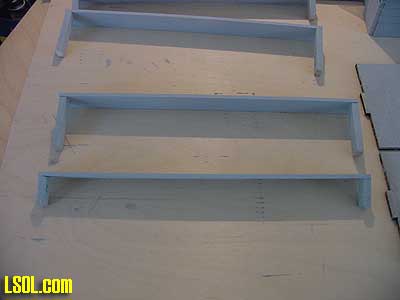
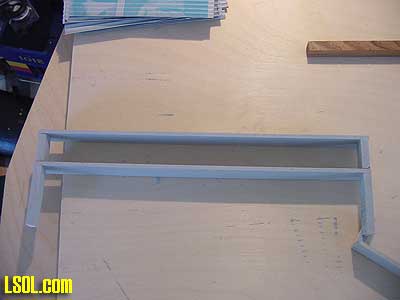
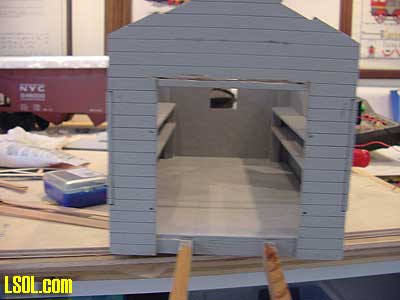
I primed the assembly, the doors, rafters and the aluminum roofing material at this time. Because I wanted to be able to put some tools inside the shed as part of finishing the interior, I constructed shelves for both sides of the inside of the structure. This was done by cutting up some scrap wood and making two sets of shelves and then priming and fastening them inside the building.
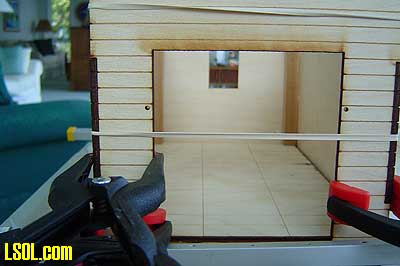
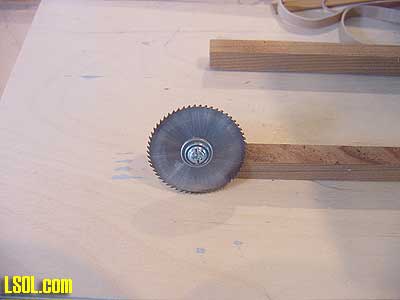
Learning my lesson about not measuring things earlier in the project, I remembered to see if the speeder would fit through the door of the shed. 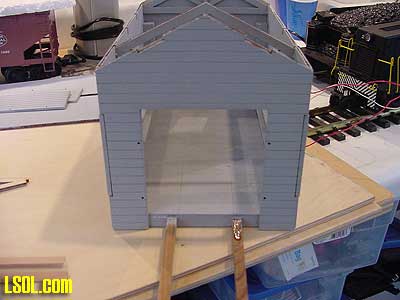
It didn't. I measured the speeder height and used my Dremel with a saw blade to cut the opening large enough to accommodate the speeder.
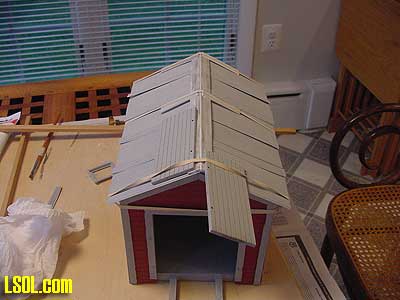
The next step was to fasten the remaining rafters in place and put the two roof panels on the structure.
Again, I used rubber bands to hold the panels in place while the glue dried.
The trim pieces were easy to glue on to the edges of the structure and the White Lightening was sticky enough that I didn't need any clamps to hold them in place. 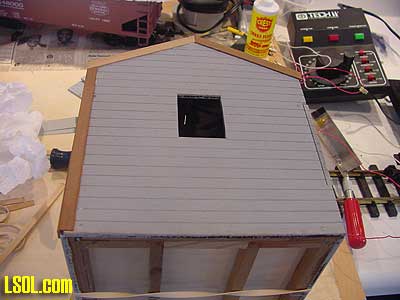
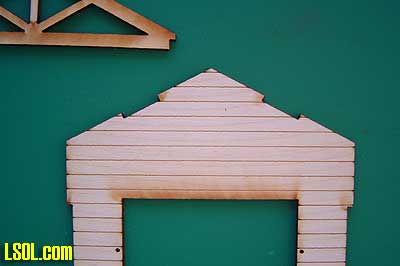
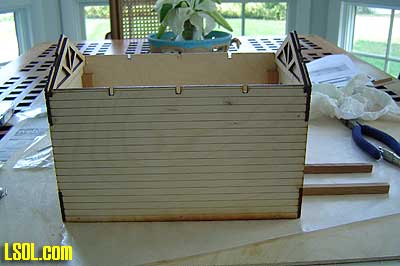
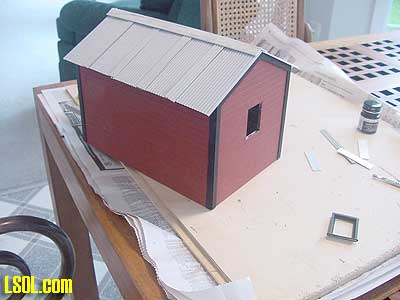
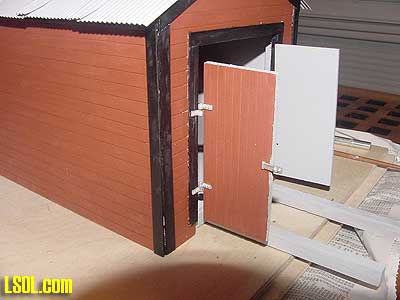
You will notice in this picture that the building sides and ends are slotted to make construction easier. These slots were covered by the trim to give the building a realistic look. Because the speeder shed is for my outdoor railroad, I painted it the red color that my other railroad support structures are painted.
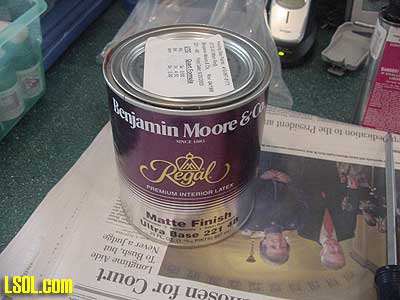
At this stage the color looks a little bright, but I planned to weather it later. For many of my projects I buy paint from a paint store rather than use the small model railroad paints.
I find that the people at the store can mix the colors I need and the paint is much cheaper purchased in the larger sizes. I next glued the aluminum panels to the roof. 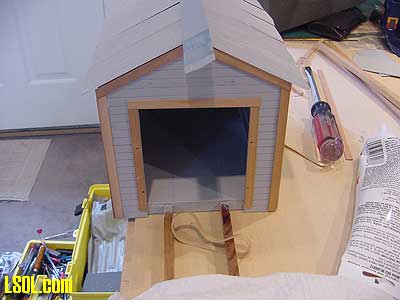
This requires a lot of glue and patience. The panels are corrugated and that makes it difficult to get enough caulk in place to hold them to the wood roof yet not get too much so that the caulk squeezes out all over the place.
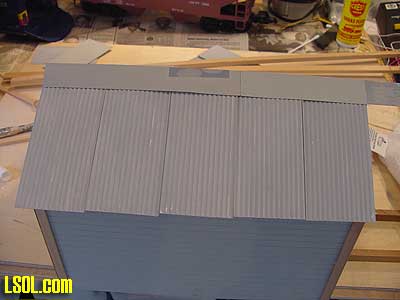
It takes some maneuvering to get the panels to line up correctly, as well.
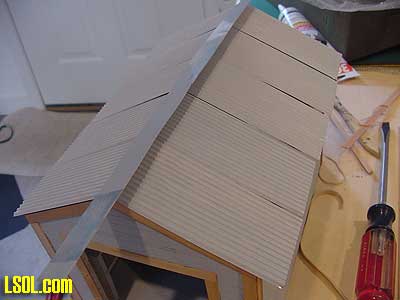
I cut some additional small roof sections to overlap the main panels to try to make the roof look more finished.
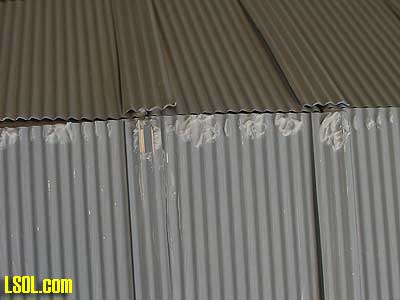
You can also see that the thin plastic strips that came with the kit to be used as the roof cap left something to be desired.
After several attempts to make the supplied strips work, I cut some replacement strips from scrap styrene and used those as the cap. 
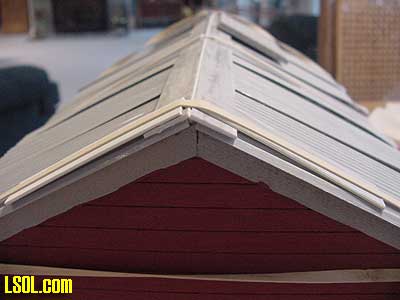
The whole roof construction was the most difficult part of the project. I finally got all of the pieces in place and used scrap wood, styrene strips and rubber bands to hold it all together to let the glue dry.

After everything was completely dry, I used some of the blue painters tape to mask the building to do the finish and touch up painting.
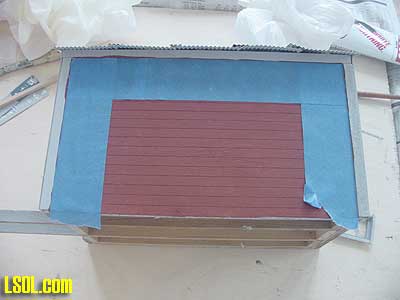
I put the back window frame and glass into the building and painted it and the trim a flat black.
The cast hinges were fastened together using short rods cut from the brass rod stock supplied. The hinges were then glued into the holes drilled in the trim and building front. The trim must be drilled to line up with the holes in the building. 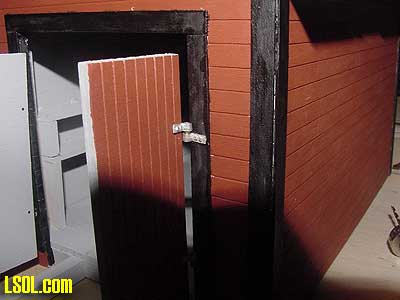
The door latch was also glued into place.
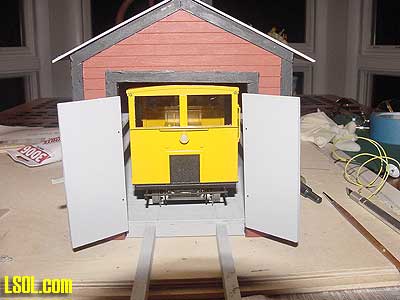
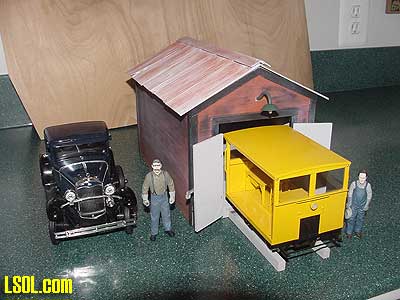
At this point I tried the speeder to be sure it would fit. It did!
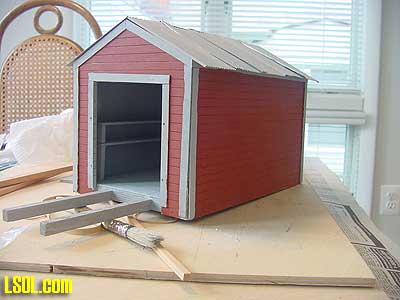
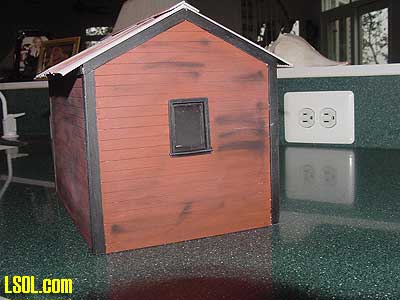
I now began the job of weathering the building. I decided that it should be weathered pretty heavily since most of the buildings on my outdoor railroad are weathered that way. 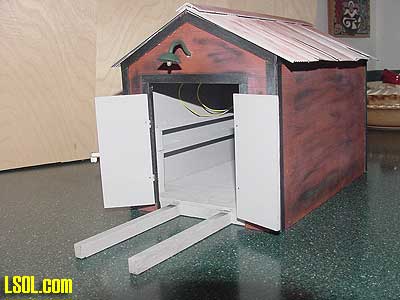
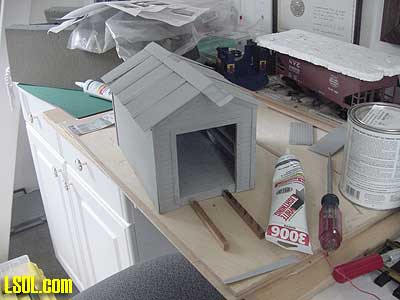
In this picture you can see that I also added a light fixture over the door.
Ozark Miniatures sells one of these lights as an option for the kit, and I had purchased several a few years ago knowing I would need them for buildings someday.
I used the pin vise and drill for the hole required to fit the light pole through the front of the building. I ran the wire down inside and out the bottom so that I could have it in place to wire to a power source.
You will note that because I cut the opening in the front of the building higher to accommodate the speeder, the doors are a little short for the opening. I decided that they looked OK this way and didn't attempt to make new longer doors. 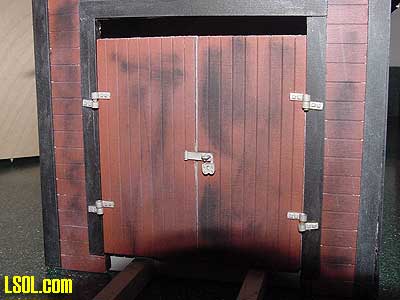
For weathering I used chalk powders, using grimy black and gray over much of the building.
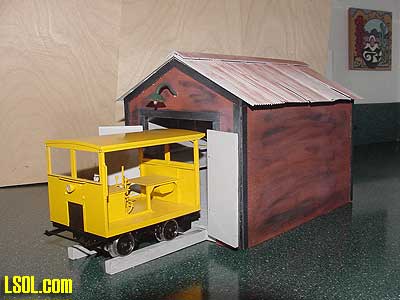
I used the reddish brown chalk on the roof panels to simulate rust.
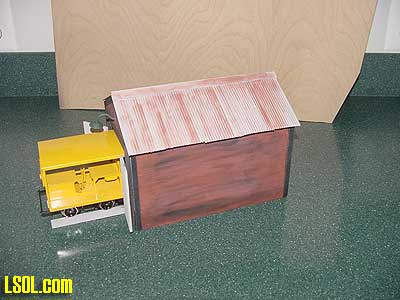
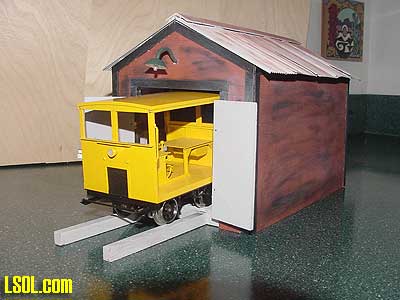
After I was satisfied with the look, I sealed the chalk with a light spray of clear lacquer. The speeder shed was now ready to be moved to my outdoor railroad the next time I put it in operation. 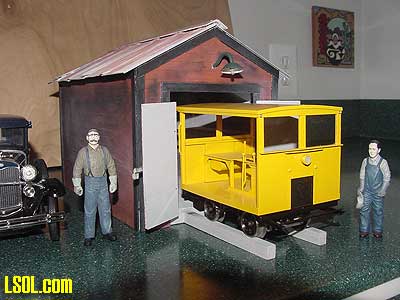
Unfortunately that will probably be next spring. The Ozark Miniatures Speeder Kit is a great addition to my railroad service buildings. It was fairly easy to build and went together with only a few snags.
The foundation not being the correct size was a major problem, but that can be overcome by measuring the sides and ends against the foundation before you begin assembly.
A couple of cuts in the wood stock to make the foundation the correct size are an easy way to solve the problem. The only other problem for me was the roof. This was the first time I had worked with the corrugated aluminum roofing material, and I found it difficult to put into place so that it remained smooth. Finally, the size of the door opening wasn't large enough for the ARISTO speeder, but it was easy to make the opening larger.
Overall, this kit is a good deal for the price. The finished product looks great and the materials are all first class. I would recommend it for any of you who need a safe and dry place to keep your speeders.

Top of Page