Layouts
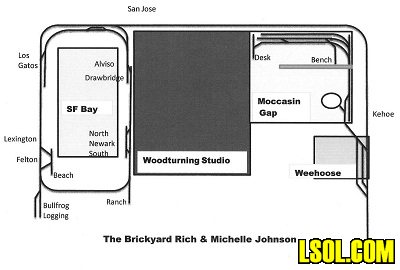
The Brickyard Railroad
Aug 11, 2011


By Rich Johnson |
Author
Bio
I have been a Model Railroader forever. My father built my brother and me a train room in the back yard where we made many HO railroads over the years. I joined the Bay Area Garden Rail Society (BAGRS); And so it started...
|
I have been a model Railroader forever. I can remember Xmas morn at 5 years old in 1950, running across the living room and stumbling on my first Lionel train. I still have that ole loco with some track and cars. It is in a trunk under the bench in the current train room.
By 1960 we discovered "HO" railroading. My father built my brother and me a train room in the back yard where we made many HO railroads over the years.
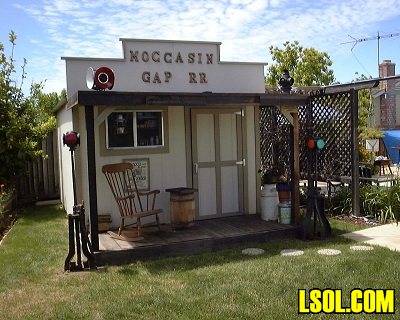
I joined the Navy in '64 and did the Viet Nam thing for 4 years. No Railroading for a bunch of years. A long dry spell until I had the opportunity to build the Moccasin Gap HO Railroad in San Jose CA about 1995.
It only lasted a few years, as we moved to our current location, in San Jose. Out with the old and on with the new, once again.
I invited my Grandson to the new location and together we were going to build another HO empire. We created a great layout and it was a lot of fun to run. I discovered DCC and converted everything... We had a ball!
And then about 2006 a friend thought it would be fun to set up something called "G" scale trains in our patio; Just to show us what it was like. The "HO" Railroad was taken down the following month, after attending the National Garden Railroad convention in Santa Clara CA. My "FRIEND" Craig and his son Jeff decided I needed my own Loco, once again just to see what it was like!
It didn't take long for us to convince the little woman how fun it would be to have trains in HER Garden...Grin. And so it started... we had no guidance or help, it was jump in and do it by braille.
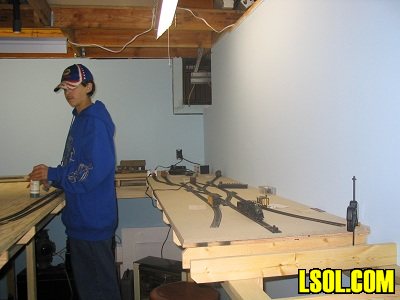
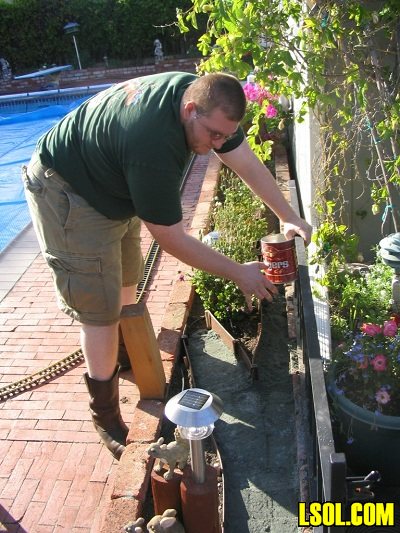
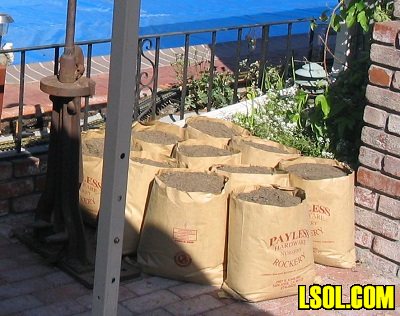
I decided after seeing some of the layouts on tour we should use: "FINDS" for our roadbed. It had to be good, everyone recommended it! I purchased a half ton of "finds" at a local landscape outlet. The only thing to do with it was put it in the driveway; Not a good idea. It ended up everywhere and mostly where we did not want it. In the photo Jeff is starting the installation. The finds was quite a project & I wish I had never seen or used that stuff, but more on that later.
I needed to get a train running if we were going to put down some track. I joined the Bay Area Garden Rail Society (BAGRS) at this time and that gave me more opportunities to see what other Garden Railroaders were doing. After some research and much magazine reading we made a "command" decision; we were going to use TRACK POWER with a "Bridgewerks" power supply to run our trains!
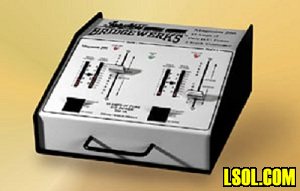
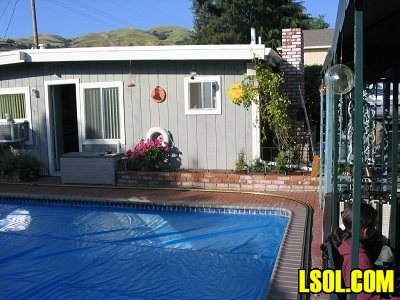
The excitement lasted maybe one or two running sessions. My back yard is built around a pool and the length from end to end is almost 50 feet. That sounds great until you realize you are at one end of the yard and all the train action is at the other. You just can't walk away from the power supply. By the way, this one will operate two trains!! OMG! How the heck do you do that??? Track cleaning at ground level was not a fun thing either. Many packs of drywall sand paper was used to keep the track "CLEAN". I found out later that the sandpaper was scratching the soft brass rails and we were not doing a good thing...Oops!
With this wonderful power supply and all that power, we decided we just had to have some sidings and towns not just a circle of track around the pool area. This also turned out to be another disaster for me. I could not run MY trains alone! Someone needed to throw the switch because I am stuck back at the throttle.
Time for some more research, maybe RC is the answer? Radio Control would solve a bunch of my issues with track power and my yard! So another command decision: Loco Link was the answer!! Provide a constant 20vdc to the track and use decoders in the locos. We could run as many locos as we wanted and would be able to walk around the yard with ALL the trains, after we cleaned the track. PERFECT!
I purchased a decoder and put it into a battery car behind my "new" (acquired from my friends) loco. Hooked up the power to the track and watched the smoke come from the Loco...Oops.
I checked and rechecked everything and tried one more decoder to see the smoke one more time...Oops, again.
After many phone calls to customer service and others, we discovered this power supply leaks AC!!! Another oops! I called the store where the power supply was purchased and they took it back no problem and gave me store credit.
I went back to the RC vender and was told we needed a pure DC supply. So we purchased ($$$) a good one. I wired up all the track sidings for constant 20vdc. The turnouts controlled the track power on and off.
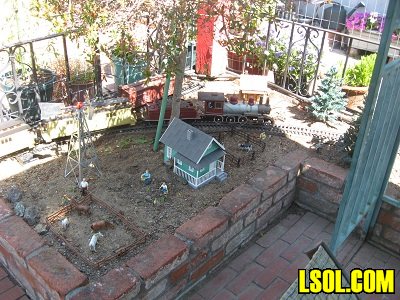
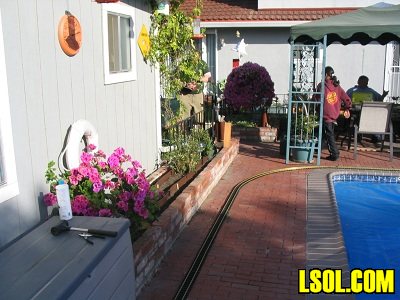
We could now run trains ... kinda, but only if we stayed within 15 feet of the locos AND cleaned the track...Not good! In the meantime I became the District Superintendent within the BAGRS organization. We scheduled our first open house. The Trains went around the patio planters through the flowers surrounding the pool. We walked our trains around in both directions. We did not have many buildings yet but we did get to run trains. It was fun, kinda...With many hours of frustration, many calls to the vender and a bunch more $$$$, we decided this was not a good RC system for us and we were ready to bail, give up, sell it all off.
Once calmed down, I decided to give "Air Wire" a try. I purchased a Throttle and a decoder. Installed it and discovered some problems with Air Wire also, another ...Oops! All the wiring I did cannot be used. AirWire does NOT use or want TRACK POWER; Now what?
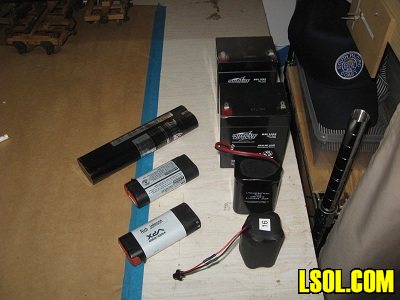
At that time a new friend was using tool batteries to run his trains. We could do that! I gathered up some different batteries and made another Battery car. I tried gel cells, Makita tool batteries, and later found something new called Lithium-Ion tool batteries from Black & Decker. The Gel cells were $50 each 12 volts and weighed 6 lbs. The Makita batteries were 9 volts and $35 each but not quite not right for us.
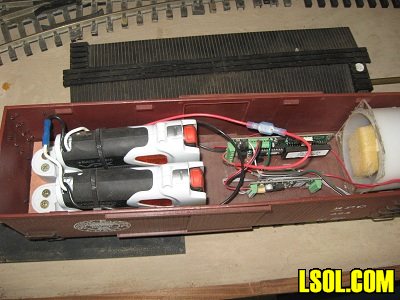

I ended up using the Black & Decker batteries because they were small and easy to work with and only $20 each. They are 7 volts so I needed two for each application. After getting the Battery car to work I began experimenting with other applications and needs. Loco tenders were a great place to hide all the stuff needed to get the loco converted to battery power. BUT, for whatever reason B&D stopped the production of the tools with the 7 volt L-I battery, another...oops!
I watch for them at Garage & Yard sales but it seems they are all gone. With that turn of events I have moved on to using products from Cordless Renovations. They have just about any combination of battery you could possibly need. I purchased the 14 volt ($59) L-I and installed it in my Shay without problems. By the way I even tried the 22 volt ($85) Aristocraft battery. Unfortunately it was plugged into a loco by mistake and smoked that decoder because of excess voltage...more oops!
Meanwhile out at the track, the weather, squirrels, neighborhood cats, and a bunch of other unknowns took its toll on our track and roadbed. The FINDS had broken loose and migrated into the flowers world. I rebuilt as much as I could and used a lot of bender board to try and stay away from her flowers. I added composite wood under the track that was on the bricks.
With all the problems I was having with the FINDS each year, in 2009 I finally removed all of them. By that time the composite wood had problems holding the track and needed to be worked on or replaced. A friend gave me a bunch of old redwood fence 1 x 6's. I used this redwood to place under the track. Most of the track was on or very near the bricks of the flowerbeds. My challenge was to put the track on the brick without actually attaching to the bricks.
By cutting the fence boards to 1 x 3/4 I could place lengths of wood down on the bricks and attach the tracks with small nails to the redwood. This worked out quite well and I continued using the redwood throughout the layout even in the dirt. I did have to replace a bunch of dirt (planter mix) because of the FINES removal. This turned out to be a good thing as our flower beds were rejuvenated with fresh new planter mix, and her flowers loved it.
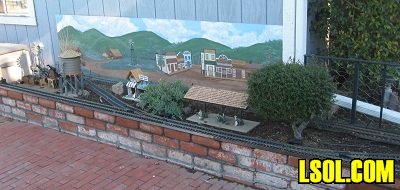
My sister-in-law painted backdrops for us. We put the paintings on Masonite and then covered them with clear acrylic to protect them from the elements. I mounted most of them on the fence. Only the Newark backdrop was attached to the shop wall. Our buildings and details were placed close by to highlight the area.
Another year passes and we had another Open House. This time we ran some trains proudly using the new Air Wire stuff. Once again it worked! We had a great Open House. But we wanted more... Goin' around the pool was very boring. I had the opportunity to acquire track and switches from an estate sale, what a deal. Now I had track available and the garage where Moccasin Gap was located was looking better and better.
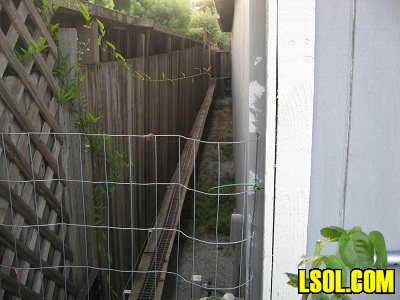
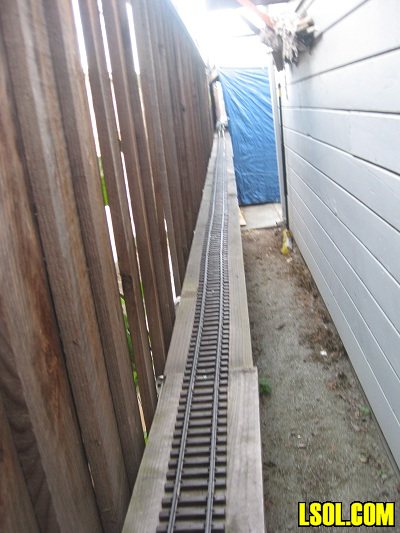
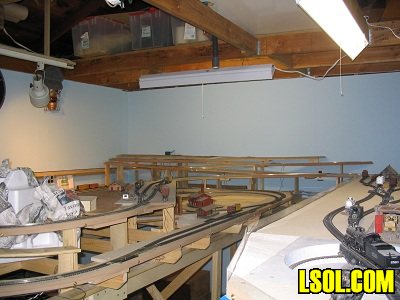
To get to the Garage I needed to run 100 plus feet of track and raise over 30 inches. I decided to hook track to the fence, use shelf brackets and leftover redwood fence boards. The "new" track was LGB in great condition and worked well. This new area was not going to be accessible for general viewing or easy access. I screwed the track down hoping that would stop it from moving, with the weather and neighborhood animals etc. With a bunch of adjustments I finally got across the back of the building and made the turn.
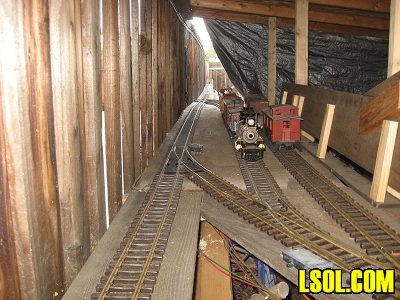

Once I made it to the height I needed, then the problem was to get the track into the garage where the Moccasin Gap yards and engine facilities were located.
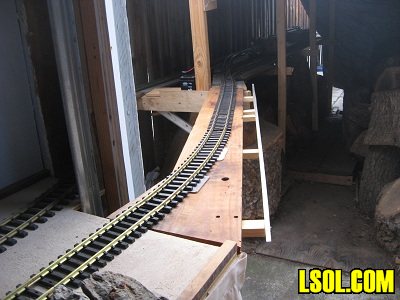
For a long time we carried our locos and rolling stock out to the "layout". Now I could connect the fence to the garage. This was done by going through my wood shed we call the "Weehoose". I put a couple holding tracks in there and hooked up a 12v battery to operate the turnouts.
I can change directions now and head into Moccasin Gap using a lift out redwood fence board. I need to make this a more permanent lift out this off season because the hot sun in late afternoon causes problems and I really need to pay attention to the track connections. Things shift around a little and can create derailments.
It has taken many years to get to this point with our railroad, with a lotta, "oops" along the way. Now with track connecting Moccasin Gap to the layout we can run trains without having to handle them, except for uncoupling.
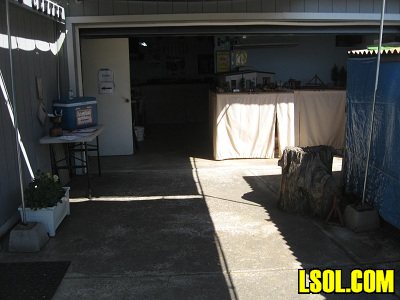
This year we were given to opportunity to have another Rail Road open house. Michelle, my wife, spent many hours setting up all the different venues. I had all the Railroad equipment ready and tested so we didn't have any problems there. Our event was scheduled from 11 am to 5pm. We started getting ready about 9:30 and had guests arrive shortly after.
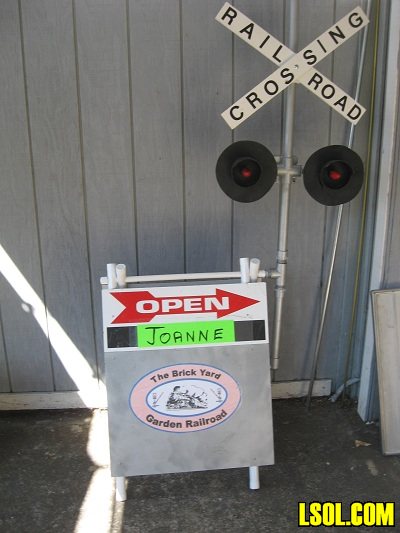
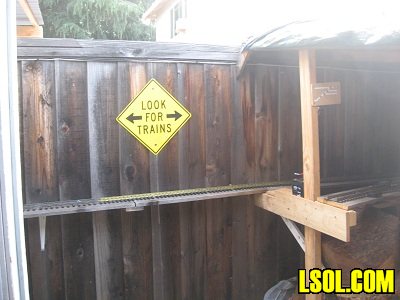
One of the crew made 3 cross bucks for our open houses. I would place them at the end of our street and then one in front of our home. AT the WCRM open house in July someone took one, now I have two!
Because of the distance to the layout someone needed to be at the Moccasin Gap and the other person needed to be out at the layout by the pool where they could run the trains. I tried to greet all the visitors at the entrance to the Moccasin Gap.
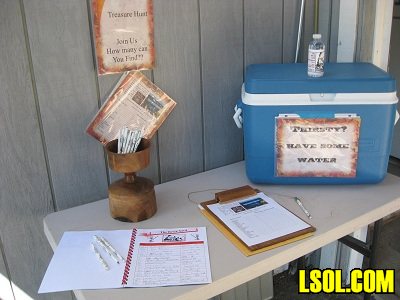
Their visit began with signing the guest book. For the ladies and children we also had a "Treasure Hunt". I had twenty or so items listed for them to find. One of the crew made labels for the little water bottles that we also provided.
NEXT WEEK
We take a pictorial tour of the Brickyard Railroad. Enjoy the ride from Moccasin Gap and back.
| Perseverance pays off |
| Great story about the evolution of your railroad. The "oops" certainly add the real truth about how many of us have stumbled up the learning curve! Looking forward to seeing more. |
| Al McEvoy - 08/13/2011 - 17:10 |
| Great Article and well written. |
| Looking froward to your next week's "tour" |
| Bill Rohm - 08/15/2011 - 08:34 |
Top of Page
|


