In my last interurban article, I described modifying a Hartland Interurban Street Car and a Hartland Rail Motor Car into two Indiana Rail Road cars modeled after the ones running in central Indiana in the 1930's. 
This article describes converting another Interurban Street Car and one of Hartland's line cars and adding them to my growing fleet of Indiana Rail Road interurbans.
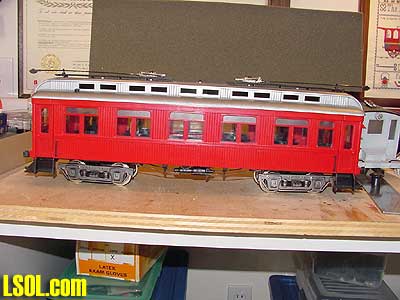
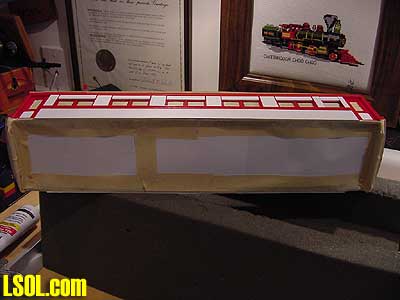
I started with one of Hartland's red Interurban Street Cars
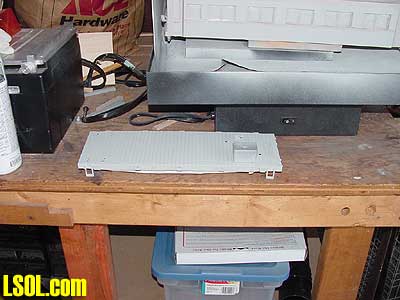
and sprayed the bottom of the car with gray primer after masking the sides.
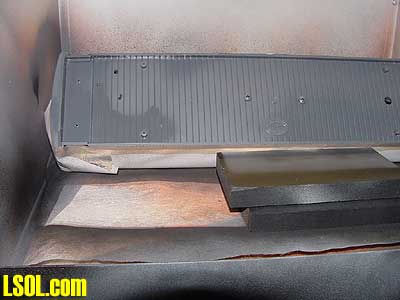
This was done with Krylon primer gray in my spray booth. I painted the underbody for the line car at the time, as well.
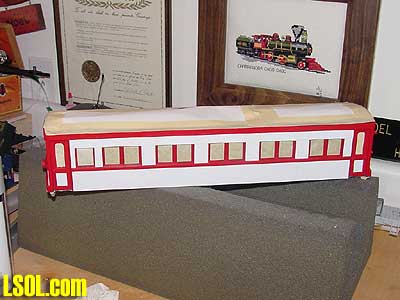
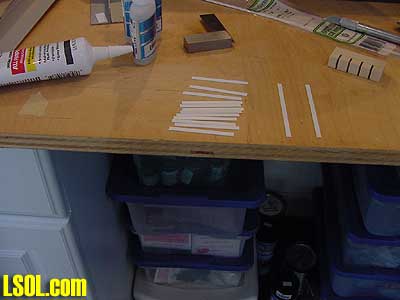
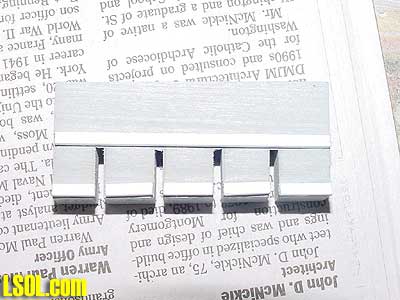
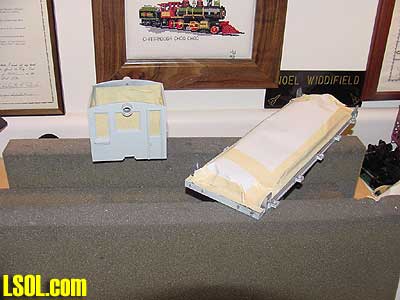
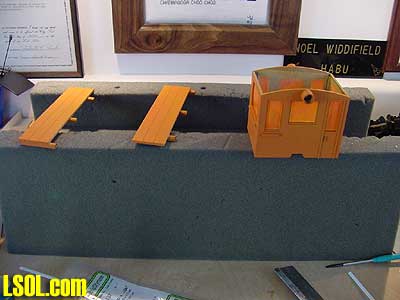
You can see the cars sitting on my workbench.
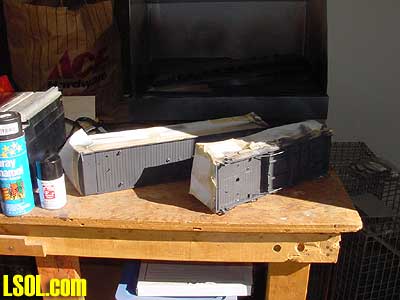
(The traps in the background are for the inquisitive squirrels that find their way to my outdoor railroad. Since the track catches the majority of the seeds and nuts from the trees, the squirrels love to gather and bury them on my railroad.)
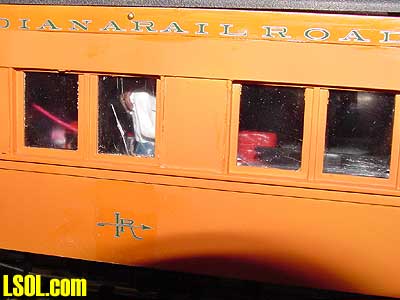
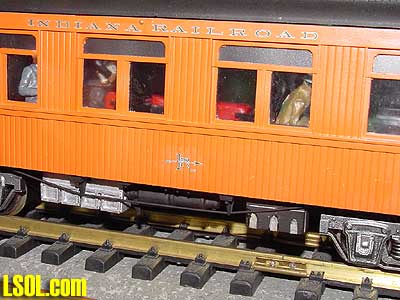
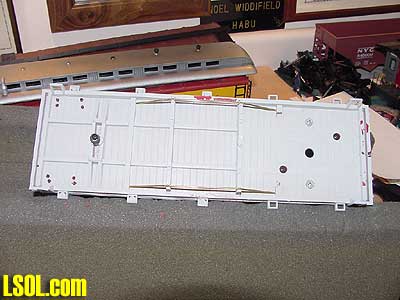
This time I wanted to make the interurban a steel-sided car rather than leave it wood sided. To do that, I cut the side material from Evergreen Scale Models' .015" sheet styrene #9015. 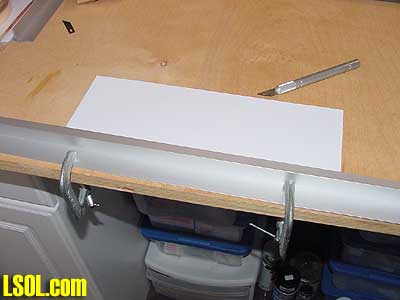
I clamped it to the worktable using the 22"Micro-Mark T-Bar cutting guide.
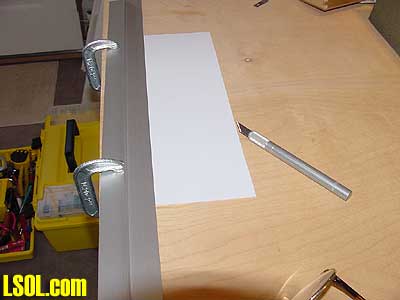
I cut the styrene to cover the area below the windows first.
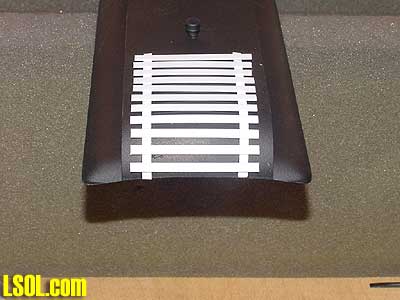
I then cut out strips to fill in the areas between the windows and glued them in place using clear Acrylic adhesive caulk (White Lightning 3006).
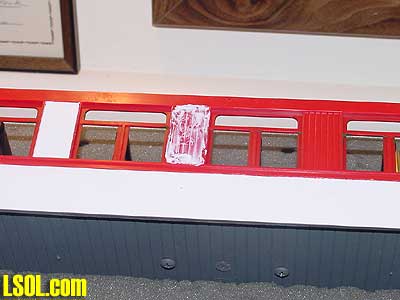

When all of the side material was in place I decided that I needed to put another strip of styrene alone the top of the windows to make the side smoother and more natural. Since the window framing on the car was thicker than the sides after adding the styrene, the additional strip made the material across the tops of the windows level.
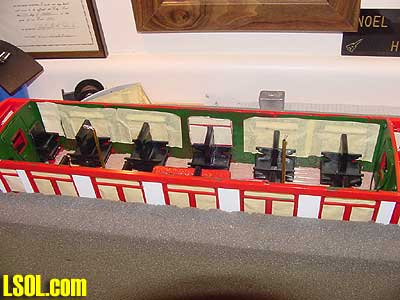
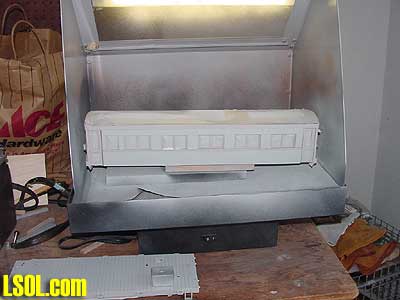
I removed the windows from the car, painted the interior green (Testers Flat Beret Green) and the floor with Testers Flat Wood and used masking tape over the window openings.
I masked the roof opening 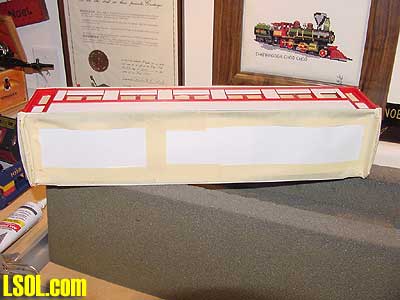
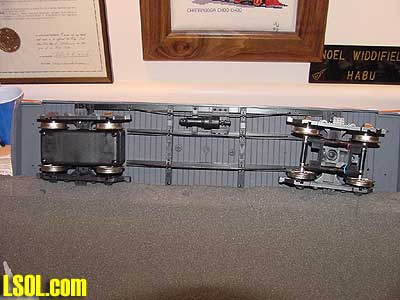
and the underbody
to prepare the car for painting.
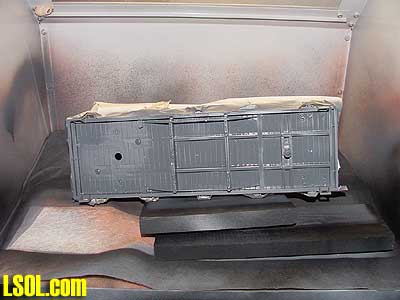
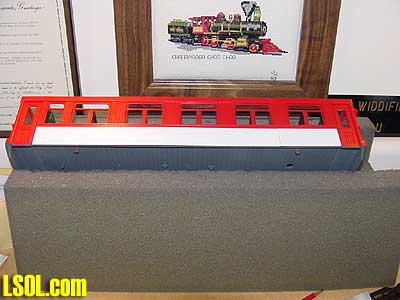
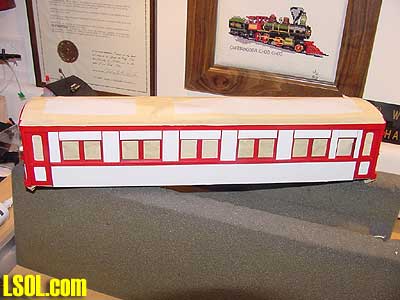
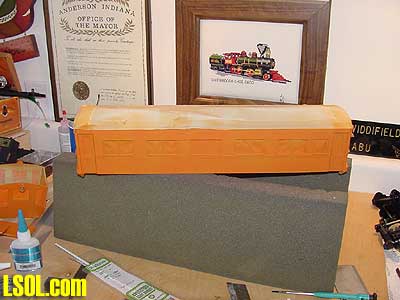
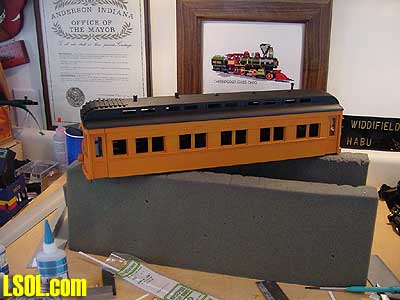
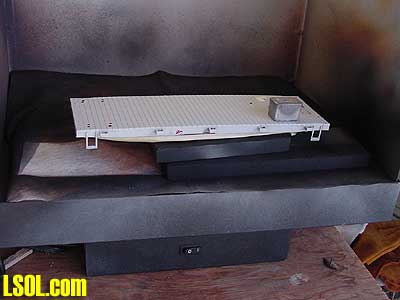
The next task was to paint the body with a gray primer
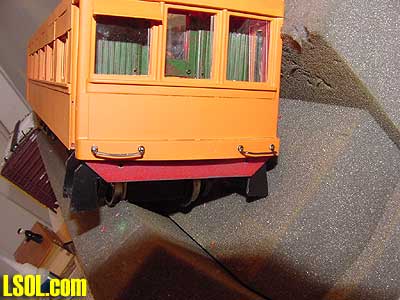
to dull the red body. Then after allowing the gray primer to dry overnight, I spayed the body with Polly Scale Milwaukee orange.
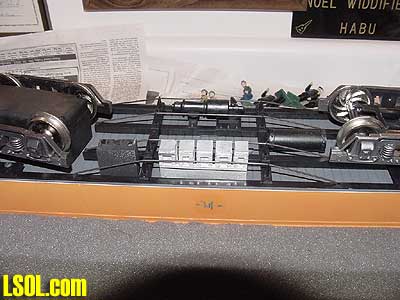
While the car body was drying, I constructed a roof mat or ladder using strip styrene.
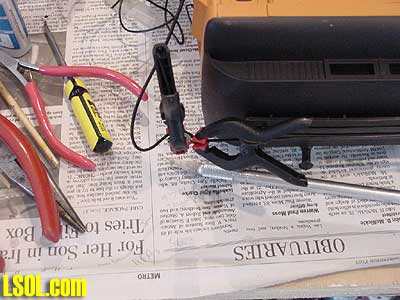
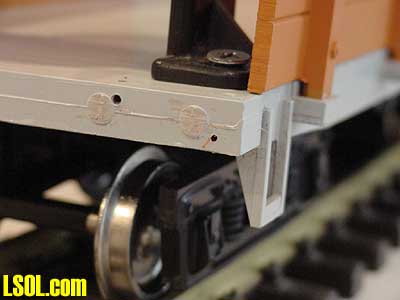
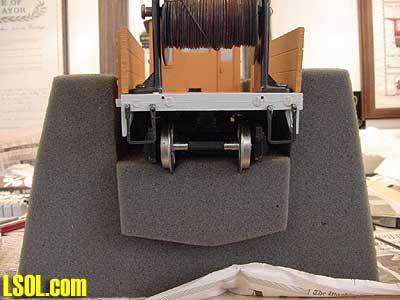
After the car body dried, I installed the power and trailing truck back on the car body. 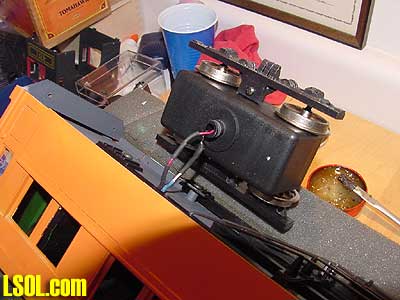
This required that I solder the wires back in place.
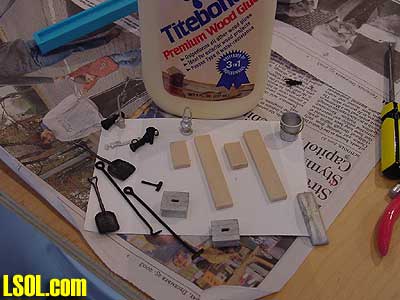
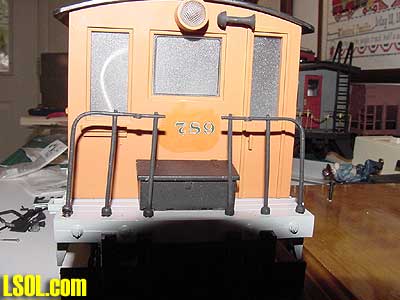
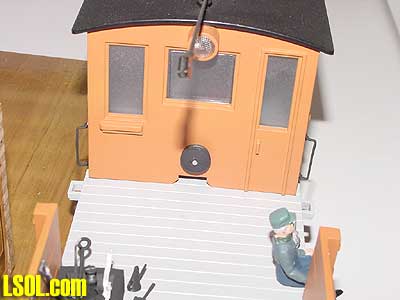
I used grab irons and strap steps from Ozark Miniatures to replace the over-sized grab irons that came on the car. Painting them flat black, I attached them to the car.

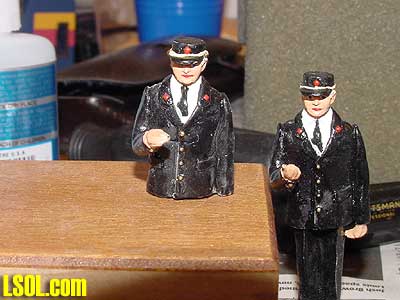
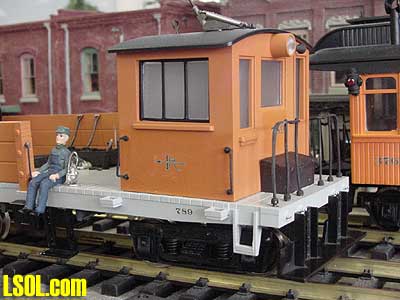
I cut the legs off of an ARISTO conductor to use as the operator
and built the underbody appliances (as described in my previous article) and attached them to the car.
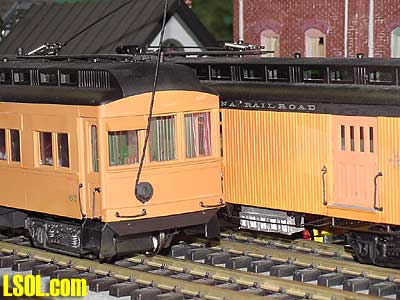
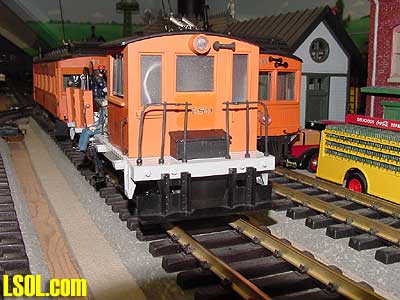
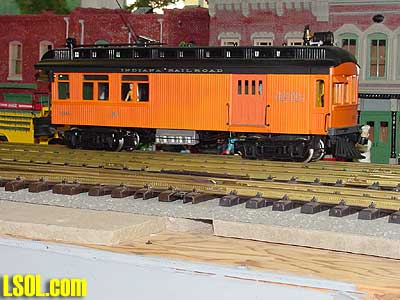
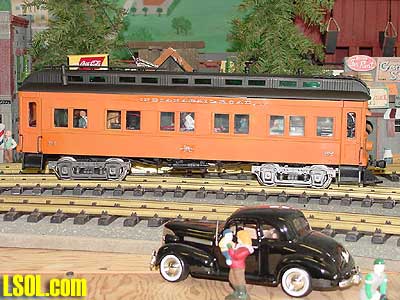
Finally, I applied the Bronze Key Models IRR decals to the car and put it on the track. 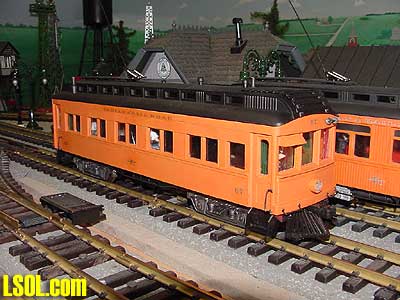
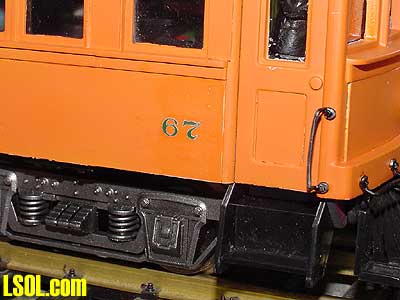
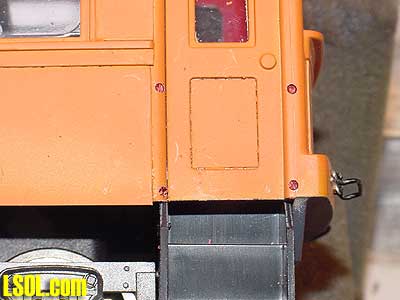
You can see from the photos that it is different from the wood-side car that I modified in the previous article.
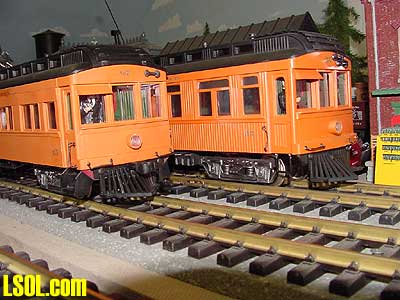
That difference is very evident in these close-ups of the car sides.
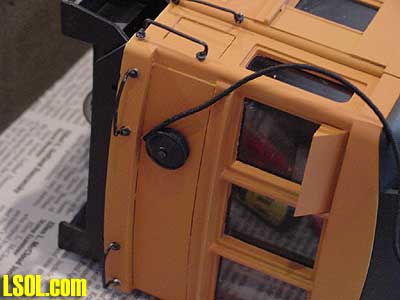
The final job was to attached the trolley pole retractor coil and the retractor wire to the car.
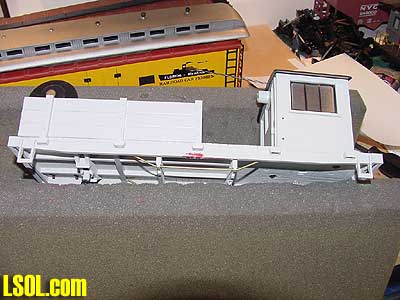
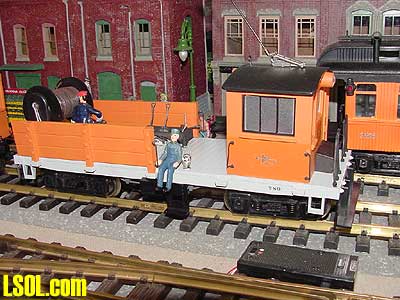
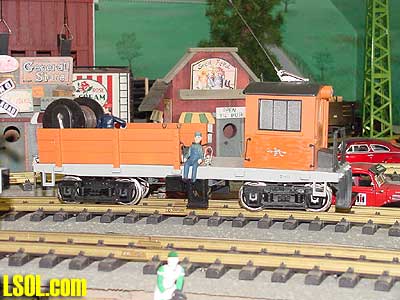
The fourth car that I modified for my Indiana Rail Road, started as a Hartland line car. These line cars were used by the Interurban lines to repair the lines and roadbed. The IRR had some of these cars, (Indiana Railroad, The Magic Interurban, George Bradley.) 
The Hartland car did not match the IRR cars, but rather than make major modifications to this car, I decided that few people would know what they really looked like and the Hartland car could represent that particular class of cars.
I purchased the Hartland car at the East Coast Large Scale Train Show a couple of years ago when Hartland was still showing these line cars as prototypes. In fact, I purchased this car from Hartland, as it was the only prototype they had in gray. They asked me to wait until the last day to take my purchase, because they wanted to display it for the entire show. When I got it home and tried it out, I found it only had pickups on one truck. I contacted Hartland and they sent me a pick-up kit that fixed the problem on my car. They later told me they had modified their production run to include power pick-ups on both trucks.
Once again, I began by taking the car apart and painting it.
The car body and the underside were painted primer gray. 
The cab and the wooden sides were spray painted Polly Scale Milwaukee orange.
The cab and sides were attached to the car bed and the roof, trolley pole and the wire reel were re-attached. 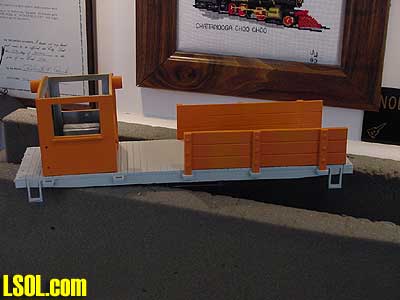

I used the grab irons and strap steps from Ozark Miniatures and attached them to the car. Using small brads to fasten the strap steps to the car,
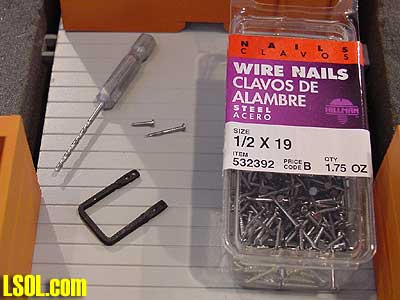
I drilled holes to accept the brads.
I constructed a small toolbox from basswood and painted (flat black) the steam engine tool set and the passenger car steps from Ozark Miniatures.
The tools were glued into the toolbox. 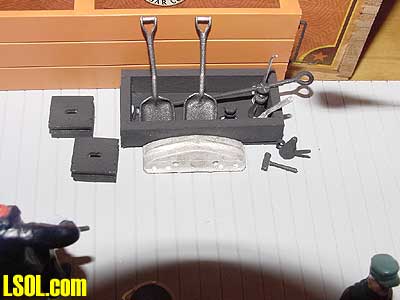
I replaced the plastic handrails that came with the car with a set from Ozark Miniatures.
The trolley line reel fit on the backside of the cab area.
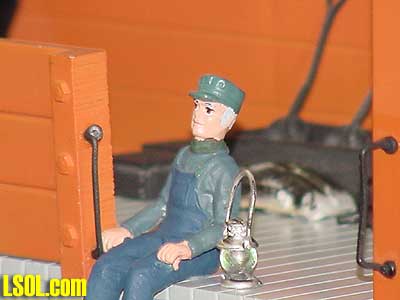
Adapting an ARISTO engineer, I painted him to look more like a workman on an interurban and glued him in place with a lantern next to him.
Completing the line car with Bronze Key IRR decals, I had an acceptable work car for my interurban road.
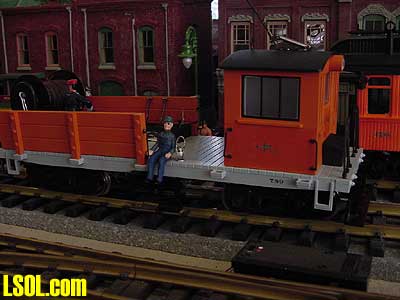
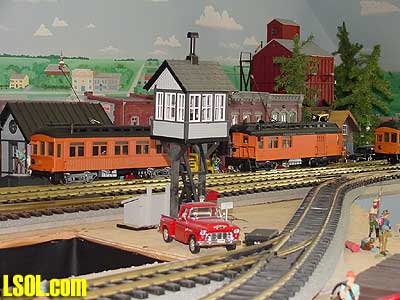
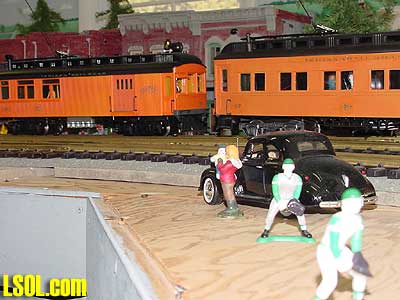
You can see that the locals in one of my little towns are interested in what is going on with the line car and work crew. 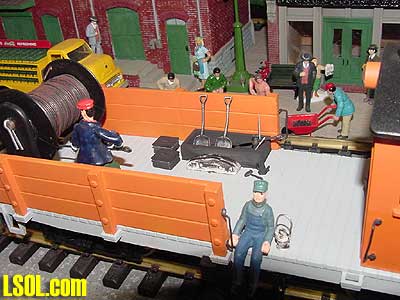
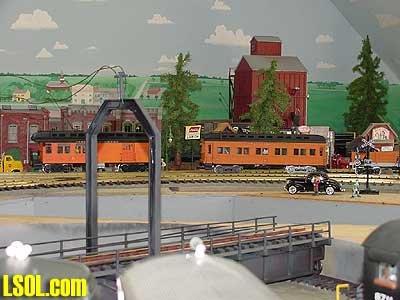
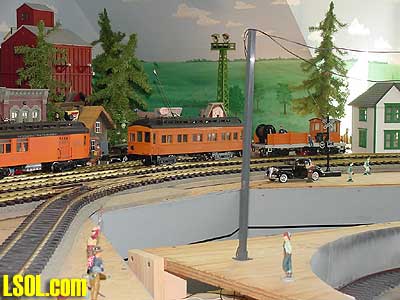
My line car joined the rest of the interurban fleet.
All I have to do is wait until it warms up in the spring to move my IRR fleet out to the outdoor railroad. As for now, the cars are on a siding of my NYC Big Four indoor railroad in the town of Bellefontaine, Ohio, waiting for that spring thaw.
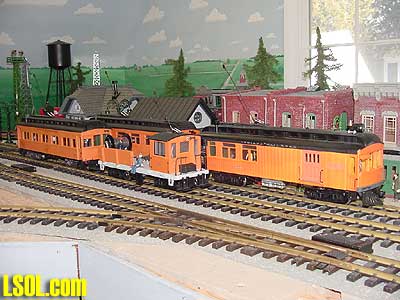
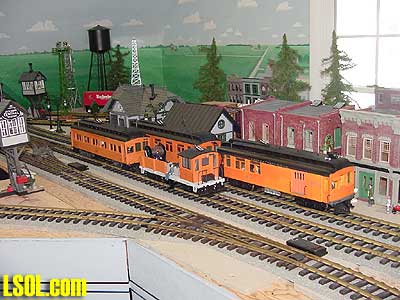
The cars look great individually, or in groups. 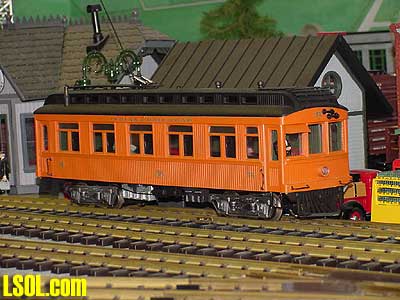
| interurbans |
| Thanks for the picture info for how you improved the HLW cars . Your cars certainly have a family look to them , nice modeling . Good looking layout and photos . |
| dennis Paulson - 07/29/2008 - 11:56 |
Top of Page