Scratch & Bash
:
Engines / Rolling Stock
Make a Valentine's Day Car
Feb 14, 2007


By Jon C.A. DeKeles
LSOL.com Editor in Chief |
Author
Bio
I always like to do something special for Valentine's Day. Being married to Jo Anne for over 25 years has given me the challenge of coming up with something new each year.
|
I always like to do something special for Valentine's Day. Being married to Jo Anne for over 25 years has given me the challenge of coming up with something new each year. I combined a little electronics, some paint and of course, trains to make a nice little gift that she can enjoy all year long. It is simple to make and it is something that you can put together is less than an hour (plus drying time) 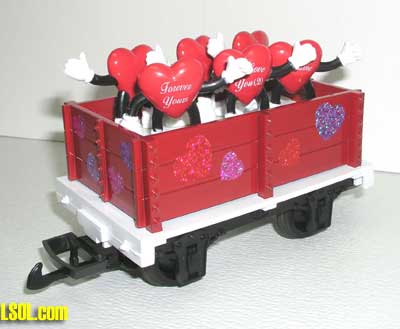 First you need to get your hands on some of the HLW mini gondolas. They are great for all kinds of tasks on your railroad. They are inexpensive, easy to put together, and did I mention inexpensive. You can even upgrade them with metal wheels if you want. 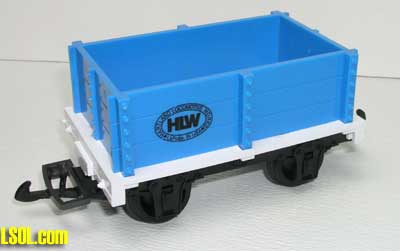
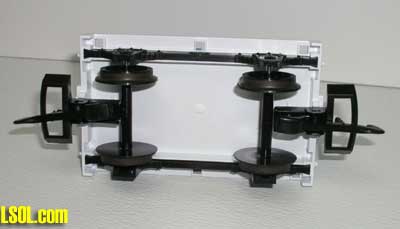 The HLW gondolas come as a kit. They are easy to put together with two main pieces, the side rails that hold the wheels and the couplers. I already had a few assembled, so I took off the top part of the gondola to paint and left the base white. 
The one that I chose had a HLW decal on it. I though about taking it off, but I was going to paint and then apply stickers on the side so I figured -- why bother. 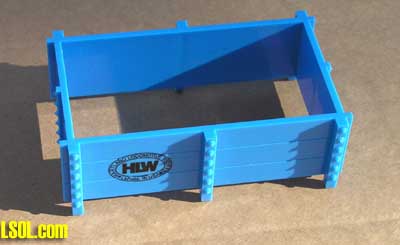 I got a can of red paint out of the garage. It was one of the $1.00 cans that you can get from Wal-Mart. No need to mask anything as I wanted the whole piece red, inside and out. 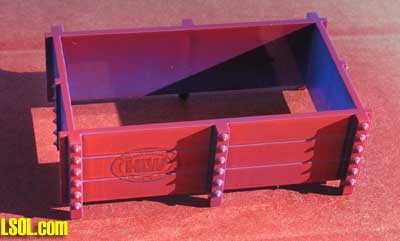 I took my time and applied several light coats of paint. You need to be careful when painting these cars as there are deep grooves in the side and the inside corners are sharp. If you try to apply a heavy coat of paint all at once you will fill up these grooves and the corners. 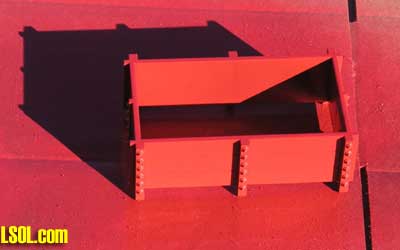
While I was waiting for the box to dry I got started on the inside work. The Dollar Store is all decked out with Valentine's Day stuff. I found some very cool "heart guys" with really mushy sayings on them. They would look just perfect riding around in the car. 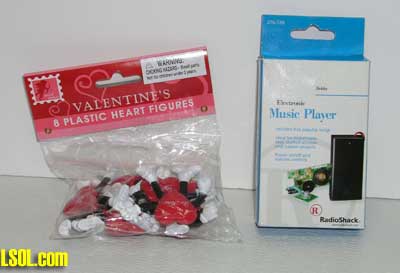 The little guys were made out of that solid rubber plastic material. They are would bend, but they were not movable, but for a $1.00 they were perfect. 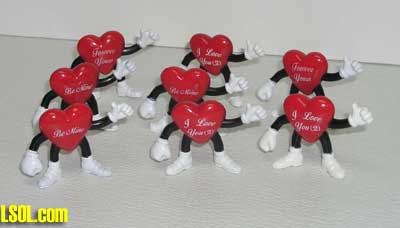 I also found a electronic mini song player with five tunes. When I saw that they had, "Let Me Call You Sweetheart.", I was sold. Of course the price was right at $2.97. They are at your local Radio Shack store and are Catalog #: 276-720. This is 100% prewired, just add 2 ?AA? batteries (extra) and plug in one of the five song chips (Happy Birthday; Silent Night; Bicycle Built for Two; Take Me Out to the Ball Game; Twinkle, Twinkle Little Star). Has an on/off button too. With all those song options it looks like you could build quite a few different cars for different events. 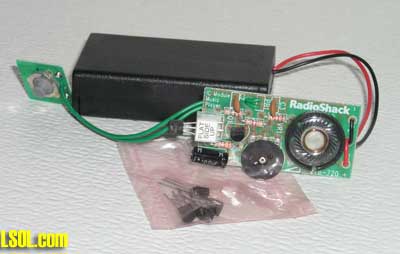
The first thing I needed was a base to place the "heart guys" on and to hide the electronics. I turned to my new favorite building material -- coroplast. Take a look at the simple steps I uses to cut a piece that will fit inside the gondola area of the car. 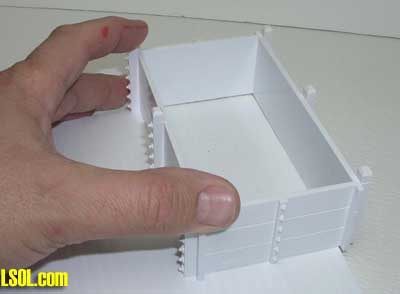 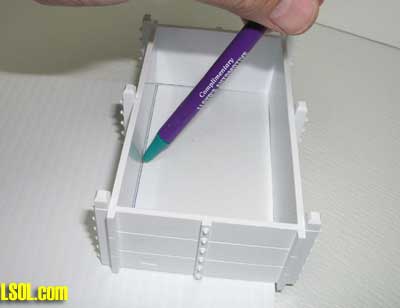 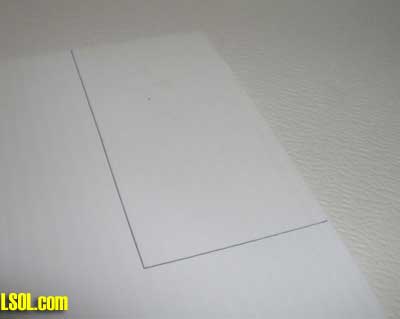 
Next I mounted the electronics to the bottom of the deck. I would use the battery holder as the stand to support the deck. It was at just the right height I needed to elevate the "heart guys." I first measured where the on/off switch was going to go in the corner. It is a simple rubber covered contact switch.  I got our old fashioned hole punch out of Bryan's school room and made a whole in the center of the corner markings that I made. This would allow me to use a pen or pencil to push the on/off button. 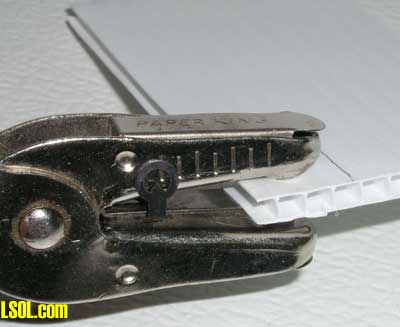 The on/off switch will fit just perfect in that hole.  I did not want to get too sophisticated with the attachment of the switch so I went with some white bookbinding tape that I happened to have around. You can use what you want. Duck-tape anyone? Hey, we are not building a piano! 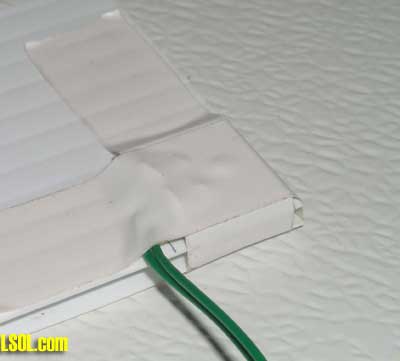
To attach the sound board and the battery pack to the deck I chose to use some double stick tape. I placed a piece on each unit and placed the battery pack so it was centered on the deck, but left enough room for the electronic board to fit also. 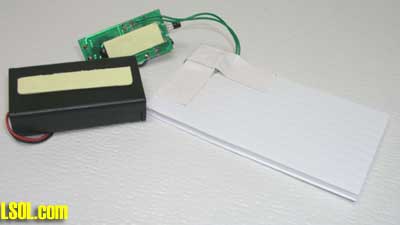 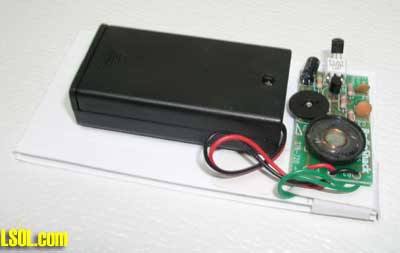 That little chip that you see in the picture below is the one that controls what sound is played. There are five of them and you will need to just put them on the board and play them to find the one you want. No, it will not play if you do not put the chip in the right direction. 
Once you have it all taped in place you can just drop it into the gondola. Note: Make sure at this time that the volume dial is all the way up. The deck will stay in place unless you turn it upside down, which is what you will do if you ever need to change the batteries. I think that this device will run for a long, long time on two new "AA" batteries. 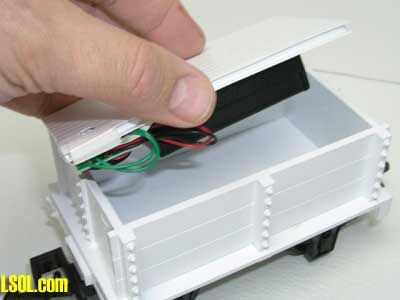 I am using one of our white gondola tops for placement, while the one I painted dries. 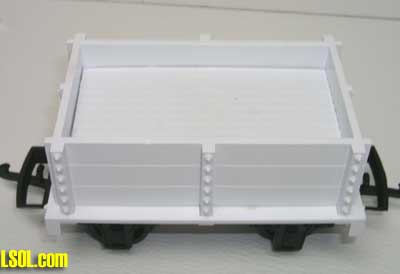 Here you can see how easy it is to use the on/off switch to start and stop the music. 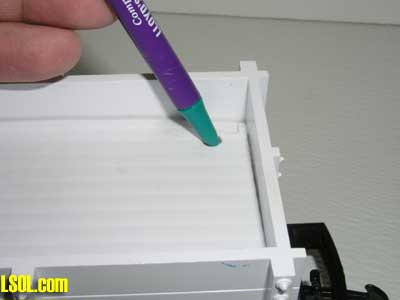
So what is next? Simple, glue the "heart guys" on to the deck. You can use whatever plastic glue you like. Just something that will keep them stuck in place for those moonlit train rides. I also added some heart stickers that we had lying around in a kitchen drawer. If you don't have any take a look while you are at the Dollar Store. Let me know if you end up building one of these, or something else like it. With the tunes available, you could be building a birthday car, baseball car, baby car and more. P.S. I am also getting two pounds of chocolate for Jo Anne too. What! Do you think I am crazy? 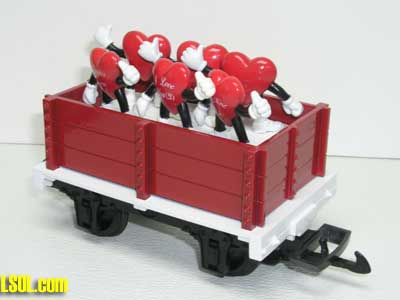 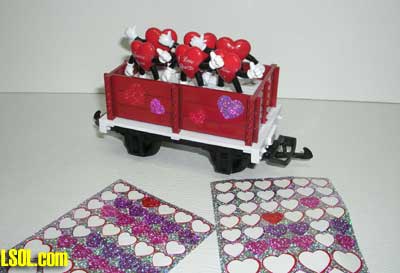
| Comments |
| GReat article... Glad you brought it to light again. Only thing you didn't say was "did she like it?" Toot sweet!! |
| Elaine Haggenbottom - 12/14/2013 - 05:13 |
Top of Page
|


