Scratch & Bash
:
Engines / Rolling Stock
Custom Painting an Aristo Dash-9
Jun 8, 2005


By Jo Anne DeKeles
LSOL.com Customer Service Manager |
Author
Bio
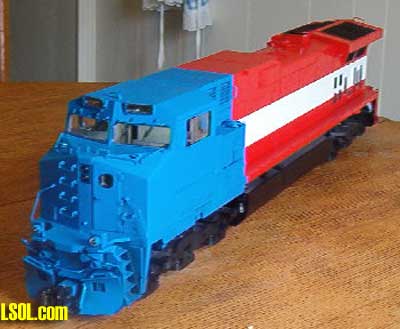
Recently I asked him to make a custom "Spirit of America" LSOL Dash-9 for us to use on our railroad and to take to shows.
|
Editor's Note: Jeffrey Damerst is the owner of Shawmut Car Shops. He has been painting and bashing custom locos for several years. Take the time to check out his web site and contact him for your needs. I have known Jeff for several years and he does a great job painting or bashing the item you need. Recently I asked him to make a custom "Spirit of America" LSOL Dash-9 for us to use on our railroad and to take to shows. I also asked him to take a few notes as he created this amazing unit. It is BIG and looks great in the colors I love the most red, white and blue. I used the following items to mask the locomotive:
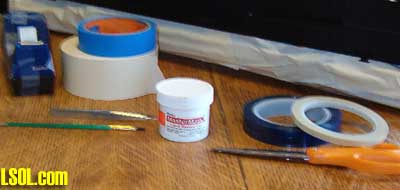
o 1/4 paper tape and 1/2" black tape (used in the auto industry)
o 1/2 #M blue painters tape
o Scissors
o 2 inch masking tape
o Master Mask liquid masking
Because I don't take the units apart, I had to mask every area that is screened to keep the paint from covering the inside parts. 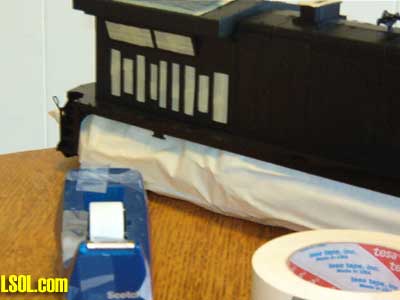
All the clear areas and the screens were covered with 3 layers of master mask. It is put on with a brush and you have to wait about 2 hours between coats. 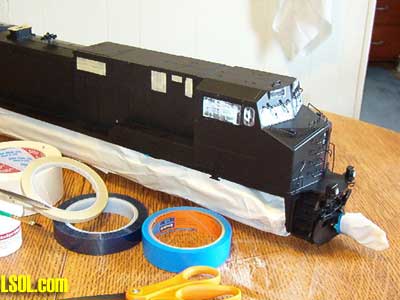
The trucks, fuel tank, couplers, and plug & play connectors were covered with blue painters tape. Then to make sure the tape stays in place during all the paint layers, I cover with 2 inch masking tape. 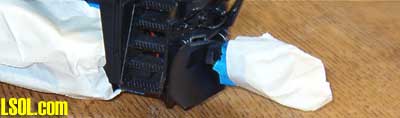
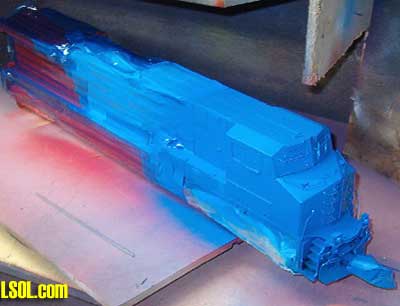
The large screen areas on the rear of the unit were covered with the black tape and the 1/4 paper tape. This took about 2 hours to apply all the tape. When all the liquid masking is finished, the unit gets a coat of Scalecoat 2 WHITE. When dry, a 2nd coat is applied if needed. Then the white areas on the long hood were masked and a thin layer of white applied over the masking tape(blue painters tape overlaid with masking tape. 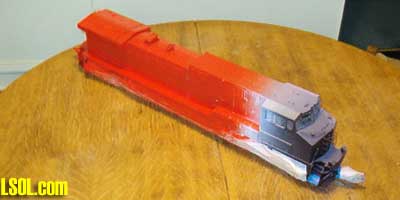
Then the red was painted.
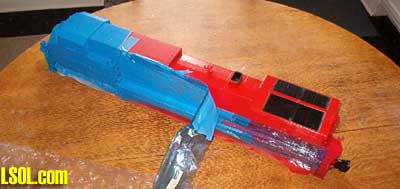
When dry, all the red was masked, and the cab was sprayed blue.
While waiting for the paint to dry, I printed the decals on my Alps 5000 printer. 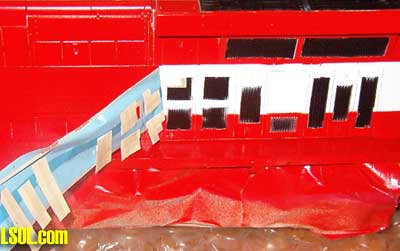
I first laid out the master sheet which can take a while. After that it is just a matter of printing the decal(about 3 minutes). 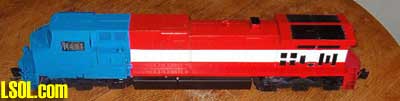
When the paint is done, the masking is carefully peeled off. I then painted the additional parts and the handrails next. The painted unit gets a coat of Testor's Glosscote #1261 for applying the decals to. Next the decals are applied with all the extra loco data. When done, the unit was resprayed with Glosscote to seal the decals. Then a light coat of Krylon Satin clear was applied to flatten the decals. The handrails are then attached and the extra parts put back into their separate bags. Last but not least I apply my Shawmut Car Shop number sticker to the bottom of the unit. 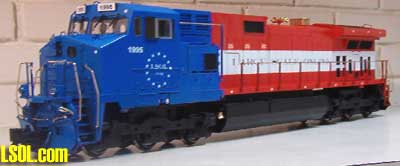
That is what happens if nothing unusual takes place. If it does then I have to figure how to solve the problem. :-) Cheers, Jeff Top of Page
|


