
|
|
Scratch & Bash
:
Engines / Rolling Stock
Building a Phil's Narrow Gauge Craftsman's Kit - Part 1
May 18, 2011

By Noel Widdifield |
Author
Bio
Every year I try to come up with projects to do while we spend the winter in Florida. This year I actually finished three major projects. The first was the GP-9 that I gutted and built up the interior to include models of the diesel and traction motors. The second was to convert a 1/24-scale Aristo Craft cabooses to a 1/29 scale New York Central caboose. The final project was to construct one of the Phil's Narrow Gauge craftsman's kits. Come see how I built it.
|
Every year I try to come up with a couple of projects to do while we spend the winter in Florida. This year I actually finished three major projects. The first was the GP-9 that I gutted and built up the interior to include models of the diesel and traction motors. That project can be found at LSOL.com in three separate articles. Part One - Part Two - Part Three The second project was to convert one of the 1/24-scale Aristo Craft cabooses to a 1/29 scale New York Central caboose. 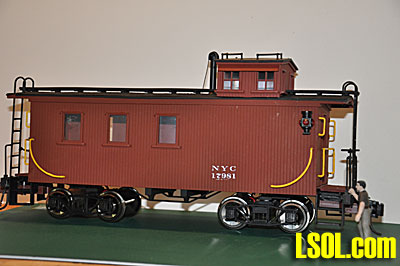
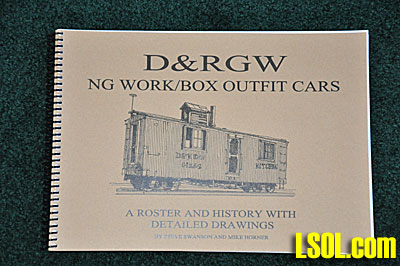
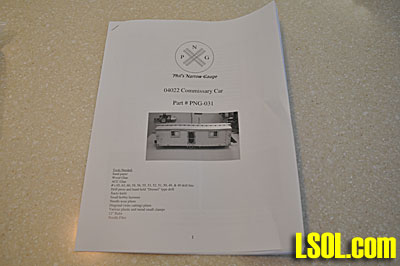
The final project for the year was to construct one of the Phil's Narrow Gauge craftsman's kits of the 1/20.3 scale D&RGW Commissary Car #01022 to add to my 1/20.3 scale work train that I began last year with the D&RGW Gunnison Wedge Snowplow kit from Rio Grande Models, UK and the Electric & Steam Modelworks. Part One - Part Two There are several kits for the D&RGW work cars available and a place to begin if you are interested is the book, D&RGW NG Work/Box Outfit Cars by Steve Swanson and Mike Horner. This book provides a detailed history of the one hundred fifty-one narrow gauge work/box outfit cars that existed from1919 to 1981 when the Silverton Branch was sold. It also contains excellent drawings of each of those cars and dimension information for most of them. Many of these boxcars were rebuilt into offices, depots, tool cars, sleepers, kitchen cars, diners and commissary cars. Most of these cars were used by the Roadway, Building & Bridge and Water Departments and also for Wreck Train use.
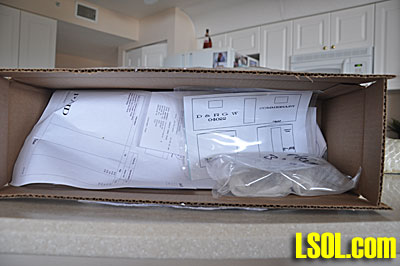
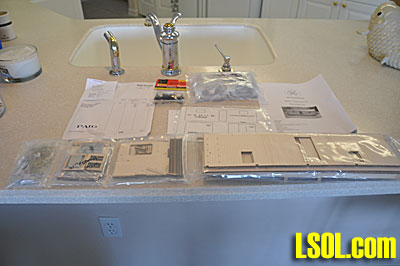
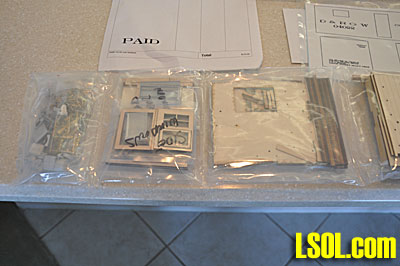
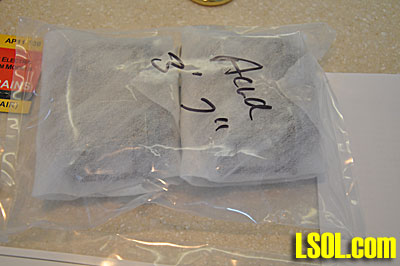
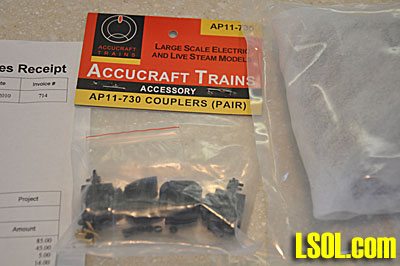
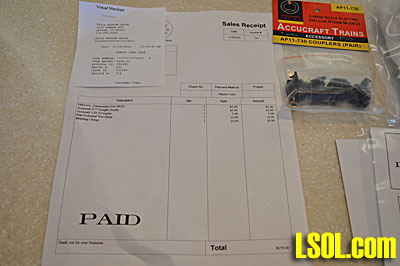
The car on which the model is based was 04022 that was listed in 1914 as a bunk car, but by 1938 it was a Commissary car used with Kitchen car 04268. I was later used in Ouray, Colorado as the depot after the depot there burned. The zero at the front of the car numbers was added for all work cars. Although, the model appears to be a very accurate representation of the actual car, there appears to be some unknowns associated with this car. The major discrepancy is the large end window in the one end of the car. Research seems to indicate that the window may have been added after the car became a depot in Ouray. The rest of the car seems to be completely accurate. That window is included as part of the kit. The car kit was $85.00, the decals were $14.00, the Accucraft trucks were $45.00 and the Accucraft couplers were $5.00. The kit comes shipped in a plain brown box. The box contains several plastic bags with wooden and cast metal parts. The trucks, couplers and decals were in individual plastic bags. There were also 15 pages of instructions and photos of the kit in various stages of construction. 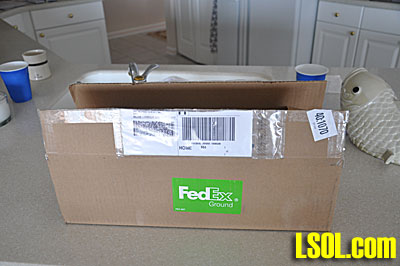
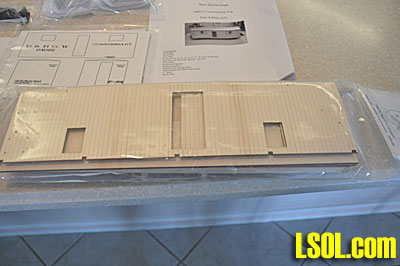
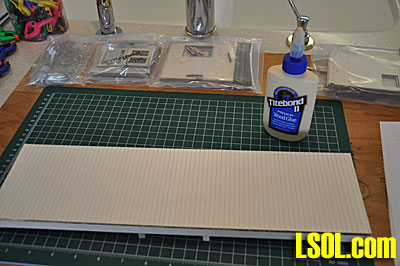
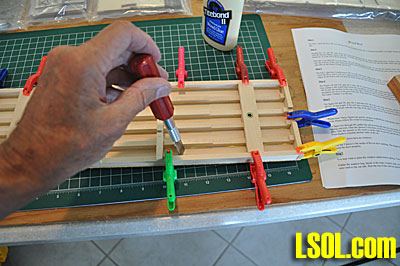
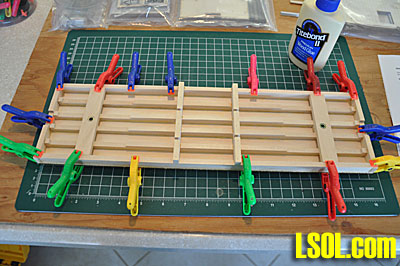
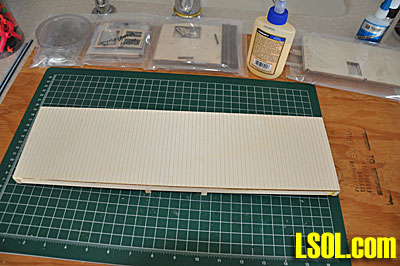
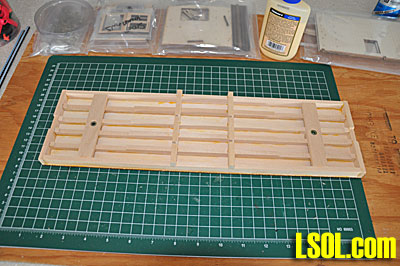
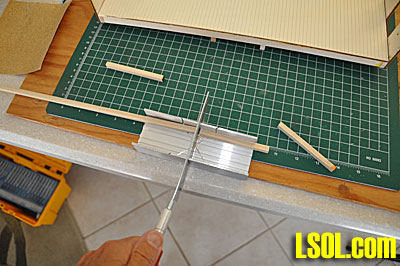
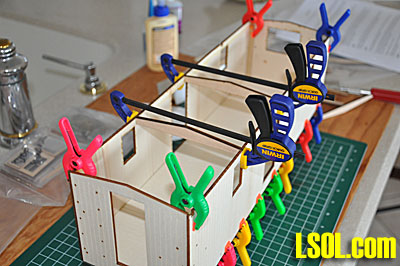
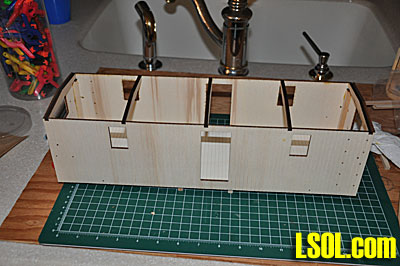
Before beginning I assembled all of the tools needed for the project. A list of those tools is included at the end of the article. I assembled the frame by gluing the floor to the top of the pre-assembled frame using Titebond II wood glue. I used several clamps to hold the floor in place while the glue dried. I used a hobby knife to clean the extra glue off of the wood as the clamps forced the glue out between the glued surfaces. 
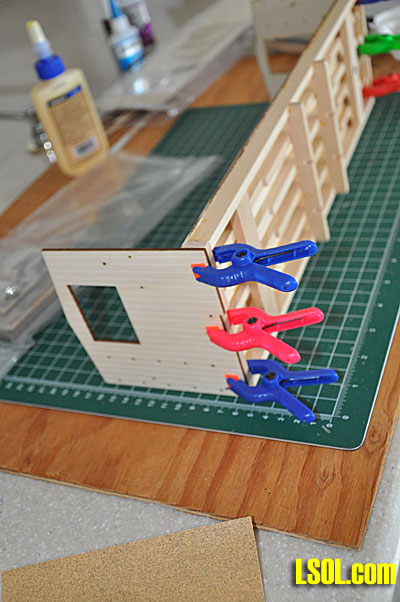
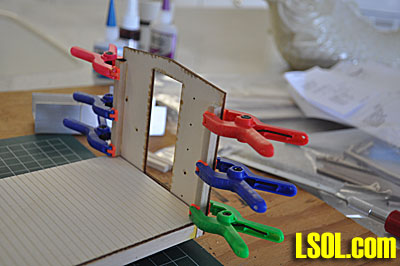
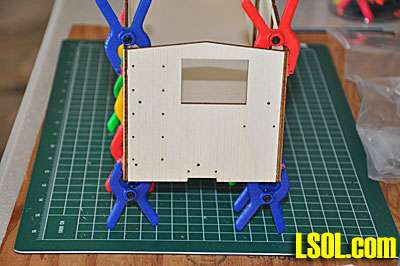
I next glued the end walls to the floor using Titebond and clamps. Care must be taken to be sure the correct end walls are glued to the correct ends. The photos included with the instructions help in understanding what goes where. 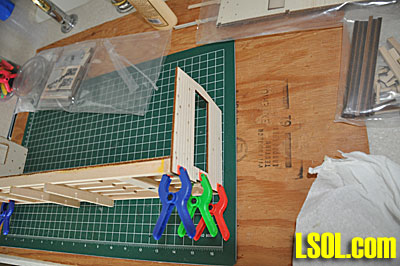
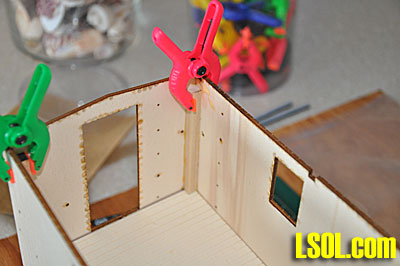
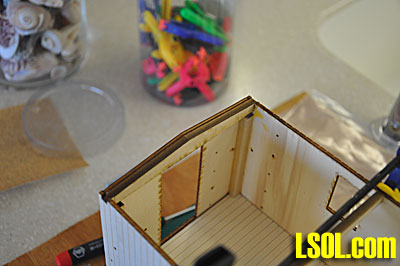
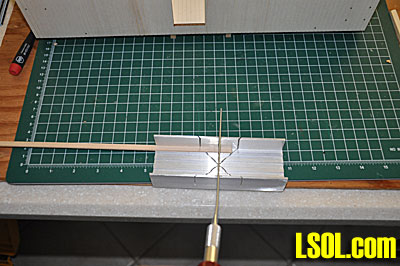
The next step was to glue four inside braces to the end walls. The four braces included with the kit were of different lengths and that caused me to spend some time trying to figure out where to use the short ones and where to use the long ones. After a few minutes I concluded that the length didn't make any difference, but I used some spare basswood and my razor saw to make a set of four of all the same length. 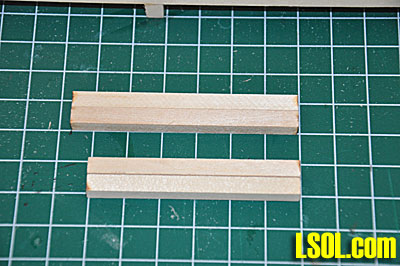
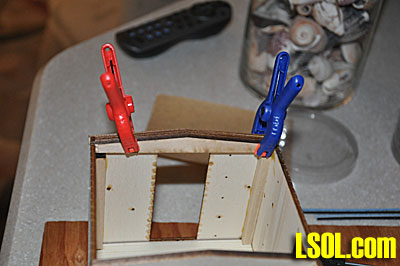
I glued the posts to the end walls using the Titebond and clamps. 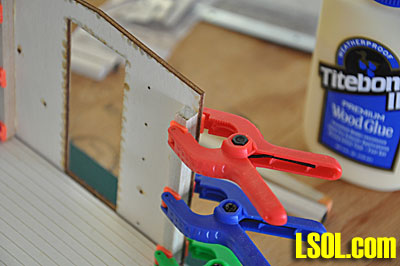
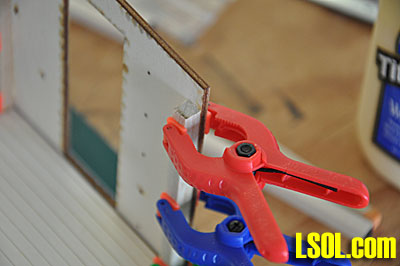
Once the glue on the posts was set, I attached the sidewalls in place with the Titebond and used several clamps to ensure that the walls were held tightly in place for accurate alignment. 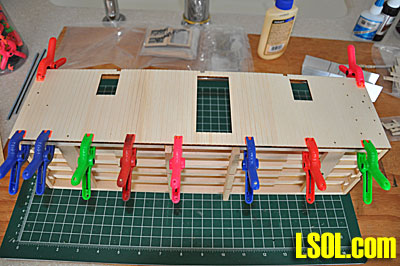
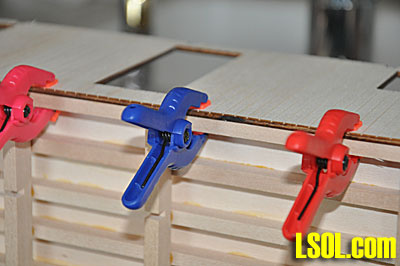
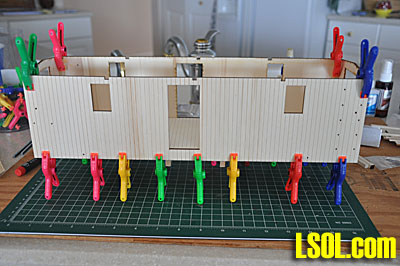
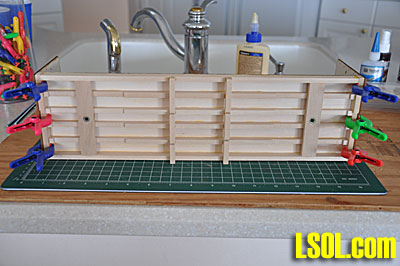
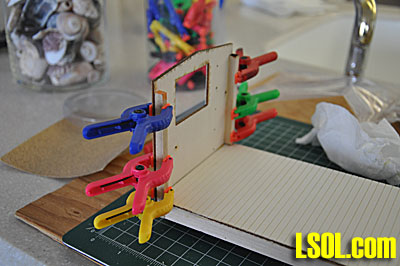
Once the sidewalls were in place, glued, clamped and dried, I glued the five roof rafters in place in the slots in the sidewalls and used long clamps to hold the rafters and walls in place while the glue dried. 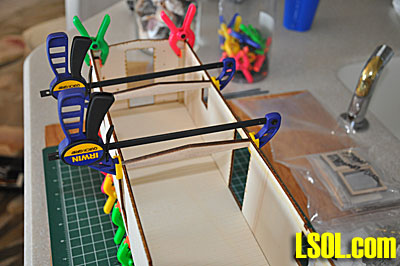
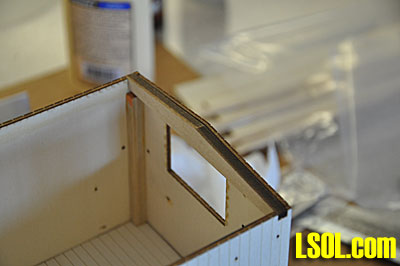
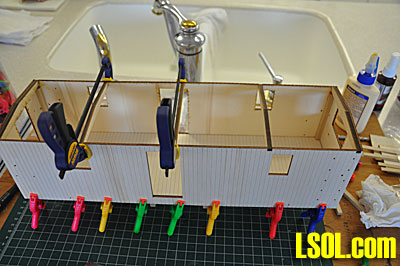
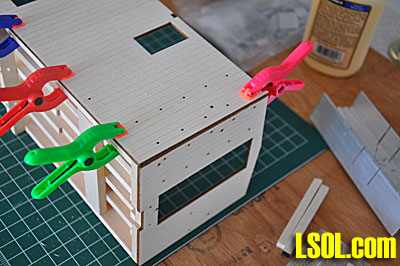
I glued the end trims to the ends of the cars so that the trim was flush with the roof pitch of the car ends. I glued and clamped them and then cut the side trim to size and glued and clamped them in place along the sidewalls. 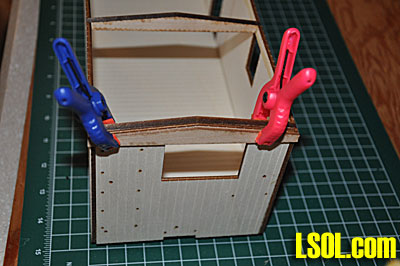
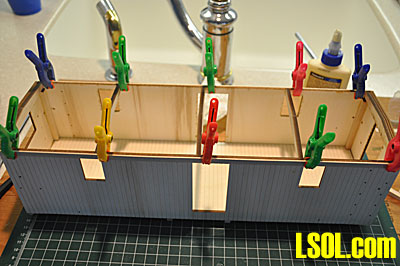
This completed the basic box for the boxcar and allowed me to then proceed with the more demanding construction of the rest of the car. In the next part of the article we will begin to construct the windows, doors and roof of the car.Tool List for Commissary Car
- 12" Metal Straight Edge Cutting Guide
- 12" X 18" Cutting Pad
- 18" Metal Ruler
- Acrylic Flat Black Paint
- Acrylic Glossy Black Paint
- Assorted drill bits
- CCA
- Center Punch
- Dremel Tool
- Extra Fine Sandpaper
- Files
- Floquil Flat Grey Paint
- Hobby Knives
- Krylon Flat Black
- Krylon Glossy Clear Spray
- Krylon Ruddy Brown
- Latex Ruddy Brown Paint
- Masking Tape
- Mini Square
- Miter Box
- Mouth & Nose Filter Mask
- Needle Nose Pliers
- Numerous Small Clamps
- Paint Booth
- Pin Vise
- Poly Adhesive Caulk
- Razor Saw
- Safety Glasses
- Scissors
- Side Cutter
- Small Blade Screwdriver
- Small Paint Brushes
- Tack Hammer
- Testers Dullcote Spray
- Titebond II Glue
- Tweezers
- Weathering Brushes
- Weathering Powders
| Kit Car |
| One can never have enough clamps. |
| Gerald Madsen - 05/19/2011 - 23:40 |
| Kit Car |
| Noel, you have produced another well-written and well-illustrated article. I have been through it several times and thoroughly enjoyed it each time. Certainly anyone planning to build one of these cars will find the information very helpful. Do you have any thoughts on whether it would be helpful to paint things at this stage or do you recommend finishing the car before painting anything? |
| Bill Ness - 05/23/2011 - 02:56 |
| D&RGW Commissay Car |
| Bill, In the next segment you will see that I paint the car before I go much further. You will have to wait until next week to see when. ;+) Thanks for the nice comments on the article. Noel |
| Noel Widdifield - 05/23/2011 - 14:48 |
| where to buy? |
| hello i read your article ...verry informative... but theres one thing missing where did you buy this kit from ?? i read your 3 parts sofar and you never said where you bought this kit from ...i know you showed a photo of your bill ..but its too small to read the address of the place you bought this kit from......and whos phill ??? |
| boyd hanby - 05/28/2011 - 14:14 |
| Where to buy. |
| Boyd, As I say in the first segment, the car was purchased from Rio Grande Models, UK and the Electric & Steam Modelworks. The website for Electric & Steam Modelworks is http://www.rctrains.com/ When you get to the site, click on the 1/20.3(Fn3)button and then on the Rio Grande UK button. That will take you to the kits. Thanks, Noel |
| Noel Widdifield - 05/28/2011 - 14:55 |
Top of Page
|
|
|
IMPORTANT LINKS

Get Your Official Diploma

Watch New Videos


New Products Online
|
|
|
|


