Scratch & Bash
:
Engines / Rolling Stock
Adding People to an LGB Trolley
Mar 31, 2004


By Jon C.A. DeKeles
LSOL.com Editor in Chief |
Author
Bio
One thing we saw that could use some improvemeant was adding more people to our Trolley.
|
You may have remembered our article a few editions back on the new LGB Trolley. We got a lot of nice comments from our readers about the article. In the time we have written that article we have received several emails and read several posts about how the owners of this new Trolley really like it. One thing we saw that could use some improvemeant was adding more people to our Trolley. The more people that take a ride on our trolley the higher revenue we will generate for the line. We figured it was an easy solution. We got ourselves two sets of sitting LGB people. We got sets #51470 and #52450. You can find these sets of 4 people for $30 or less per set. 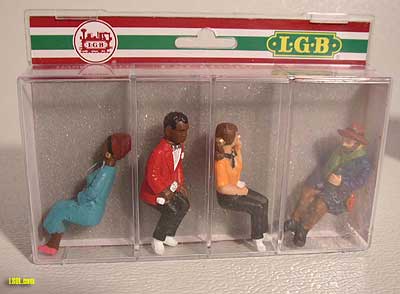 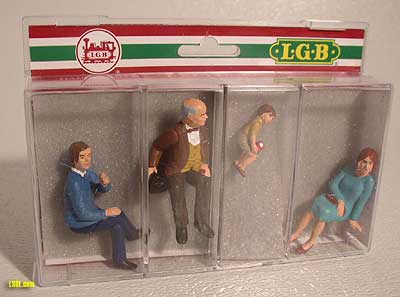 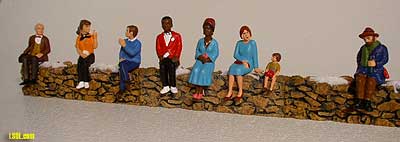
I found the people in the sets very well detailed and I feel that they will be in scale with the LGB Trolley that we are going to place them inside. The nice part about these sets is that you can mix and match the people in different groups to make different scenes. You can combine the women, child and man to make a family or, put the child with the Grandpa. It is time to get creative and make up a story about the people in your trolley. Just don't glue them in the seat. Use your imagination. Once you inspect your people, it is time to open up the LGB Trolley.
 First you will need to remove the air vents on the top of the trolley. Just apply gentle pressure on the slanted side of the air vent to pop it off the roof.  Under each vent is a screw that needs to be removed.  Once all the screws are removed you can remove the first roof of the trolley.
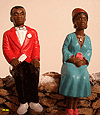
 On the inner roof you need to remove all the screws around the edge to remove it.  Once the screws are removed you need to disconnect the blue wires and the black wires before you remove the inner roof. Now comes the fun part, putting the people in. I noticed that one of the figures in our trolley was very similar to one in our set. 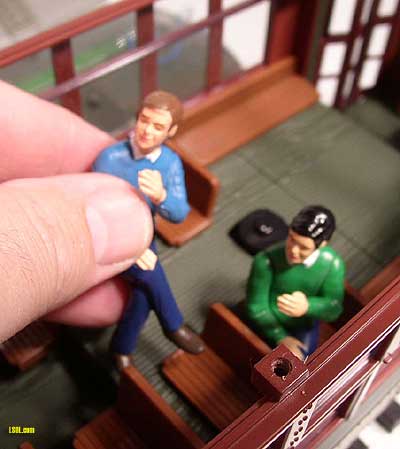 We thought we might remove the figure that was in there, but thought twice as he was really glued in there. So we will end up putting him somewhere else.
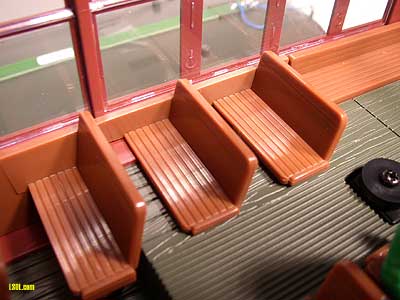 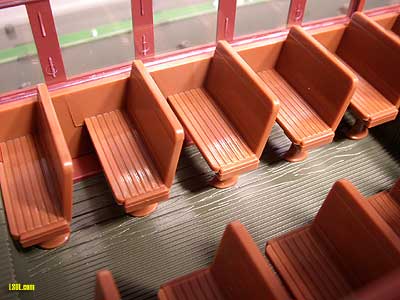 We also noticed at this time there are two kinds of seat inside the trolley. Those with leg room and those without. You think you do not have leg room when you fly! 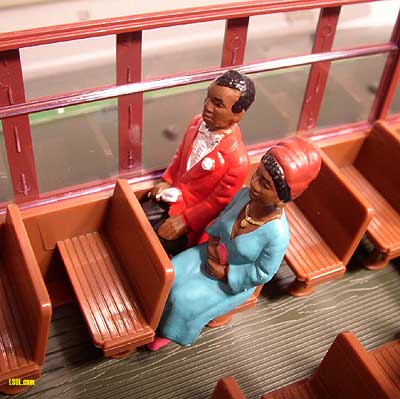 We took the time to test the seating of the people in the trolley. We tried lots of combinations. Don't be in a rush to just glue them in to get the project over with. 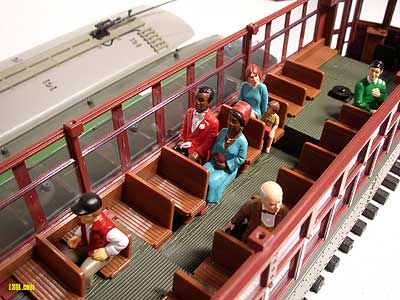
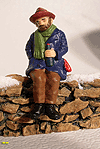
We made the choice that we wanted to put someone up in front. This meant that we were going to have to play doctor on one of the people in our set. We used our X-acto chopping saw and removed the legs of one of the figures. 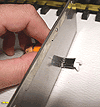 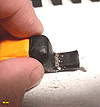 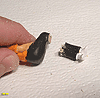 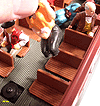 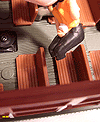 Slow and steady and the legs are very easy to saw off. Save the legs you can place them under a car at the garage and it will look like someone is working under the car. You can glue the figures in a variety of ways. We decided to just use a hot glue gun. We placed some on the bottom of the figure and held it in place till it was secure. Adding people to our trolley was a simple thing to do and really made it look much more active and fun. 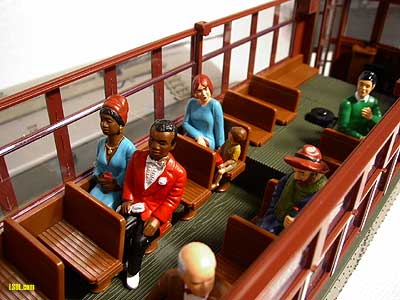 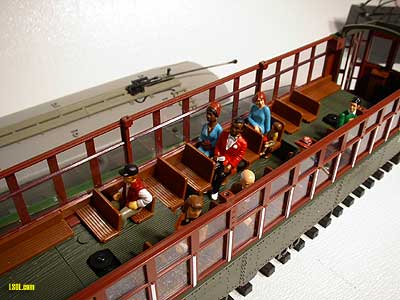 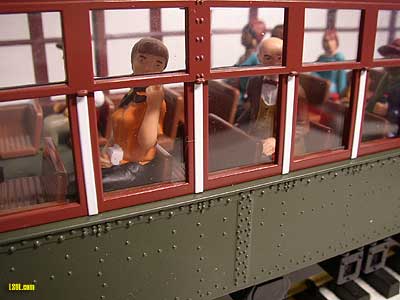 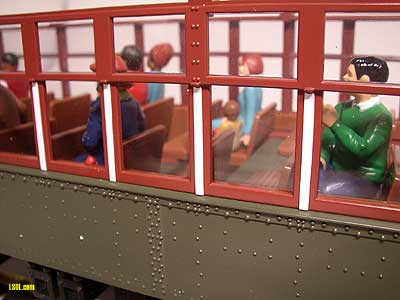 Top of Page
|