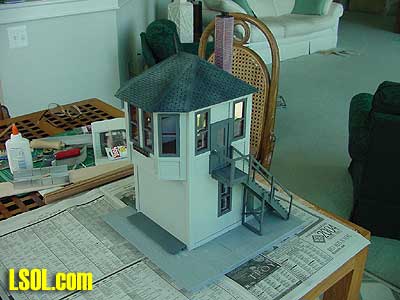
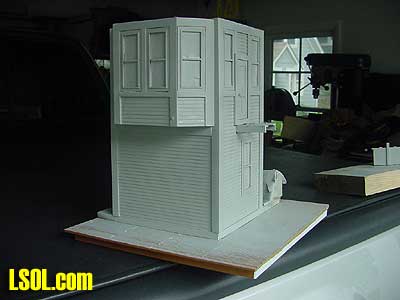
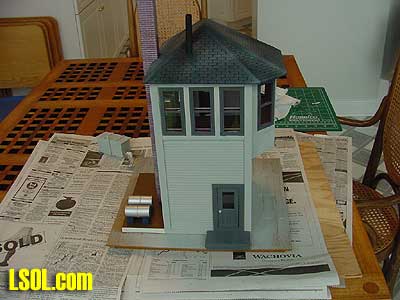
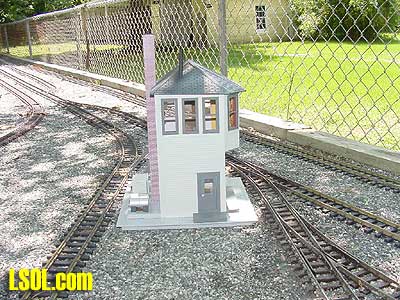
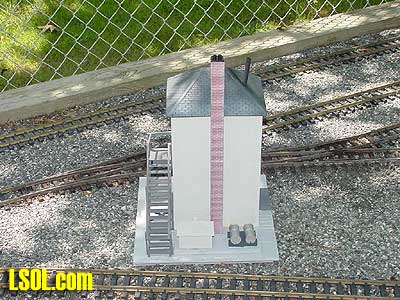
| In my last article, I reviewed the new ARISTO Bay Window Signal Tower and noted my satisfaction, however I also related that I planned to do some alterations on the tower before I put it on my railroad. It rained Memorial Day weekend; I couldn't go out in my boat, so I worked on trains. I wanted the tower to look more like a standard gauge tower found on a major railroad in the 50's to be completely happy with it. With that in mind, I spent the full weekend working on it. You can see the results by comparing the tower before 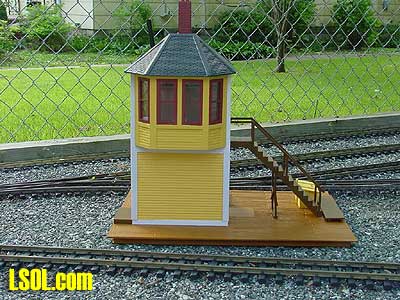
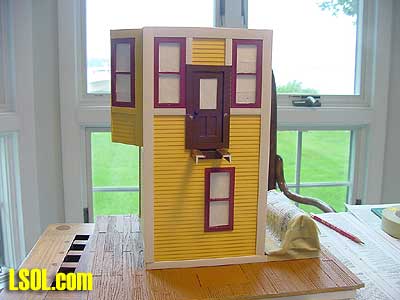
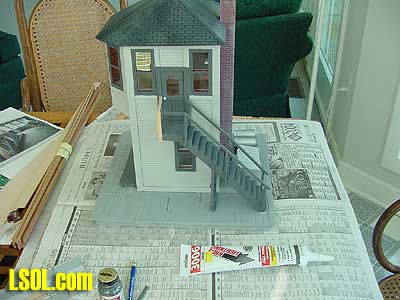
BEFORE
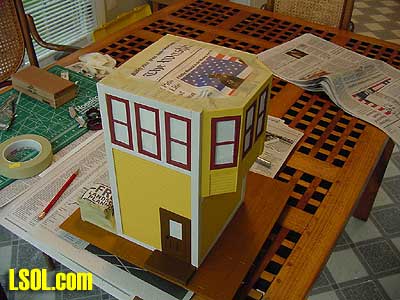
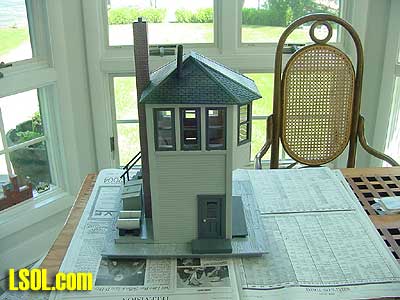
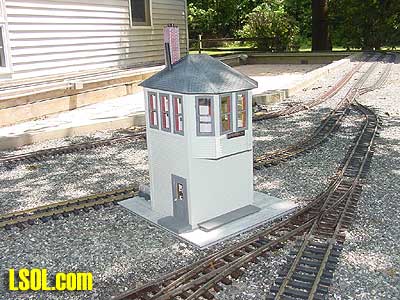
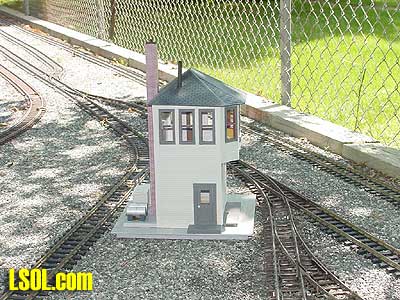
AFTER
Editor's Note: Look for Noel's next article on creating a complete interior for this tower to make it look like it would have looked in 1952.
When I unpacked the tower the first thing that I had noticed was that the chimney needed mortar. First I painted the chimney, one side at a time, with light gray acrylic paint and rubbed it with a rag to remove the excess paint leaving only the mortar lines. 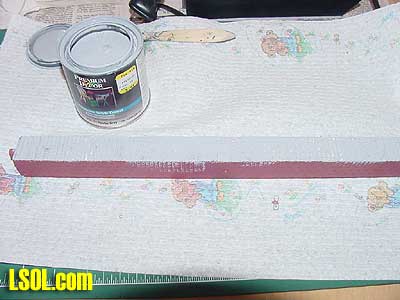
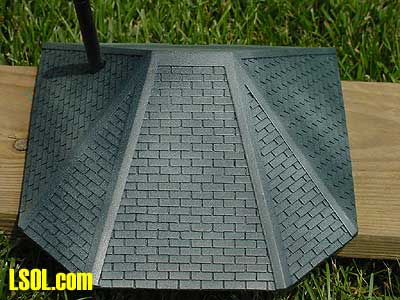
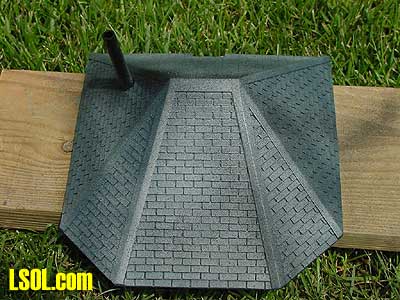
Next I painted the chimney cap black and then began work on the roof. I sprayed it with light gray and then with a flat black giving the roof a flat weathered look. 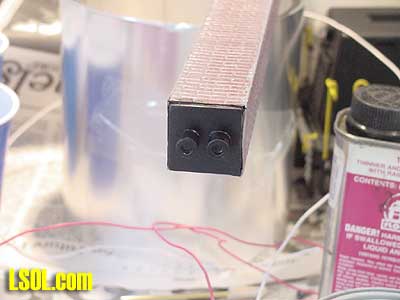
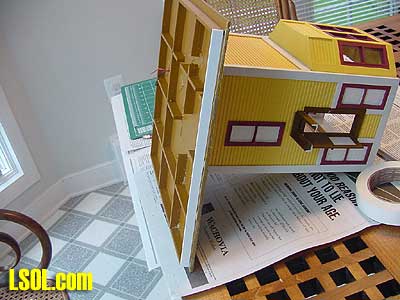
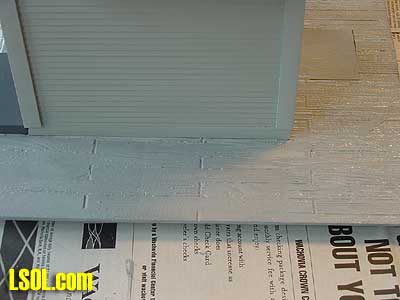
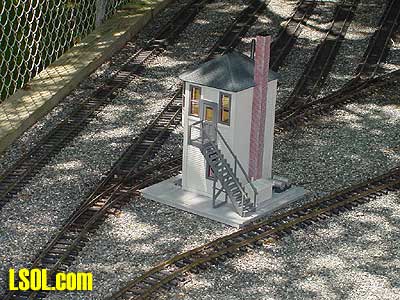
In my view the overall size of the platform needed to be modified. It is almost 18 inches by 13 inches and takes up too much room for a tower. Most of these towers had no platform, but I decided to leave some of the platform for stability. To reduce the size of the platform, the stairs had to be moved. I chose to rotate them 90 degrees and cut off almost 6 inches of platform. I cut the handrails at the door. 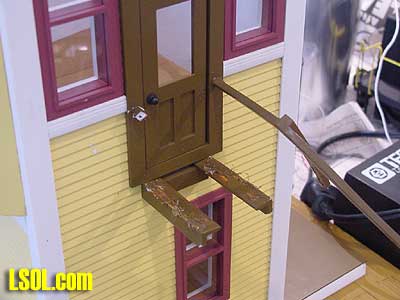
This required much trial and error until I discovered that the rails were fastened to the doorframe with screws from the inside of the doorframe. 
I finally used side cutter pliers to do this after much effort trying to remove them by pulling. In removing the stairs, the handrails came off in the process. 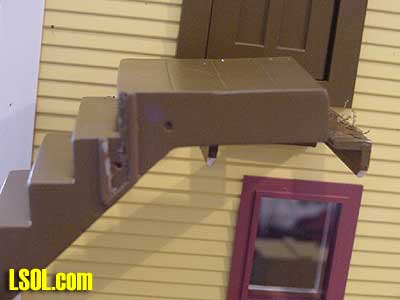
After removing the stairs, I cut off the ends of the two supports that held the stairs in place. 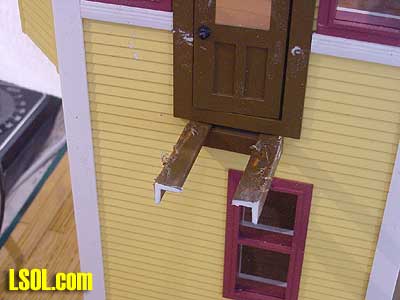
This was so that I could refasten the stairs after rotating them. The next picture shows how the stairs would be repositioned and also shows the dings I made in the doorframe and walls getting the stairs off. 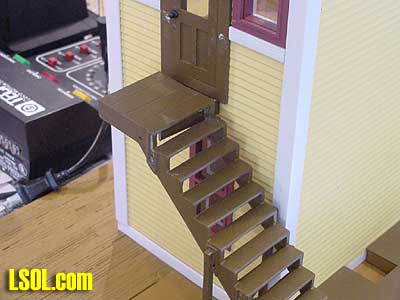
Next I removed the small platform and wood box attached to the major platform. 
This required using a razor saw to cut through the glue that fastened them down. Once they were removed, I could use my Dremel tool with a cutting blade to cut through the platform to remove these unwanted six inches. I had to cut through the top and bottom of the platform. 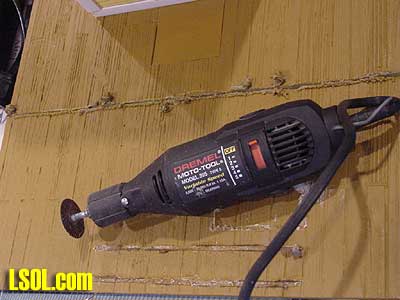
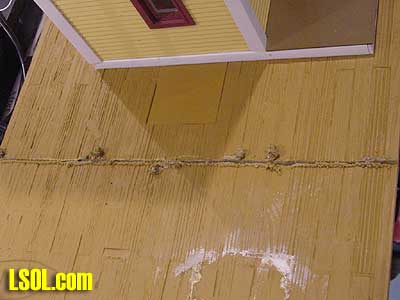

This left an edge on the platform that would need to be finished later. I finished this by sanding the edge and gluing a strip of styrene into place below the edge of the platform. 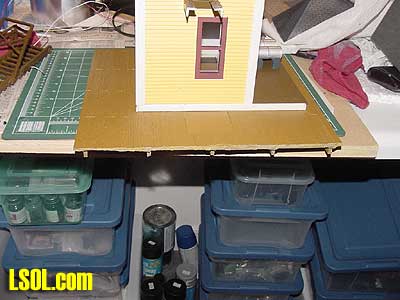
Since I didn't like the color of the tower, I began by masking all of the windows, 
I also masked the raised platform with the oil drums on the rear of the tower rather than remove them while painting. 
Masking completed, I sprayed the tower with a can of Krylon light pewter gray. 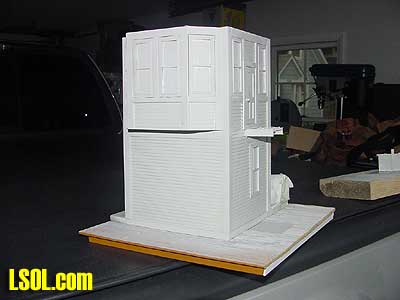
I find that Krylon does a great job and is a lot less expensive than the railroad paint spray cans. I also sprayed the wood box the same color. 
After letting the tower dry for about 30 minutes, I painted the window trim with a Floquil NYC Dark Gray. 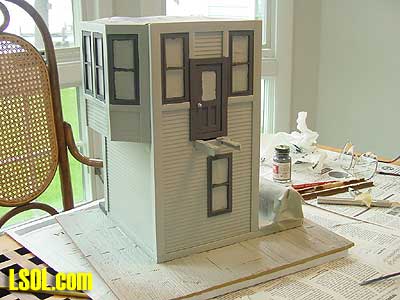
After the window trim paint dried, I removed all of the masking tape. 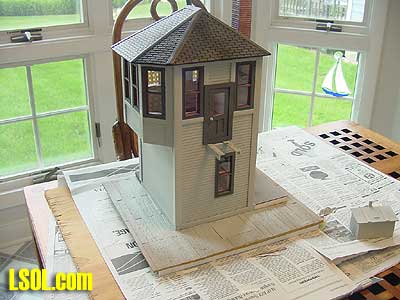
I then painted the boards on the large platform with a paint I had purchased at a paint store. It was the cheapest brand of water based light gray I could find. I use it for many of my projects where I need to paint large surfaces and cannot easily spray them. After gluing the stair rails back on the stairs, I glued the whole stair assembly to the tower after rotating it 90 degrees to the rear of the building. 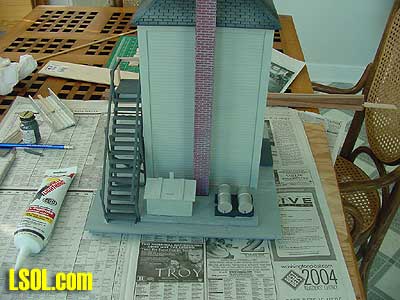
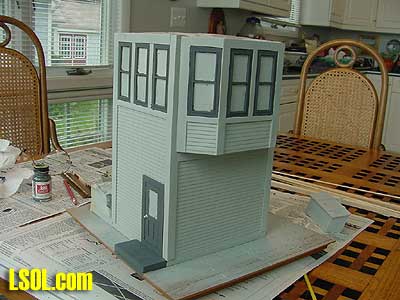
I finished the stairs by attaching some additional basswood railing. 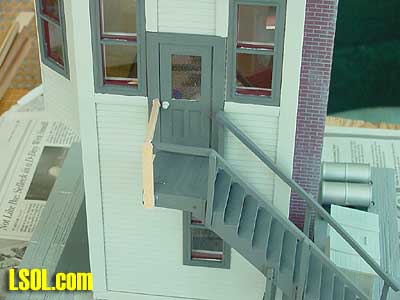
After the stairs had dried, I painted the basswood rails the same color as the rest of the trim. 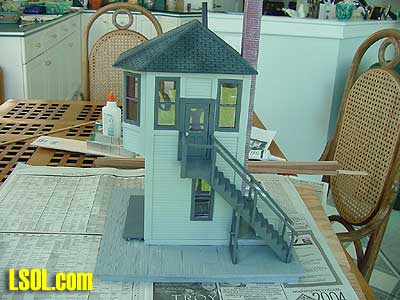
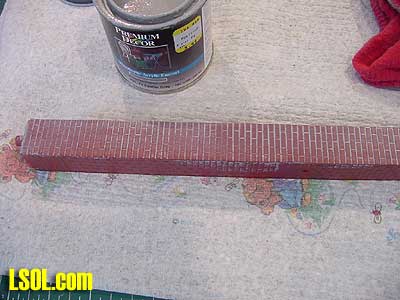
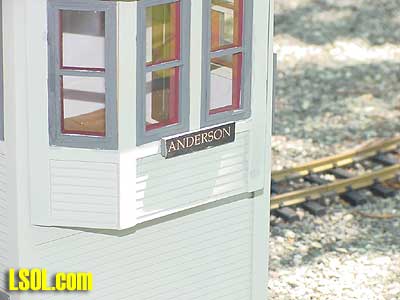
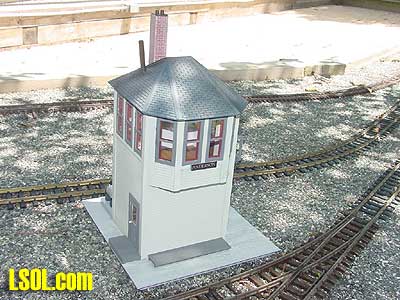
Knowing that the New York Central had many of these towers, I referred to New York Central Facilities in Color, by Geoffrey H. Doughty. 
I found that most of the NYC towers had the city name on the front of them. Thus, I chose one of my towns' names and I made the name on my computer with gold lettering on the black background that was used by the NYC. It certainly dressed up the tower. 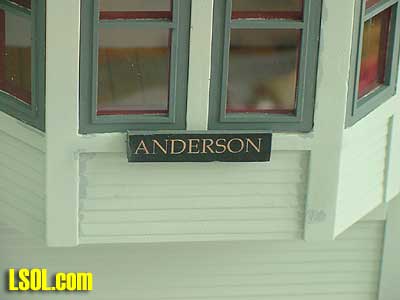
I glued the wood box to the back raised platform next to the oil drums and glued the larger raised platform in front of the tower 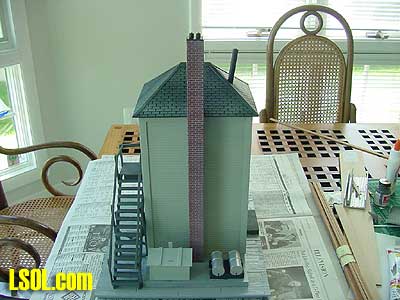
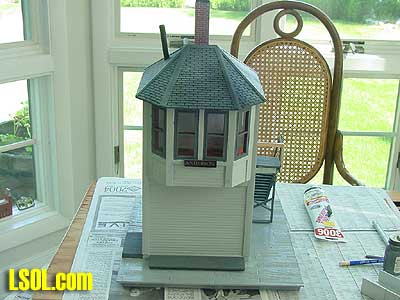
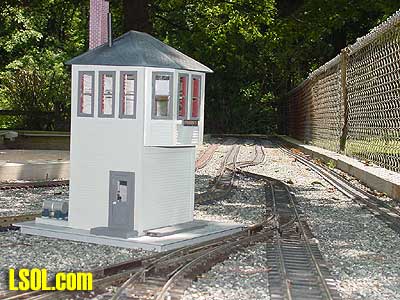
This completed the modifications to the outside of the tower. You can see from the pictures that it turned out pretty well. 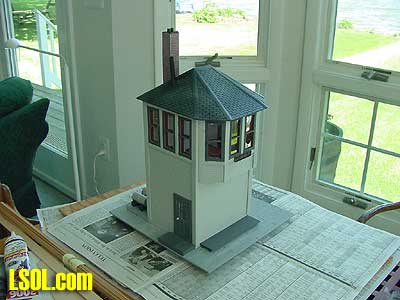
I moved the tower outside to take some more pictures. 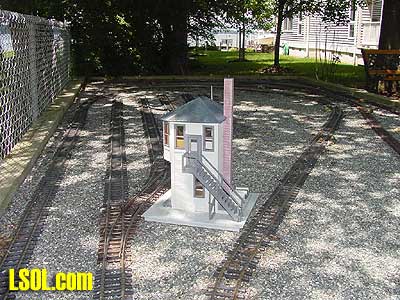
In the next couple of weeks, I will be completing the interior of the tower to look like it would have looked in 1952. 
I have already begun to work on the switch levers for the interior. Look for another article when I complete the interior. 
Wife's note: Noel neglected to mention a side story. While painting the stairs on our ship's hatch kitchen table he accidentally dumped a whole bottle of Floquil NYC dark gray paint all over himself and the kitchen floor. Good luck prevailed. Miraculously the paint missed the table but dumped on Noel's lap and covered a new pair of shorts. It splashed spots on a favorite T-shirt and coated a large spot on the floor. The shorts were in the trash, the floor spotless and the shirt was in the clothes dryer by the time I arrived home from my volunteer activity. Top of Page
|