A few years ago Piko introduced a series of small houses called their "Gingerbread"series. These small inexpensive house kits easily lend themselves to kit bashing. This article is the first of two on a couple of these kits I modified.I started with a kit number 62240 (Mr. Lewis Gingerbread House) 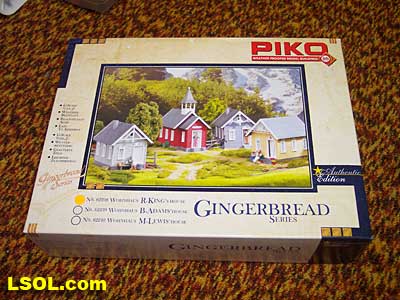
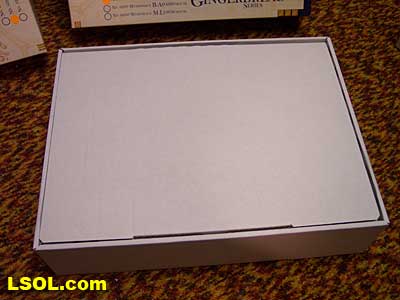
When you open the box you will find an inner box of smaller parts
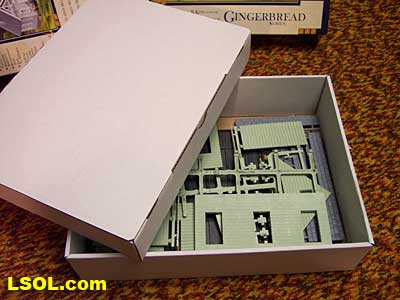
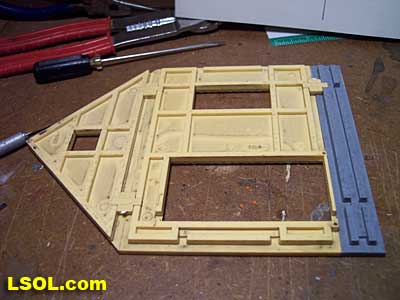
which when removed reveals the larger wall sprues.
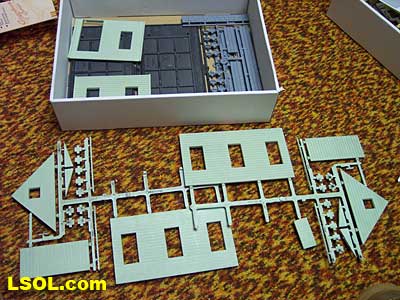
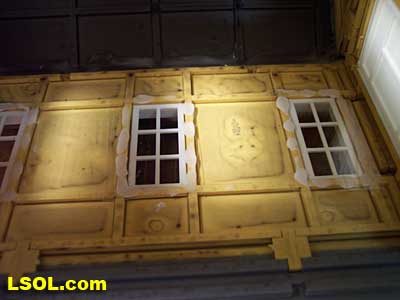
Lay out the wall sections and roof and you will have an idea how the basic house is constructed.
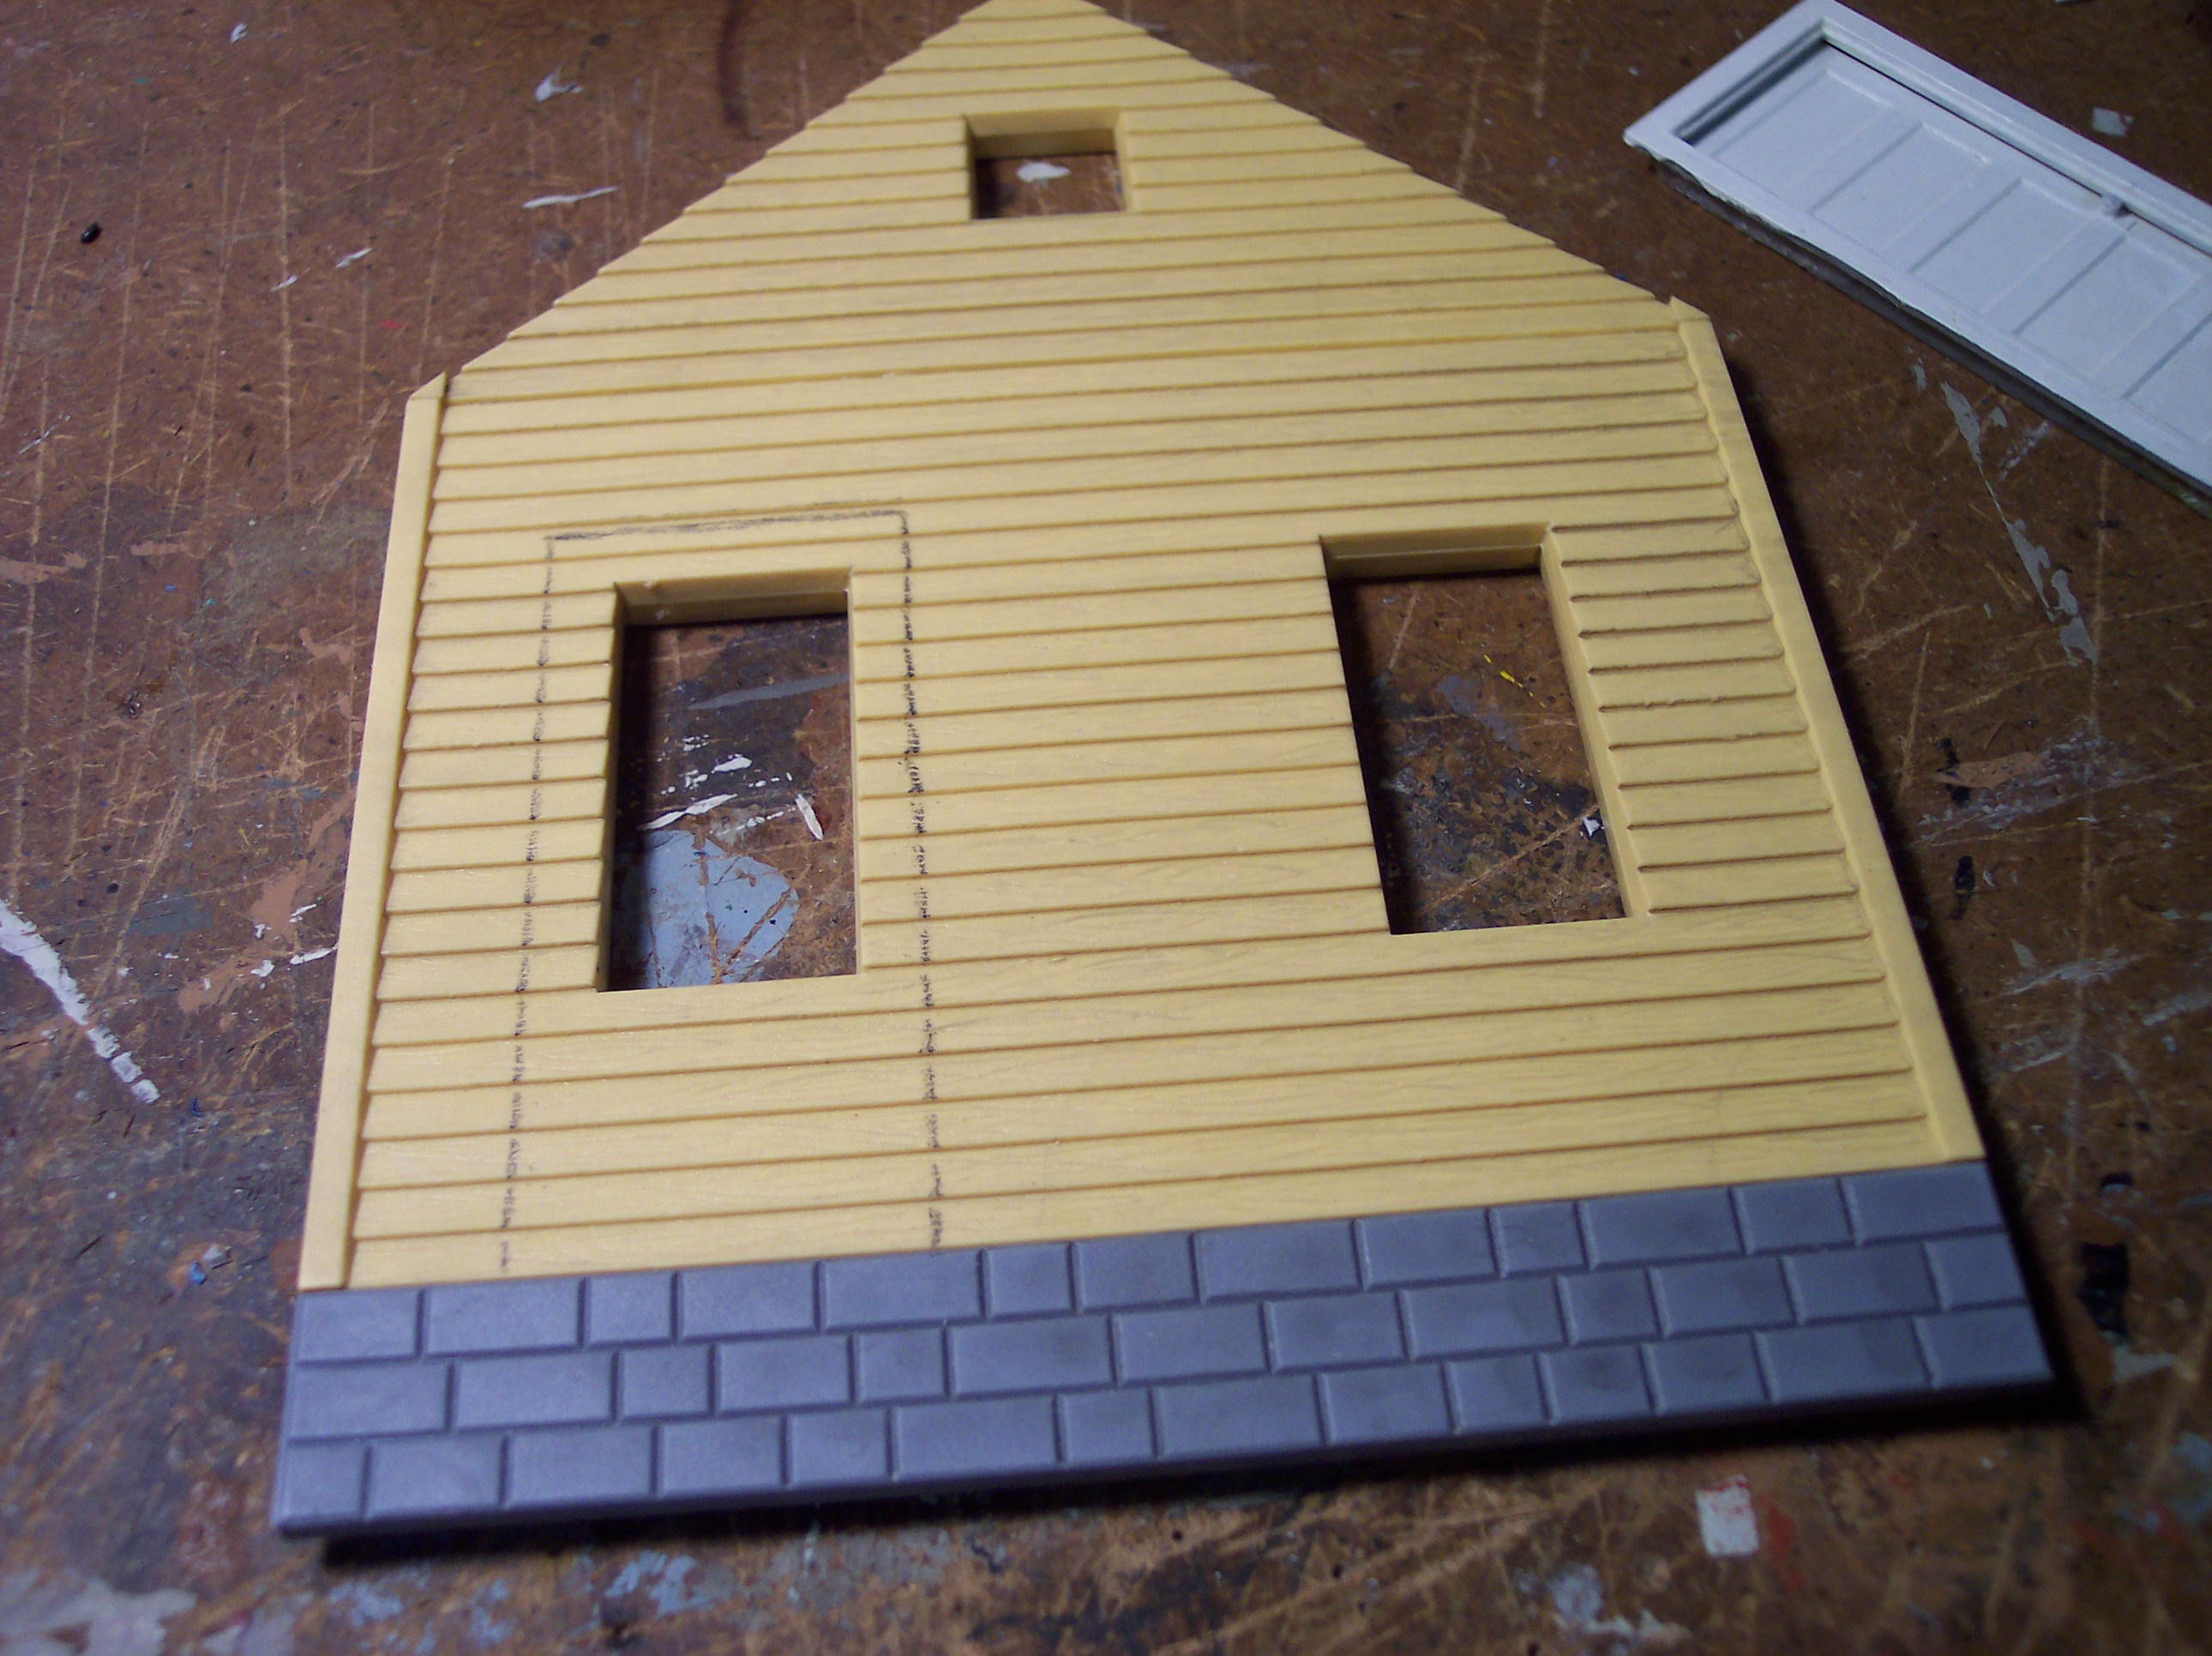
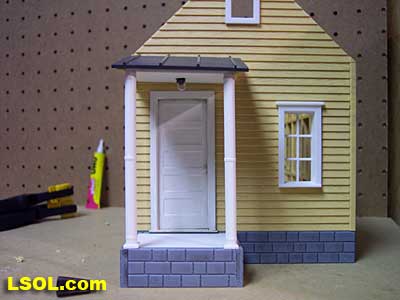
I decided to add a back door and a porch to my first house kit. I added a Grandt Line door to the rear of the house and started by positioning the door to see where it looked good.
then I marked the door outline with a marker.
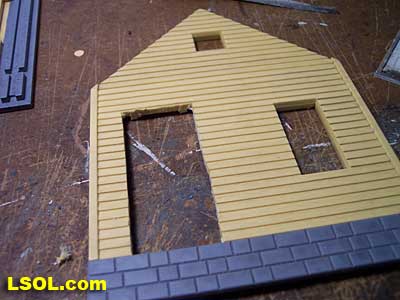
I cut out the door with a Dremel tool
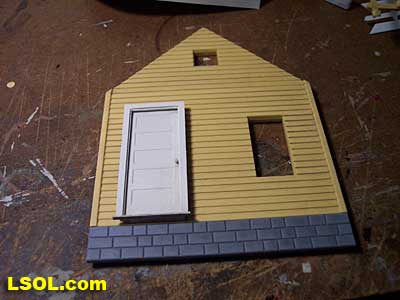
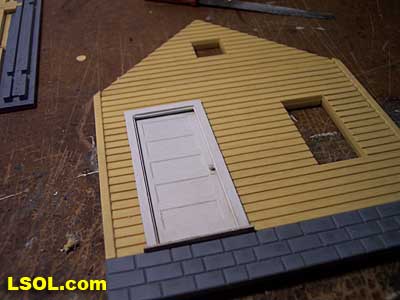
and installed the door.
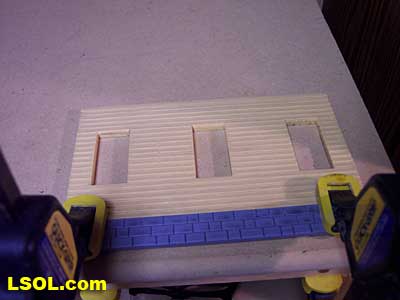
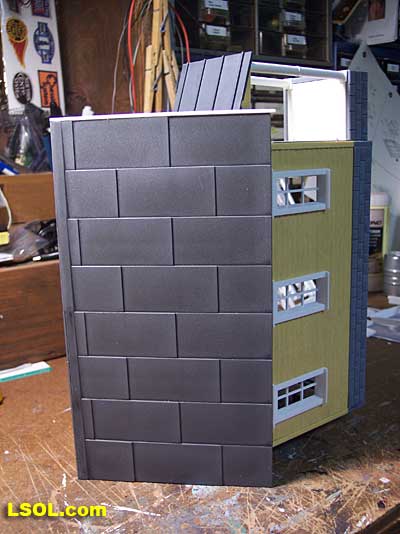
Install all the foundation pieces to the wall sections.
I found that some of the foundation pieces had a slight warp and had to clamp down the longer sidewalls to keep everything straight while the glue dried.
Next assemble the walls to form the basic structure.
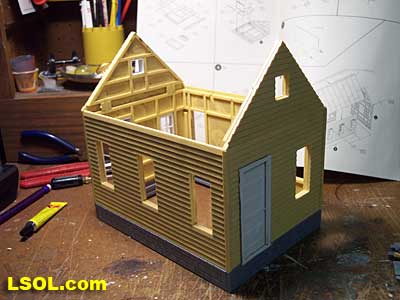
I used some excess pieces of foundation and one of the white pieces of plastic that are supposed to go inside the door (per the instructions) to make a rear porch
and glue it on the foundation below the newly installed rear door
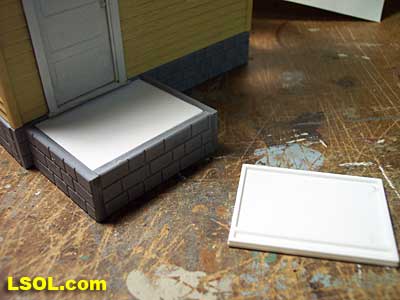
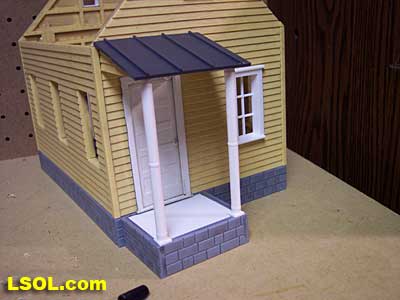
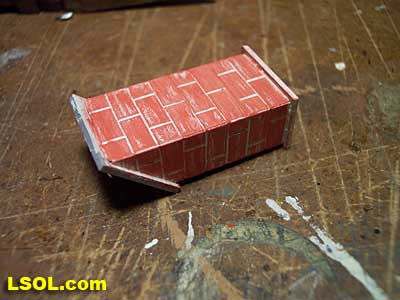
Next make a roof for the rear porch using another of those useful pieces of white plastic and the two angled porch roof pieces that are extra in the kit.
I used a bit of roof I had in my scrap box, but you could use a piece of styrene to make a roof section.
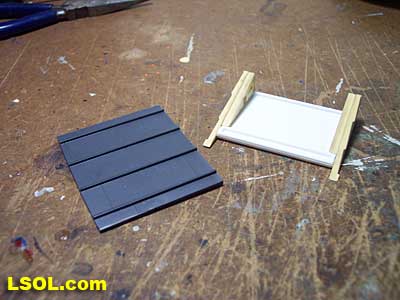

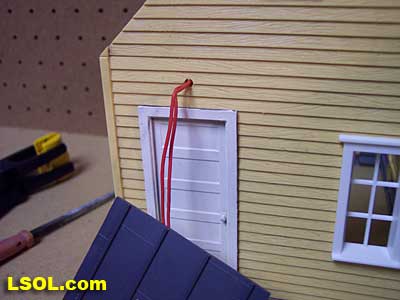
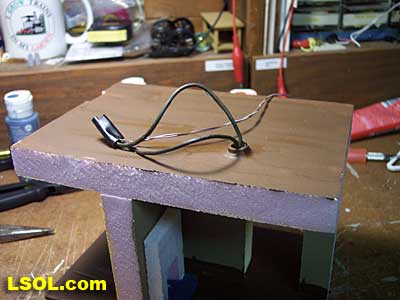
Glue on the roof and the piece is ready to be installed on the wall. I added a porch light by drilling a hole in the ceiling of the porch and installing a light bulb
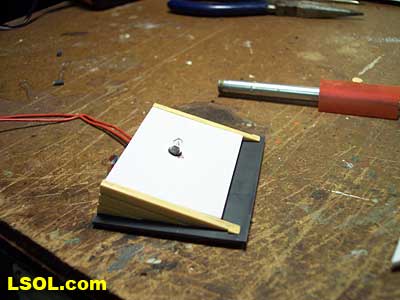
Drill a hole thru the wall above the rear door for the wire leads to pass thru to the inside of the building.
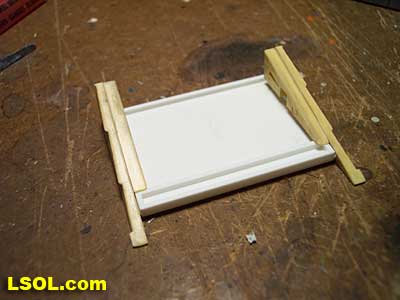
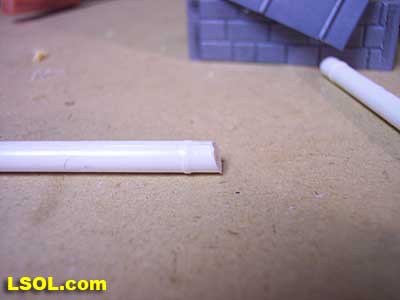
I used some tubular styrene for porch posts
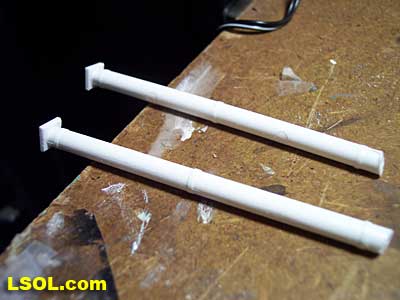
and added some small square pieces of styrene to the bottom I cut in a miter box.
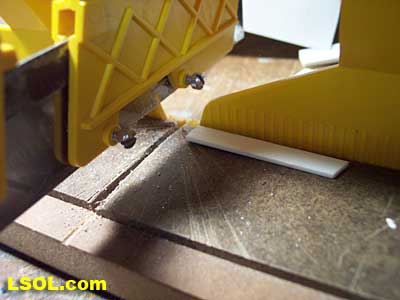
Cut the top of the post at a slight angle to meet the angle of the porch roof
and glue the roof piece and posts together with the porch floor.
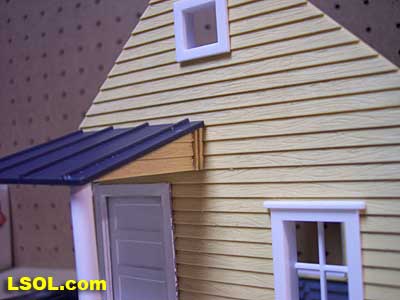
Add a small piece of corner trim to the joint where the roof sides meets the wall.
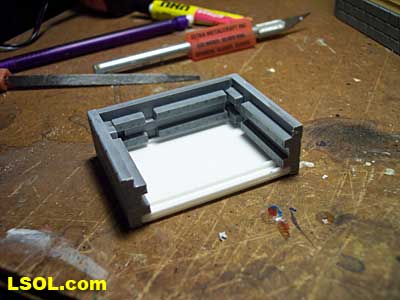
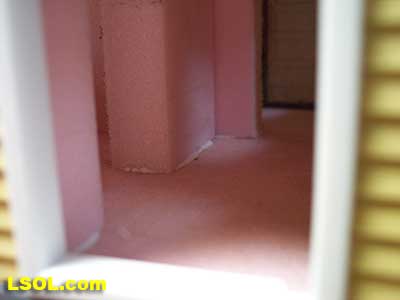
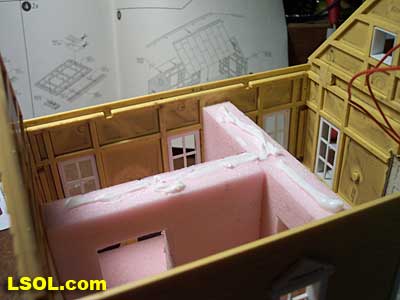
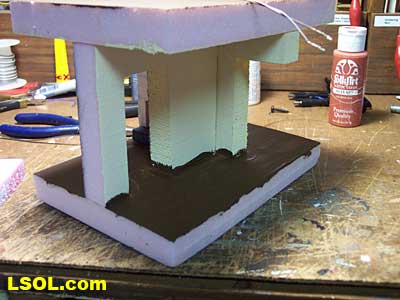
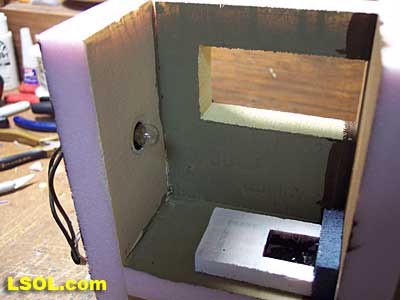
I added a basic interior with walls to separate the house into three rooms that could be lighted in a manner that would make some windows show more light than others (just like a real house at night). I used 1/2" foam to make a floor and walls.
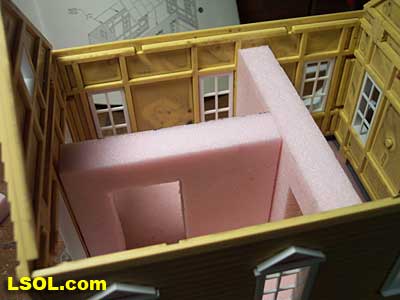
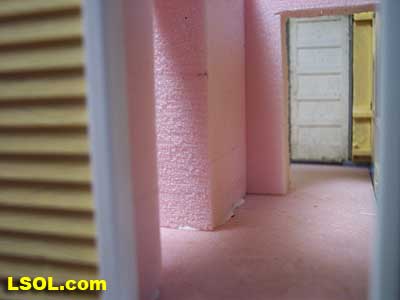
I cut some doorways between the rooms so some light would come thru from the room I was planning to illuminate.
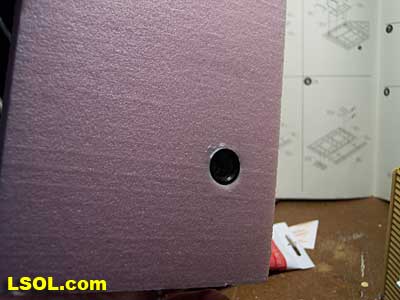
Next I made a ceiling piece and installed a light socket and glued it in place.
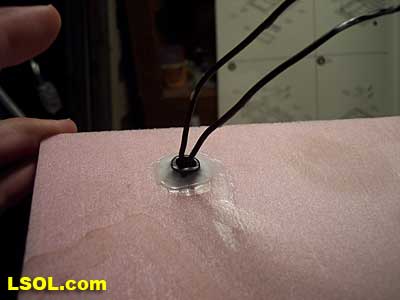
Next glue the walls to the floor and the ceiling over the walls.
it in place with silicone adhesive,
(don't glue the walls or floor to the exterior building walls). After the glue sets remove the floor/wall/ceiling assembly for painting.
I gave the job of painting the interior wall assembly to my son Joey
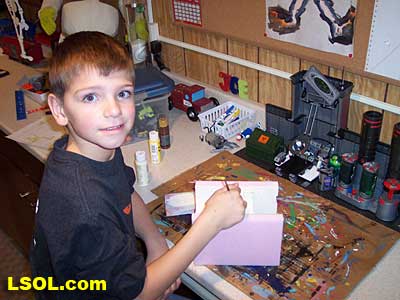
who painted the floor dark brown
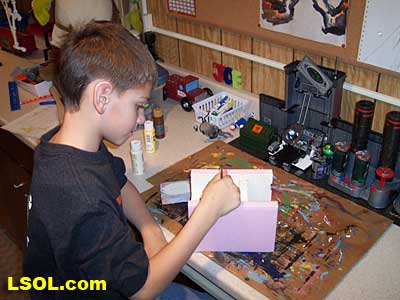
and the walls cream with a white ceiling.
We also added a fireplace to the main room as an accent.
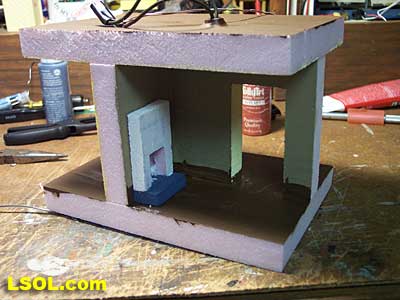
I installed a socket and a small bulb in the ceiling
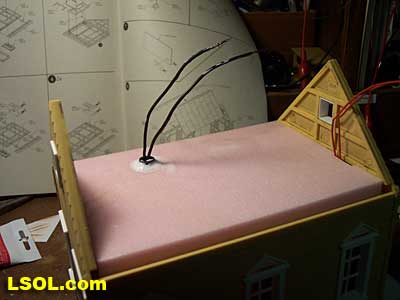
Next I glued on the roof and sealed the inside wall corners and roof with silicone caulk.
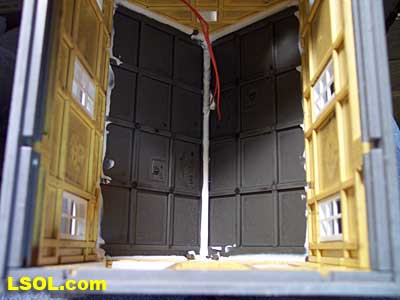
I wired the house with a main power wire,
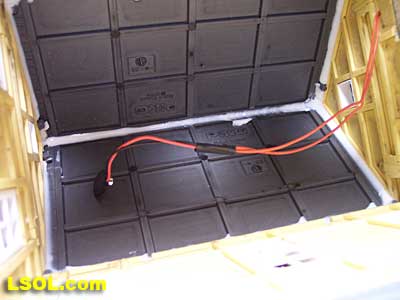
which feeds the light in the porch, and a 9v power plug.
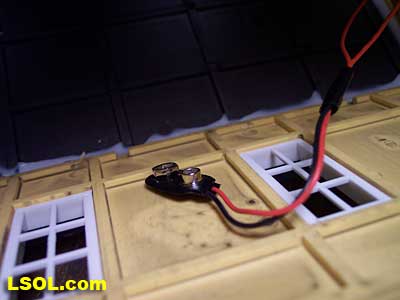
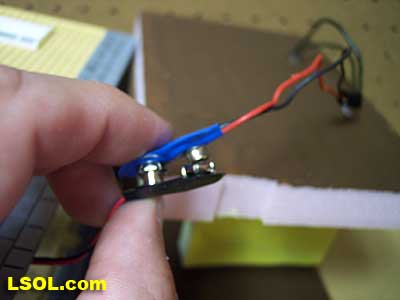
Then I wired the wall unit with a 9v plug
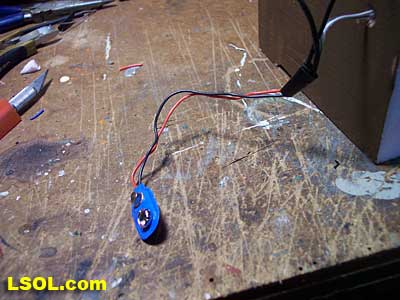
so the inside can be unplugged and removed if necessary.
Install the styrene window glass using clear silicone caulk or adhesive.
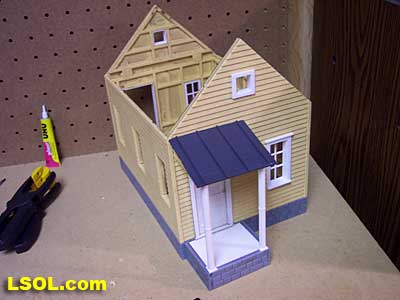
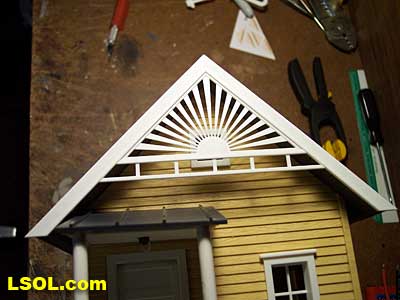
Put the interior in the structure and add the final details such as the chimney,
the window trim,
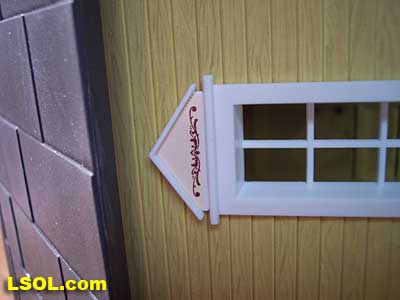
and the gingerbread trim.
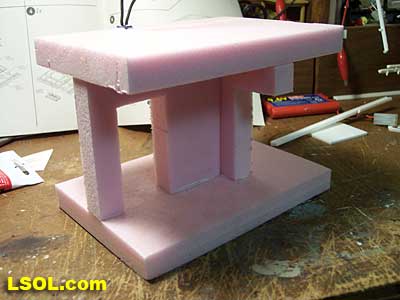
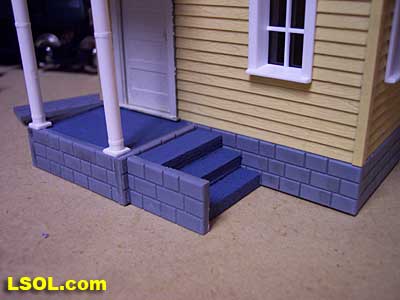
Finally, I made a set of steps for the rear porch. 
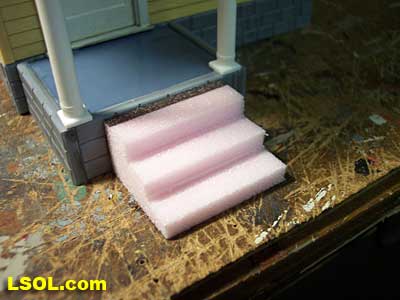
I cut them out of a piece of foam and installed them off the porch and added a piece of foundation for trim.
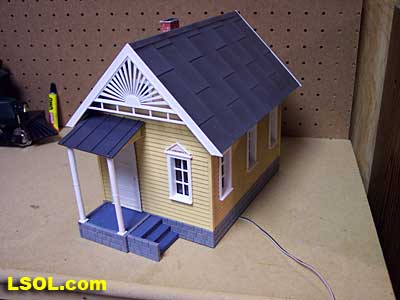
The finished house is now ready for the layout. I think the lighting effects came out nice

and the porch light makes a neat effect.

Pick up one of these inexpensive kits and try your own bash!
| House Bash |
| Randy, Infomative article. It shows what a little extra work can accomplish to enhance the Piko house so it doesn't look like every other one. Good job. |
| JD Miller - 01/07/2009 - 05:13 |
| kitbash Piko building |
| Very good ,Will have to do ! Carl |
| Carl Lammlein - 01/07/2009 - 05:36 |
| Structures are Important |
| When people do model railroading, few seem to understand that structures are the other half of making a layout look realistic. Randy has shown here how a little effort can make a simple kit stand out while fitting into the railroad scene. |
| Rick Henderson - 01/07/2009 - 05:39 |
| Fantastic Kit Bash |
| Hi Randy, Loved this article, very informative and creative. Don't think most builders go so far as to add an interior, so that was a bonus... Only thing I wondered about~you didn't mention your glue choice, was it the one in the kit? And does the foam require a special kind of paint? Thanks for sharing.. Elaine |
| Elaine Haggenbottom - 01/07/2009 - 08:39 |
| Comment |
| Good Job I will have to try something like that. |
| Charles - 01/10/2009 - 14:30 |
Top of Page


