Scratch & Bash
:
Buildings
Building the ACME Manufacturing Company
Apr 14, 2010
By Ray Turner
Author
Bio
After adding a spur for a new industry, I had to create the industry structure. I decided a non-descript manufacturing company could support a wide variety of cars being dropped off and picked up. I decided a simple box-style building would be suitable and that I would use scrap acrylic to build it.
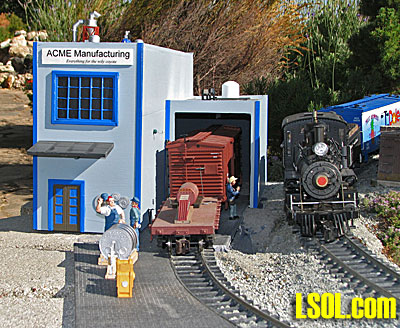
After adding a spur for a new industry, I had to create the industry structure. I decided a non-descript manufacturing company could support a wide variety of cars being dropped off and picked up. This was how the ACME Manufacturing Co. (everything for the wily coyote) was born. I decided a simple box-style building would be suitable and that I would use scrap acrylic to build it.
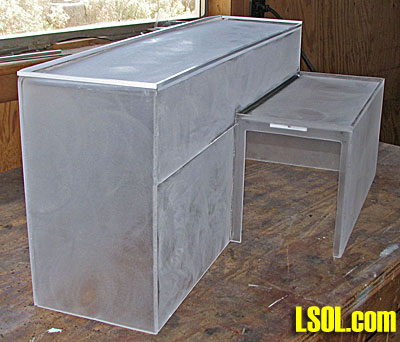
The space didn't allow for a very large building alongside the spur. To add interest I decided to enlarge the bldg. to accommodate the spur entering it. For visual interest I created a structure with two sections with different lengths and heights - the manufacturing shop and the inside loading dock. The loading dock would be about 2/3rds of a box car long. The manufacturing shop could be twice that long.
I used acrylic because it's so nice to work with. It's easy to cut and shape and fast to glue. It also doesn't get brittle in the sun, but I will be painting it anyway for this project with exterior house paint. However, Acrylic is expensive, so I buy several pieces in the scrap bin for $1-2 per sq. ft. and glue them together to make larger pieces.
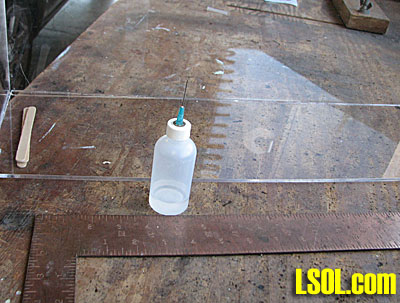
Although there are special saw blades for plastic, they are expensive and I find that a plywood blade works OK. Pieces can be cut on a table saw, the edges sanded, if needed, and they are glued by holding the pieces in contact and using a needle applicator bottle and allowing capillary action to pull the glue into the joint. It sets hard enough to let go in 2 minutes, and you can work with the pieces gently in 5 minutes. In 20 minutes you would have a hard time separating them.
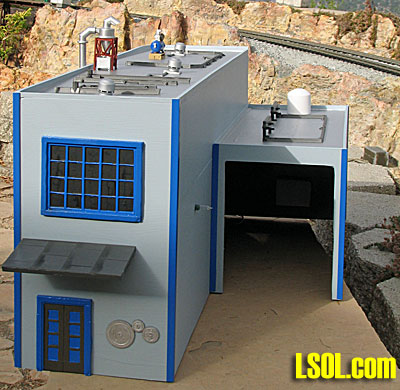
The following photos tell the story of the basic construction. The key to making the building visually interesting is in the details. The windows and doors are from a Precision Products plastic window/door sheet (available from www.rrstoneworks.com #5043/5045). The corner trim is 1/4" styrene right angle pieces. The parapet is made with .188 square styrene. The awning is a spare roof piece from a Pola kit. The piping on the roof is scrap sprues from Pola kits (You've just been throwing those sprues away, haven't you.)
The tank is a PVC plumbing cap. Other rooftop details I picked up here and there. I bought a bag of plastic gears surplus, painted three silver, and put them on the front as a company logo. The lights are five 2.5V Christmas tree lights from a 50 light set. Five lights in series runs nicely from a 12 Volt outdoor lighting transformer.
An additional external loading dock allows two cars to be loaded or unloaded at the same time, and also allows the visual interest of people and "stuff" being loaded and unloaded. I cut this out of a passenger station platform with a band saw to match the curve in the track.
Helpful Links and Information
o Weld-On Solvent Cement Product Guides - Click Here o US Plastics Corp Knowledgebase - Click Here
Needle applicator glue bottle
Applying glue to the joint - drawn in by capillary action
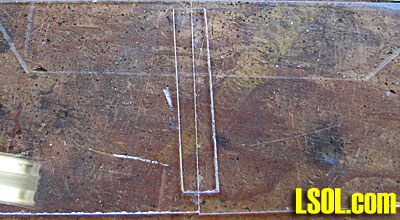
Splicing two smaller scraps together
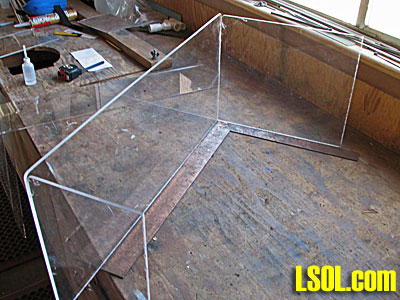
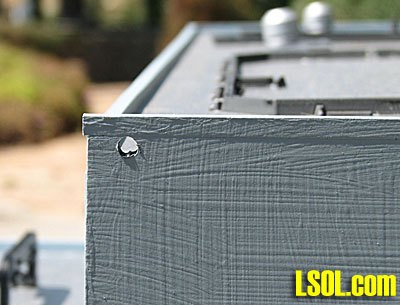
Make sure the corners are square
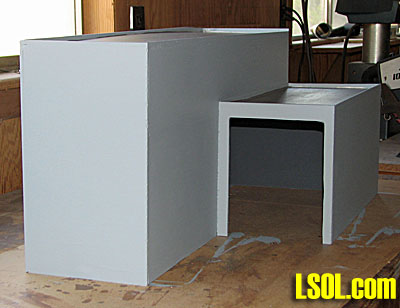
Sand the plastic lightly so the paint will stick better
Spray with primer, then paint with exterior house paint
Add windows, doors, trim, and details
I make my signs by laser printing (or copying) onto a transparency and then coating it with silicone to protect it from the weather.
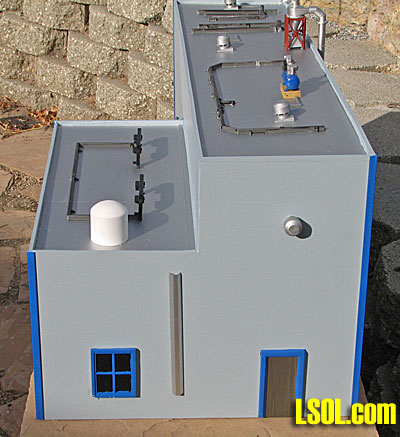
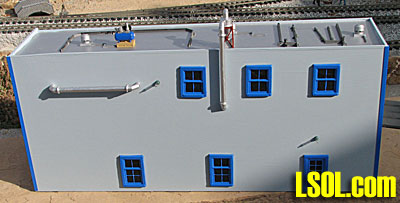
Rear view
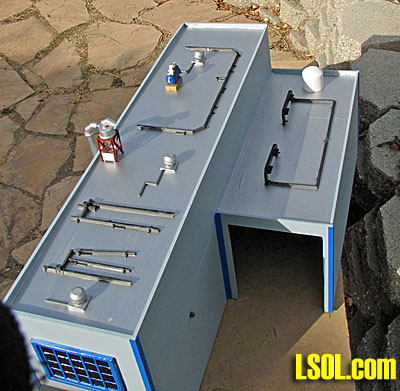
Rooftop view
Side view
Installed and operational. The local is preparing to pick up two cars loaded with ACME products.
Lastly, don't forget to add a couple of drain holes for the rain.
Industrial Building
Ray,
Well written article. You ended up with a very nice building.
One question. The last photo looks like the wall of the building is textured. Is that correct?
JD Miller - 04/14/2010 - 05:33
ACME
Ray,
A very nice article and detail of the construction. That plastic should last a long time. Gary
gary condry - 04/14/2010 - 06:10
Textured wall
The "texturing" on the last photo is just the brush marks from painting with house paint, which is rather thick. You could add sand to the paint for a stucco look, or thin the paint to reduce the brush marks - or spray it to eliminate the brush marks. Note: this is a close-up photo and the brush marks are not noticeable from 2 feet away.
Ray Turner - 04/14/2010 - 09:59
nice
Ray, very nice. I have a box full of sprues from various models I have built over the years. They do come in real handy.
David A. Maynard - 04/14/2010 - 16:16
Construction tech-neats !!!
Ray...A super job, and with the acrylic you have a very clean and sharp cornered (and looking) building. I'll post a picture of a small enginehouse
that I made from a "Barbie" carryabout playhouse that is made out of plastic with the same results.
I used a bandsaw to cut the acrylic, which gives a raised melted edge, but snaps right off when it cools in a few seconds, giving a clean cut.
Kirke Fay - 04/15/2010 - 04:41
Great Job!
Hi Ray,
I love it when members show their ideas on buildings. This one was really neat with lots of common sense ideas for finishing. One question, where do you find the right-angle trim for the sides? Is it the same as Yogi uses, made for the plastic angles?
Thanks for sharing!
Elaine,
P.S. I never throw out anything. Most of my acryllic has been used to add bases to my buildings, never thought of using it for the actual buildings...
Elaine Haggenbottom - 04/15/2010 - 11:29
Angles
The angles are styrene shapes available in most hobby stores. Once painted they will last outdoors.
Ray Turner - 04/18/2010 - 20:38
Acraylic thickness
I like the looks of the building. What gauge plastic are you using. will this type of building take the heat here in Texas