
|
|
Scratch & Bash
:
Buildings
Build a Diesel Engine House Kit
Jul 7, 2010

By Noel Widdifield |
Author
Bio
Last year I built a powerhouse and a yard office from one of the Colorado Model Structures building kits and found that the materials were nicely done and easy to work with. The power plant was one of the showpieces on the railroad so I decided that it would be fun to build a diesel engine house.
|
| Last year I built a powerhouse and a yard office from one of the Colorado Model Structures building kits and found that the materials were nicely done and easy to work with. The power plant was one of the showpieces on the railroad so I decided that it would be fun to build a diesel engine house from one of the Colorado Model Structures kits. 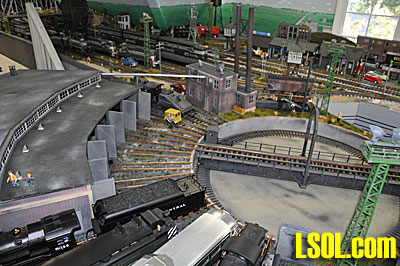
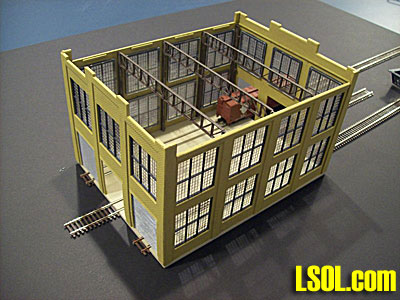
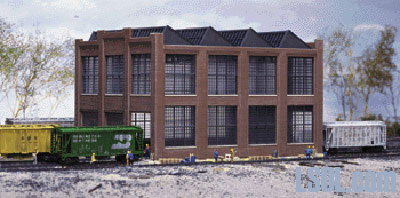
As in all of my projects, I began by doing some research about diesel engine houses. I soon found that they came in all sizes and shapes, but I located pictures of some HO models that give me the basic ideas for designing and building mine. I really liked the red brick one that I found a picture of on the Internet and focused on that design to build.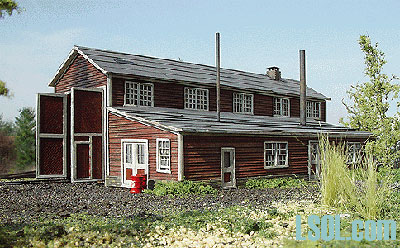
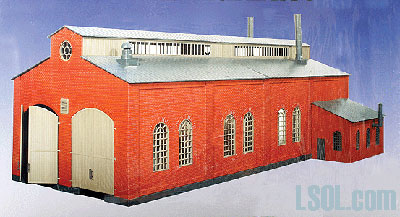
At the East Coast Large Train Show in September I approached Bruce, the owner of Colorado Model Structures booth and asked him for a kit to kitbash for an article. He asked me which one I wanted and I selected the Virginia Ridge PS 101 kit since I had used that for my powerhouse.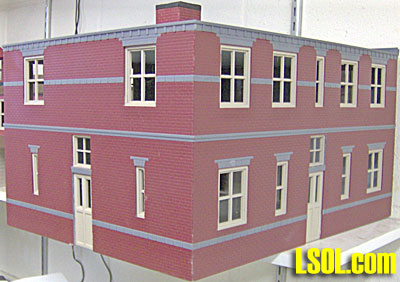
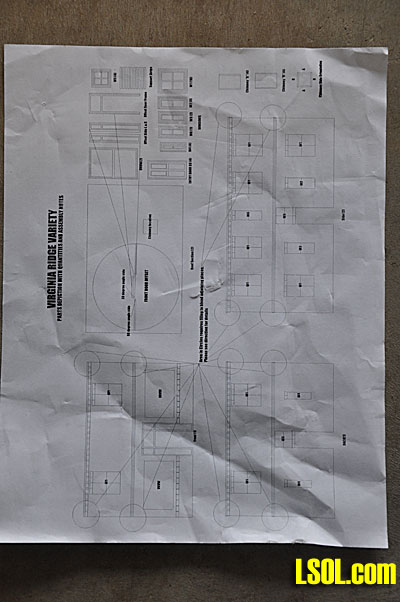
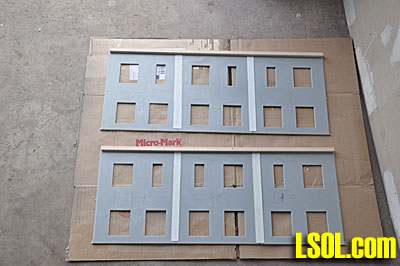
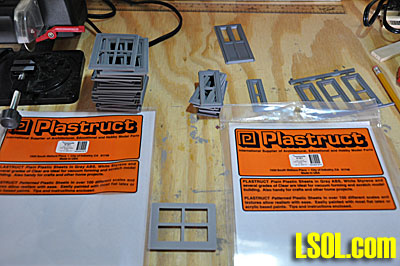
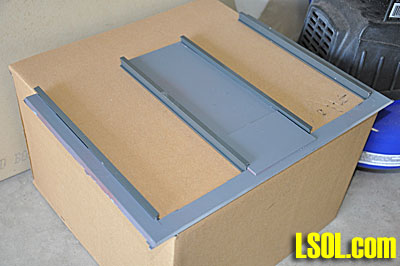
The kit comes in a large plastic bag and contains all of the materials for the building. These include walls, roof, chimney, windows, doors and clear plastic for the windows. There are also detailed instructions and diagrams describing the construction of the building. Since I was building a different building, I discarded the instructions, but found them very well done. 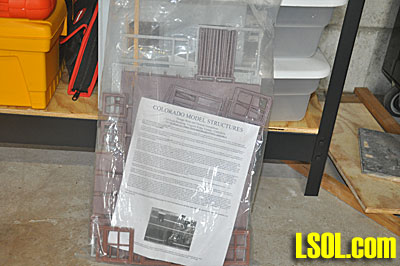 
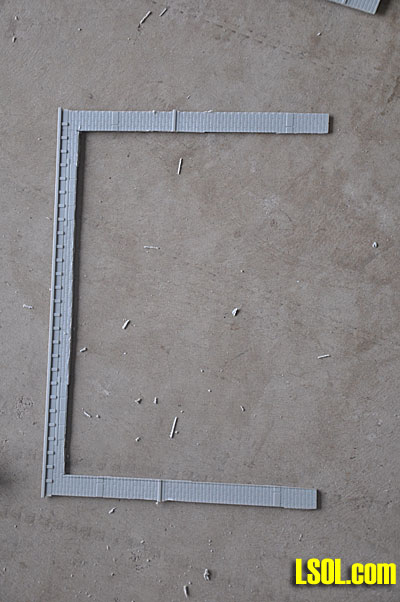
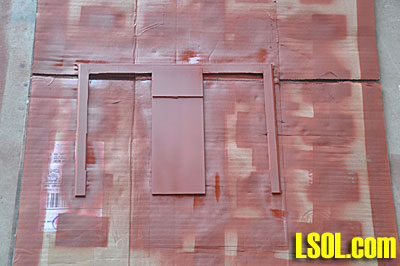
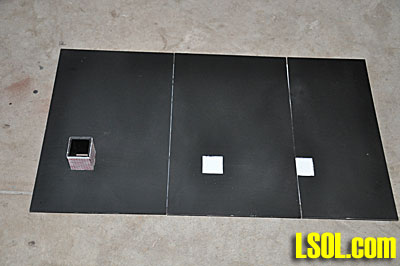
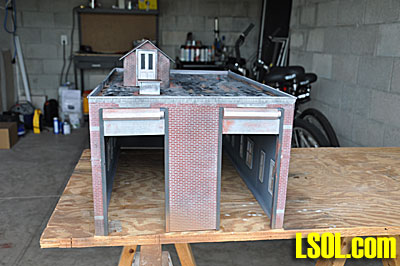
To begin the design, I checked the measurements for the GP-7s and S-4s that my friend, Dave Zinsner had for his railroad. Since my railroads are completely filled with buildings, I decided to donate the building to Dave. He is just getting started in Large Scale and doesn't have many buildings. So after determining the dimensions for the two locomotives, I drew out the building footprint on the floor of my garage/workshop. If you look carefully, you will see the pencil lines for the outside dimensions and the door openings faintly drawn on the floor.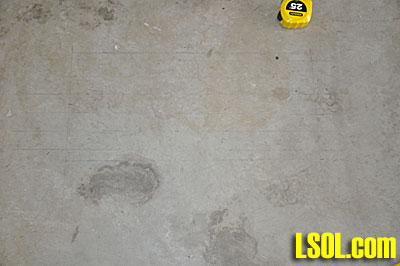
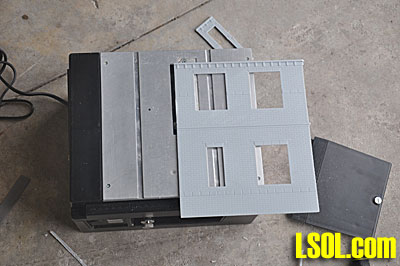
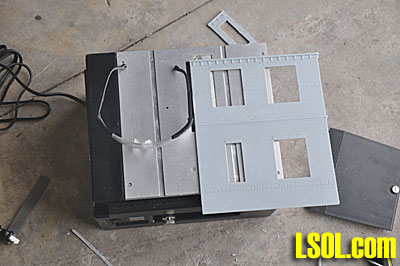
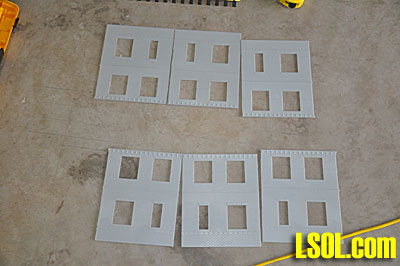
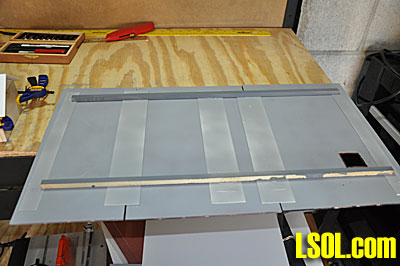
I cut the sidewalls of the kit in half by cutting along the door openings in the first floor. I used my miniature table saw to do the cutting. This gave me the basic wall structure component and I used three of these components to glue together for the long side of the building that fit the measurements I had drawn on the floor. 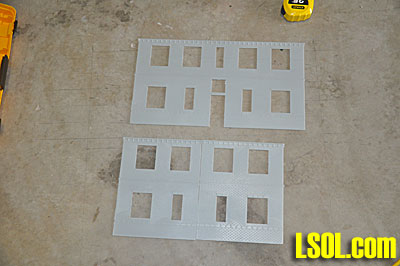
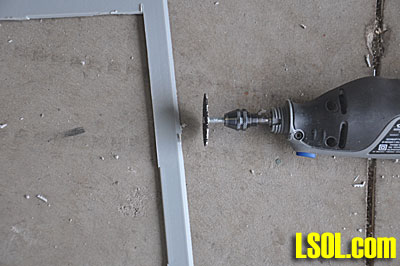
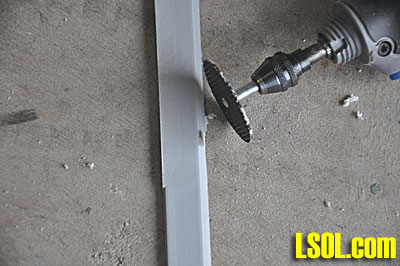
I cut the wall for the large double engine doors from one of the storefront sections by cutting out all but a narrow strip on each side and along the facade at the top. This created the basic frame for that section of the building wall. I used my miniature table saw for the cutting and my Dremel cutting wheel to smooth the sides and remove the ends of the trim along the walls. Later I would fill in the large opening with additional pieces of the brick walls to construct the door openings.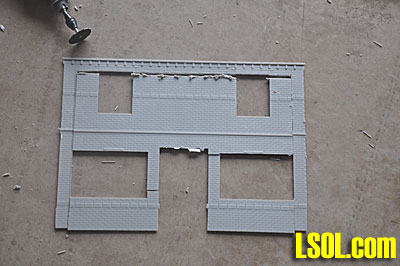
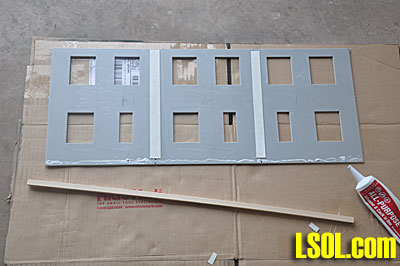
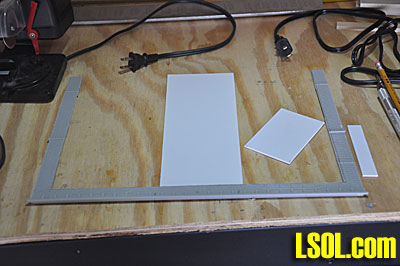
At this point I had the basic materials for all four walls of the building and all I needed to do was fasten the individual components together to construct the walls for each side of the building.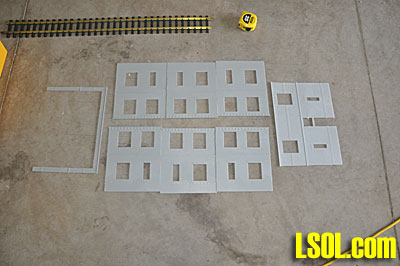
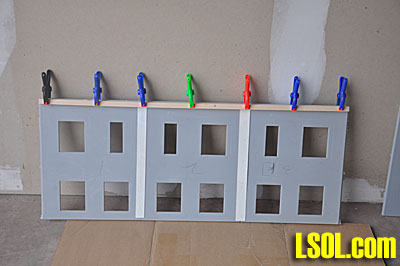
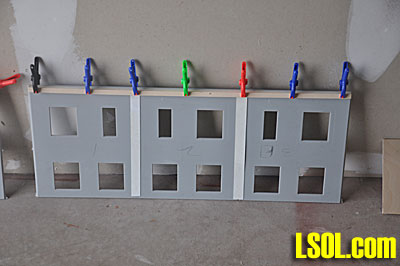
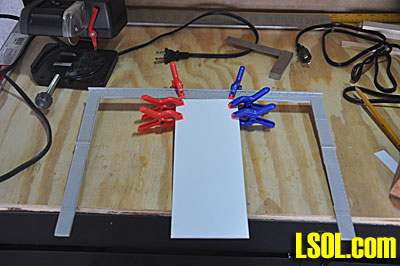
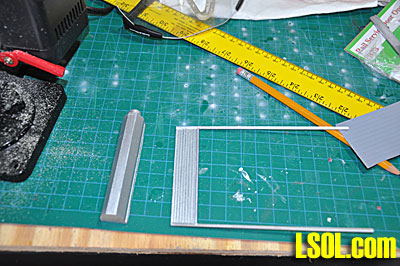
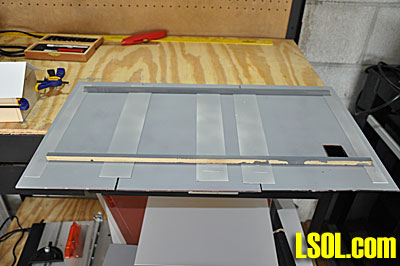
In order to provide support between the wall components, I cut 1/2 inch strips of styrene to the length of the height of the wall components and used these to reinforce the sidewalls by gluing them to the walls. I also cut lengths of 3/8-inch basswood for reinforcements along the bottom of the walls. I glued these in place and clamped all of the components for the sidewalls. 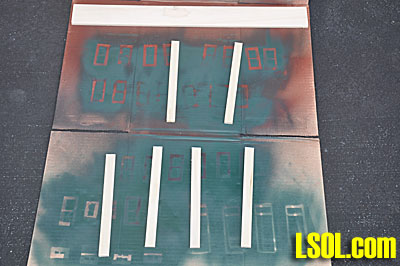
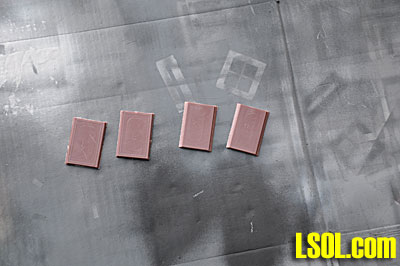
Next I spray painted the long walls inside and outside with red primer to give them the basic brick color. I also painted the back wall and put them all aside to dry.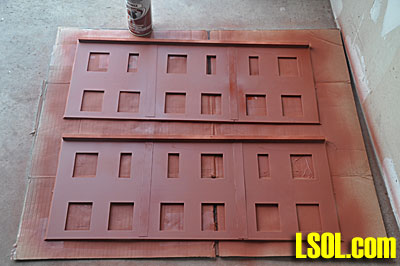
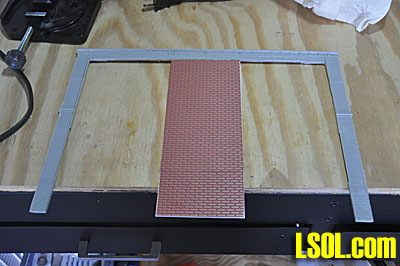
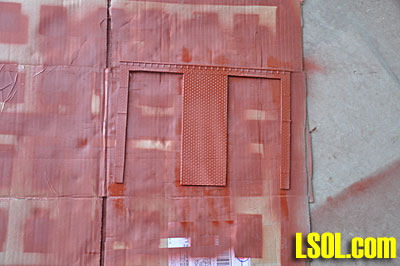
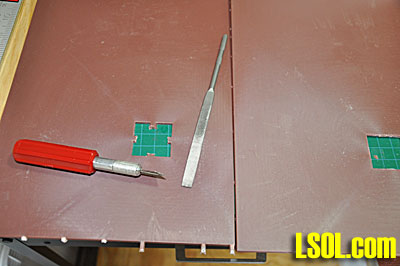
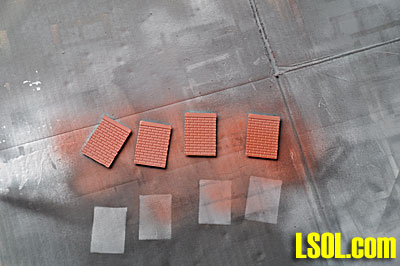
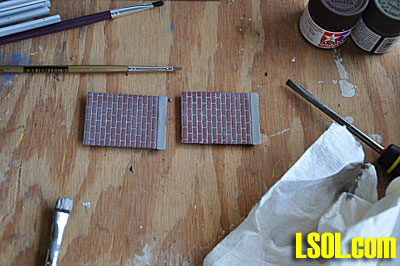
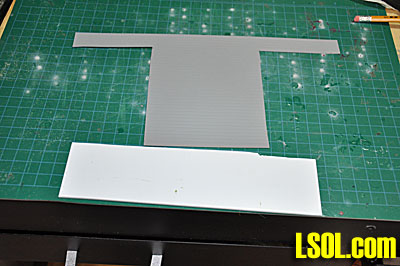
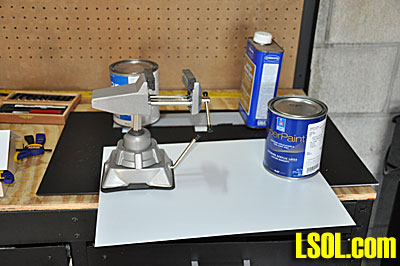
I used my electric sander to smooth the inside of the front wall opening and then cut a piece of styrene to about the same thickness as the walls to fill in the door opening. After gluing it in place using a short piece of styrene for reinforcement, I painted the inside of this wall with the red primer. For the outside I used a piece of Plastruct 1/24 brick material and glued it in place over the styrene piece. It matched the brick on the Colorado Model Structures wall very well.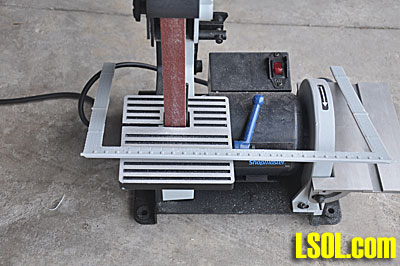
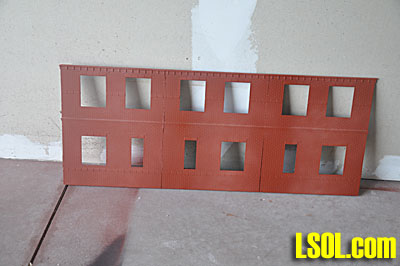
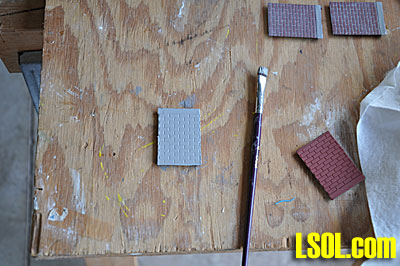
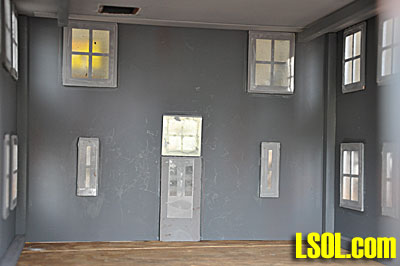
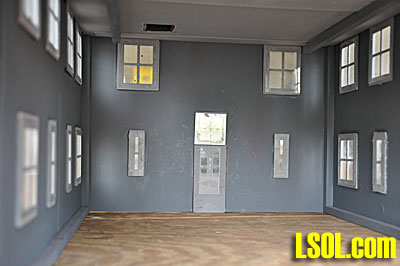
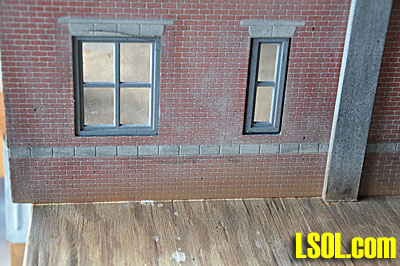
After the red primer had dried, I painted all of the brick surfaces with a light grey latex paint and wiped it off with a soft clean rag to give the brick the mortar lines. I then painted all of the interior walls with a dark grey paint because I decided that the railroad would have done that rather than leave the walls brick colored. I could have saved the step of painting them red first, but sometimes I change my mind as I build.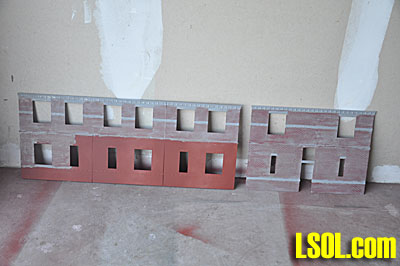
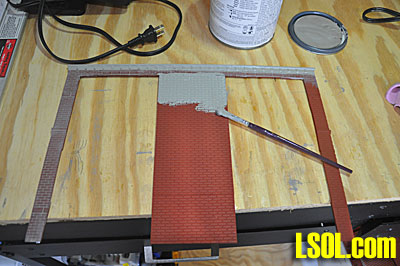

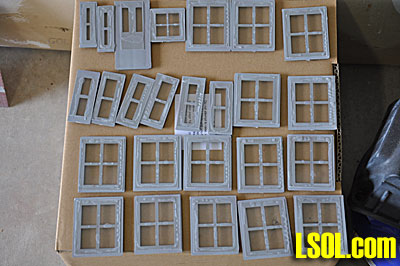
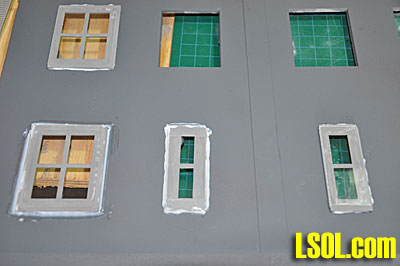
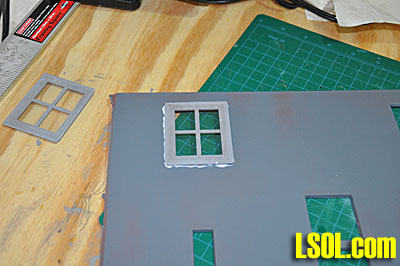
There were a large number of windows in the structure and it took a while to cut out each of the windows, spray paint them grey and cut and place the clear styrene window "glass" in place. I used Plastruct clear styrene for the glass and cut it to fit using a square, ruler and a hobby knife with a new blade. I took a lot of care in cutting the windows from the sprue to be sure that the windows fit correctly into the openings in the walls.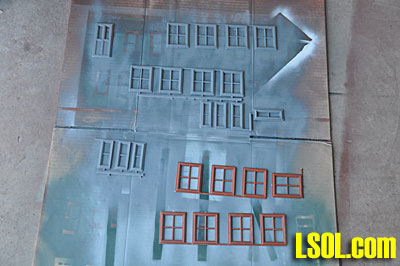
I glued the windows in place in the window openings in all of the walls using clear silicon adhesive caulk.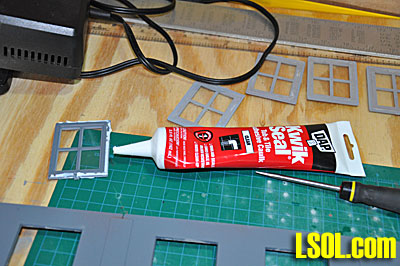
At this point I decided that the long side walls needed more reinforcement so I cut 1/2 inch square basswood strips, painted them grey and glued them in place along the seams on the outside of the walls. These gave me a support to glue the walls together.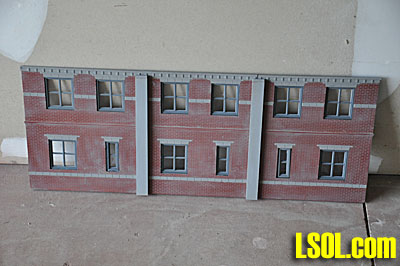
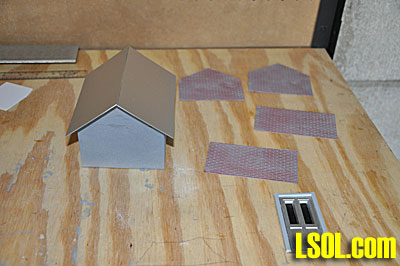
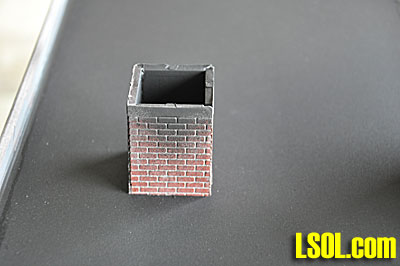
I cut the roof pieces to fit the structure and it took three separate roof sections to provide the correct length of the roof. I trimmed all of the plastic tabs from each section of the roof and also cut one of the chimney openings just a little larger so that the cast chimney supplied with the kit would fit snugly. I painted the chimney sections with the red primer and then the grey latex and rubbed the grey off so that the mortar looked real. I laid the roof sections and chimney aside to be used later. 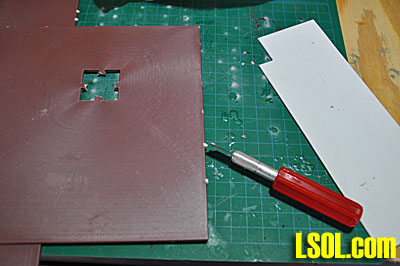

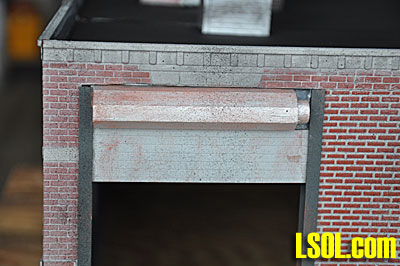
The roller doors that would go into place in the door openings caused me some concern, but then I remembered that I had used some O scale doors on part of my powerhouse, so I tried to order some more from of them from Westport Model Works. When I contacted them I was told that they had sold the dies and what was left of their stock to Scenic Express. When I contacted Scenic Express, I was told that they hadn't started to produce the doors, but if I could give them the stock number they would see if they had any of the Westport ones in stock. I got the number and was told that they had four of the doors. Although I only needed two doors for this project, I figured that I might need some in the future so I took all four. The doors are made in the open or closed position and since I wanted the diesels to be able to get through the doors I ordered the open ones. As it turned out I could have used either kind.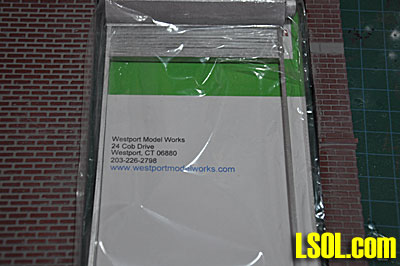
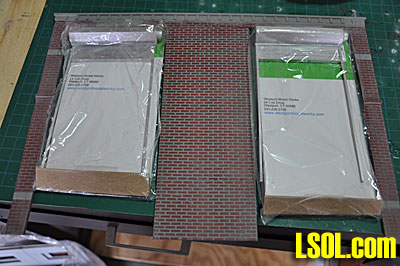
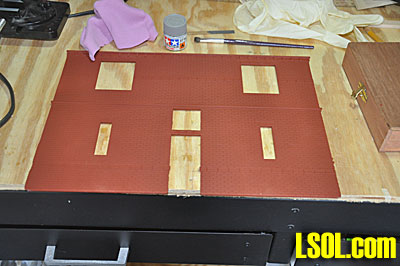
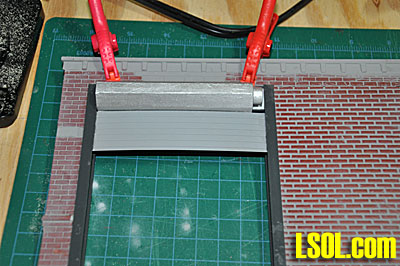
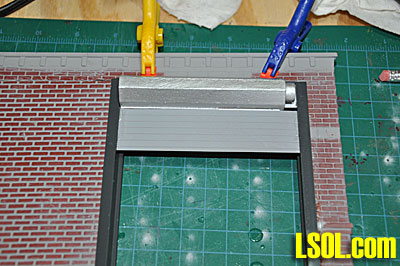
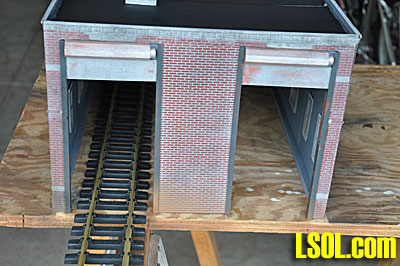
I began the door assembly by reinforcing the openings in the wall with Plastruct girders positioned along the door openings on both sides. These were cut to size on my miniature chop saw and glued in place with the silicon caulk. 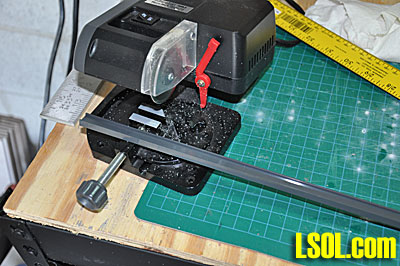
I cut small pieces of styrene to fit across the top of the door openings and glued them in place to give me something to glue the doors to. At this point I realized that the doors were much too short to work without modification. So I cut the drive mechanism off of the top of the roller doors, cut to size some grooved styrene siding material that looked like the metal roller doors and glued all of this in place in the door openings. 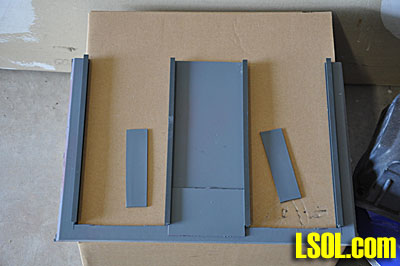 

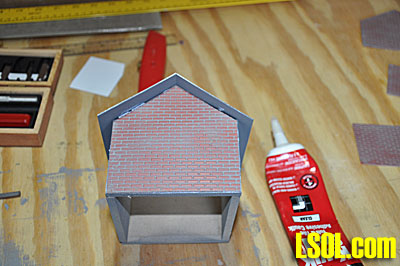
To begin assembly of the walls, I cut additional strips of 3/8-inch basswood for the corner braces, painted them grey on two sides and glued them in place on the ends of the sidewalls. I clamped them to the sidewalls and put them aside to dry.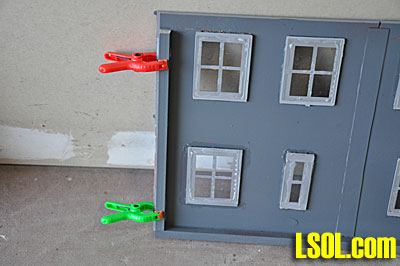
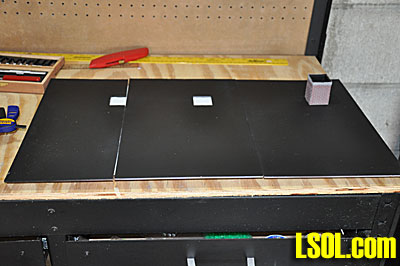
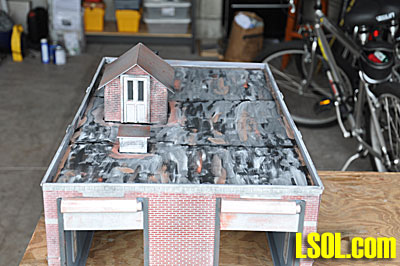
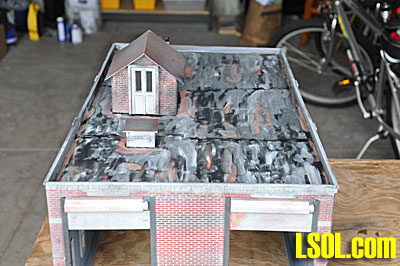
I took the three roof sections, painted them grey on the inside and flat black on the outside. I measured and cut the center section to fit the dimensions of the length of the building. I inserted the chimney in place and then glued 1-inch strips of styrene to the underside of the roof along the seams between the roof sections. I also cut and glued longitudinal braces made from 3/8-inch basswood along the length of the roof making sure that they were inside the wall dimensions. I place the completed assembly on the workbench and weighted it down so that the glue would dry and the roof would be one solid piece. 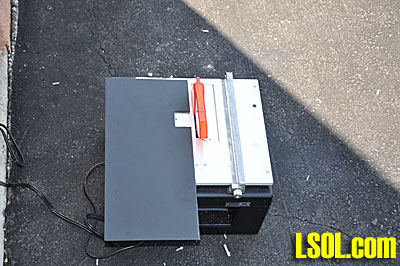
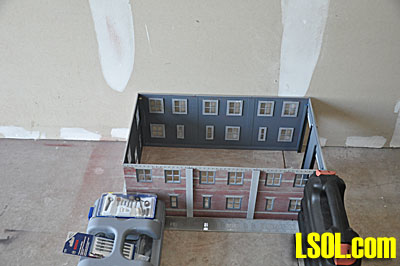
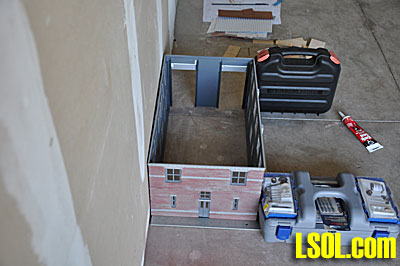
I began to assemble the building by gluing the end walls to the sidewalls using the end corner braces for the glue. Because I didn't have my long clamps with me in Florida, I used some of my power tool cases to brace the building against one of the sidewalls of my workshop. I used a large square to make sure that the building was square before I put the tools in place to hold the building while it dried. I placed the complete roof assembly in place on top of the building and glued it in place. 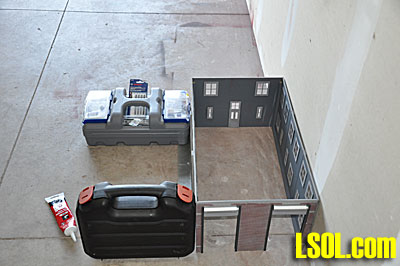
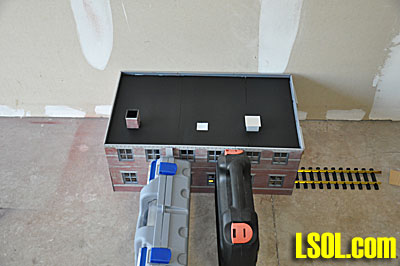
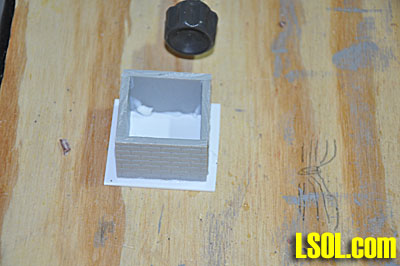
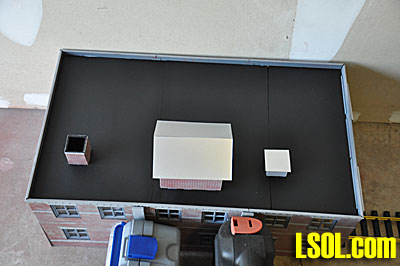
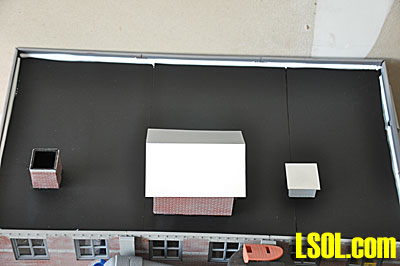
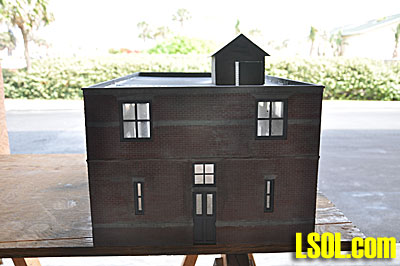
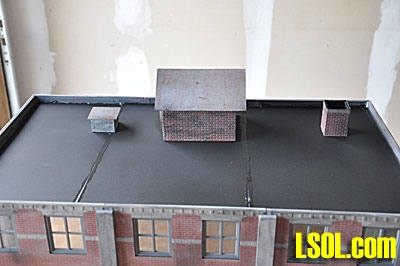
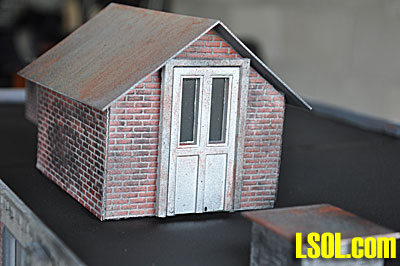
I needed an equipment shed and a roof vent for the roof of the building, so I cut pieces of heavy styrene to the shape of a shed and the roof for the shed and glued it together using C.A. The roof vent was constructed using one of the chimneys that came with the kit. I cut some of the Plastruct brick material and covered the sides of the shed. I cut a piece of styrene to the cover on the vent. I painted the grey paint on the building sides and rubbed it off for the mortar effect. I painted the vent and cover silver. I also painted the roof of the shed with silver. I glued the shed to the roof and inserted the vent into the last chimney hole on the roof.
 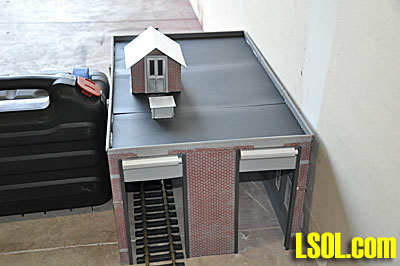
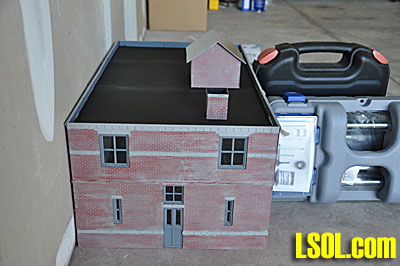
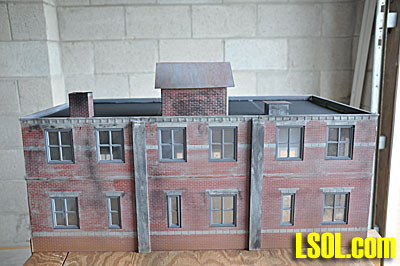
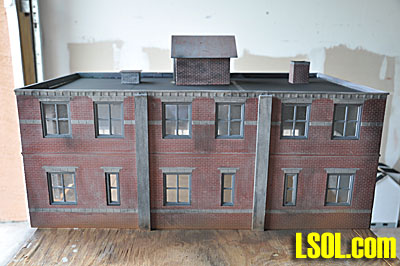
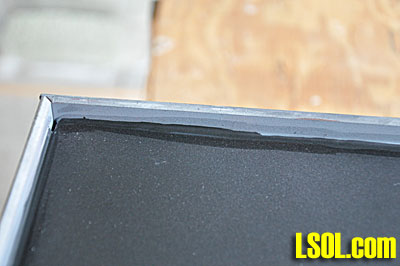
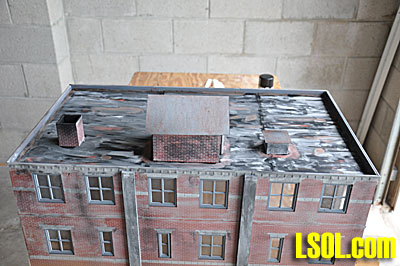
After everything was dry, I weathered the entire building using chalks and spray can paint. I used a shiny black to paint the tar lines along the sides of the roof and along the separations between the roof panels. As you can see, the building looks pretty old and weathered. I have included several photos of the finished building, but I have none of the building in place on a railroad, since I don't have a railroad in Florida. I gave the building to Dave and then took it to be boxed and shipped to his home in Pittsburgh. It arrived there safely with only one wall panel loose. Dave glued it back in place and it is ready for his railroad.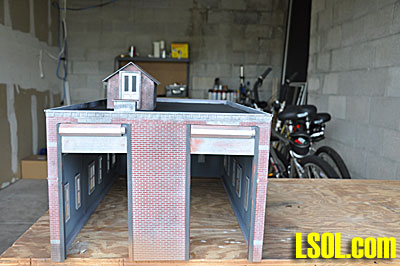
The basic Colorado Model Structures kits are very nice building models for Large Scale and the kits and extra structure pieces that are available make them very useful for scratch building buildings for our railroads. Colorado Model Structures offers a good variety of building kits including stations, towers, barns, houses, schools, mills, fire stations, commercial buildings, roundhouses, and other structures. The scratch building supplies are also quite extensive. The kits are very nicely done, easy to assemble and look good as the buildings they are designed to be or buildings that can be made from the individual building pieces. They are easily cut on a table saw and can be trimmed up with a Dremel. The walls are molded in heavy plastic and the details are well done. The windows and doors are very nice and can be used in any numbers of building applications. The kits and individual parts are available on the Internet and are very reasonably priced. They are made to last for years outside in the elements, but they also look good on indoor railroads. If you haven't tried one of the kits, take a look at them at the next train show or look at the Colorado Model Website where Bruce also posts photos of buildings built by his customers in the Customer Gallery section of the site. I highly recommend these kits to anyone seeking inexpensive, highly detailed and easily assembled buildings.
| Finished Structure |
| Too bad it would not fit on your railroad as it turned out very nice. |
| Rick Henderson - 07/07/2010 - 05:13 |
| Drawings/ Blueprints |
| Noel, you are talking G scale drawings I hope ! I am just now getting my basement ready for a layout and I will need drawings just like you on various manufacturing facilities, coal tipples, round house, coaling towers etc. So are you selling drawings for "G"? Thanks Stevieb |
| Steve Barker - 07/07/2010 - 13:59 |
| Drawings/Blueprints |
| Steve, Not sure what you mean by G scale drawings. I draw up some fairly basic drawings for each of the buildings that I am construction in 1/29 scale, but they tend to be just outline drawings to get the size and shape of the building correct. You can check some of my other articles here on LSOL.com to see some of the examples of the drawings that I draw up. I don't and don't plan to sell drawings. This is just a hobby for me. If you search under "Widdifield" in the LSOL.com article file you will find some of my drawings as part of the articles that I write. Noel |
| Noel Widdifield - 07/07/2010 - 14:29 |
| good friend |
| Noel, Dave Zinsner has a good friend in you. I know what it takes to build a building of that detail and complexity. It was very nice of you to build this for your friend. When I finally get to building my towns I will have to check these folks out. Thanks again for sharing Noel. |
| David A. Maynard - 07/07/2010 - 17:11 |
| Engine House |
| I am the recipient of the engine house, a prized possession. I got to observe Noel during this project and have learned a great deal while watching a master model builder at work. Thanks again Noel for the engine house and passing on some of your wealth of knowledge. |
| Dave Zinsner - 07/08/2010 - 13:12 |
Top of Page
|
|
|
IMPORTANT LINKS

Get Your Official Diploma

Watch New Videos


New Products Online
|
|
|
|


