Scenery
:
Buildings
Building the Ultimate Train Shed
Jul 28, 2004


By Randy Mower |
Author
Bio
What better activity than to relax by running trains after a long hard day. The only problem is that when you only have 30 minutes to run trains and it will take 10 minutes to get them out...
|
Build the ultimate train shed Garden railroading is great! What better activity than to relax by running trains after a long hard day. The only problem is that when you only have 30 minutes to run trains and it will take 10 minutes to get them out, and ten minutes to put them away it hardly seems worth the effort to get out trains to run them for a short period of time. After being confronted with this problem for the past ten years I finally got my chance to build my train shed. There have been several articles on LSOL by garden railroaders who built a train shed they could run their trains into to store them, but I decided to go one step further and build a "full size" train shed. My existing tool shed was getting worse for wear and as mentioned before I was tired of carting my trains in and out of the shed. I decided to build a shed that I could drive my trains in and out of. I decided to build an 8' x 12' tool shed to resemble a train station. I picked a generic design with a small operator's bay and painted it in Western Maryland Railway colors of Grey with red trim. I used storm windows for the operator way windows and a solid 3' wide steel door, which is still wide enough to get the lawn mower in and out of and helps it look more like a station and less like a tool shed with typical barn doors. 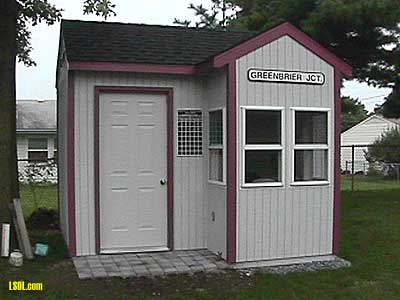
I got some pine boards, primed them and painted them white then painted a black border around the edges and used vinyl letters to create a "Western Maryland" sign for the end and a "Greenbrier Jct." sign for the front. 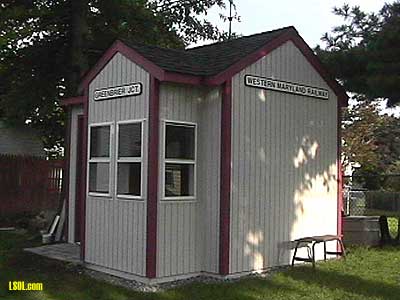
To make the schedule board I got a piece of good one side plywood, primed it and painted it white, then used drafting tape to mark off lines. I then spray painted it with chalk board spray paint, then added vinyl letters to label the columns. 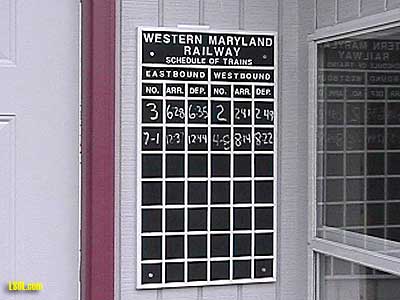 Inside the shed I wanted to have plenty of storage, so I built overhead lofts on both ends. I put in a small counter inside the operator bay and built in a cabinet below it. This counter is now home to a lantern, and a Morse code key that looks nice when viewed thru the windows. The operator's bay is also a nice spot to watch trains from. 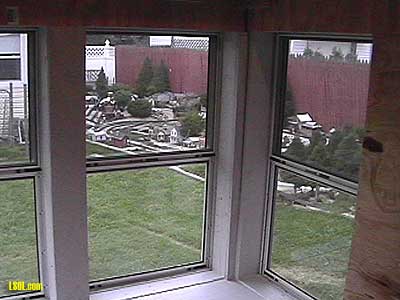
In fact my son, Joey, sat in the bay and punched visitor tickets when they arrived the last time we had an open house. 
Since I knew I would not have enough room for all my engines and rolling stock on the inside storage tracks I wanted to build, I decided to build shelves on one wall inside the shed for storing engines and rolling stock. These shelves were built from 1/2" plywood with a 1/4" strip in the middle just slightly narrower than the between the wheels on a freight car. I also added a small lip on the edge of the shelves with a 3/8" square piece of wood. This keeps the cars centered on the shelves and the lip prevents any accidental falls. 
I figured out I could have three tracks for storage on the floor of the shed that would run directly out to the layout. Since the shed is also used for garden tools, mowers and such I was concerned about just having unprotected tracks on the floor that could allow any parked rolling stock to get damaged so I decided to build a protective box around the storage tracks. I used 2"x2" lumber to frame out the box and used plywood for the front and added a 5/8" lid with hinges so I can open the box to access the storage tracks if needed. This provides good protection for the parked trains and helps keep the dust off too. 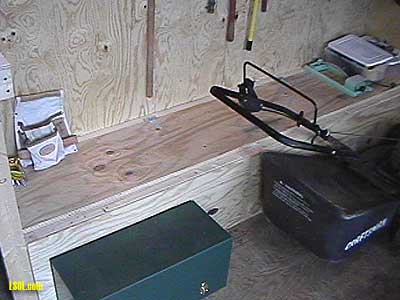
After the box was finished I added three tracks inside which was just screwed down to the shed floor. 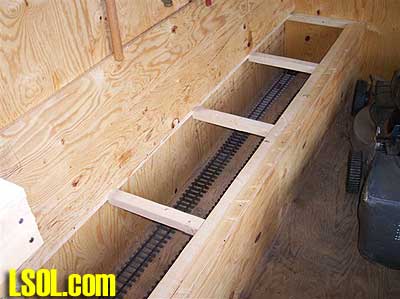
At the end of the box I installed two LGB 1600 series turnouts to converge the three tracks into one. Then I figured out where I would have to cut the hole thru the side of the shed. 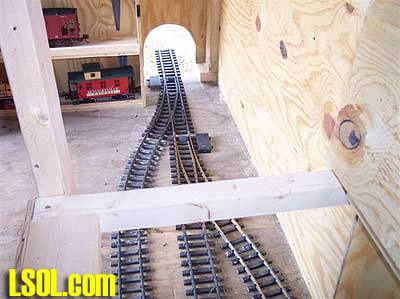
After cutting out the access door I decided to use a sliding type doorway (like a sluice-gate) to close off the hole to keep the weather and critters out. I cut out a piece of plywood and painted it black on one side. I added some self adhesive foam tape near the edge and then added the guide boards behind the door. 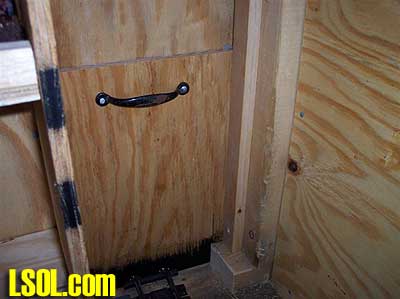
Finally I added a handle to make it easy to grab the door and slide it up. I carefully marked the bottom of the plywood and cut out notches on the bottom to snuggly fit around the ties and rails of the track where it passes underneath the sliding door. 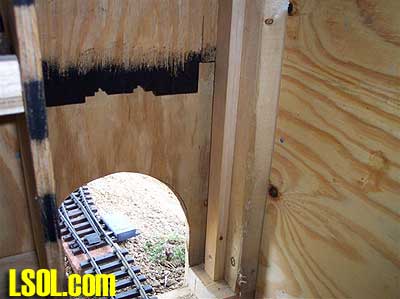
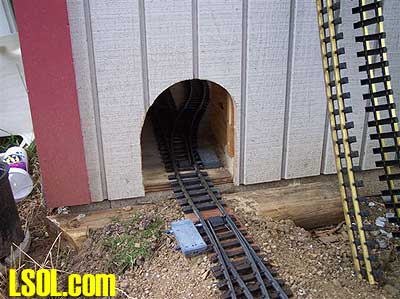
With the door raised, trains can run in and out of the shed with ease.
When the door is lowered the black paint makes it look like the inside of a tunnel. 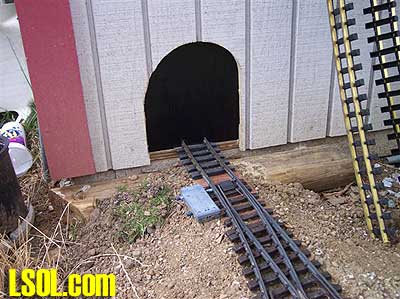 In fact, I added a foam tunnel portal to frame around the hole in the shed. Now I just need to add some small trees to help camouflage the shed wall. 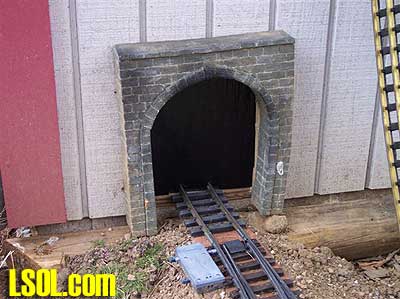 After coming out of the shed the track splits into the two legs of a wye onto the mainline, so I can run a train out of the shed onto the mainline in either direction. I can also back a train into the shed from either direction on the mainline by using the wye. 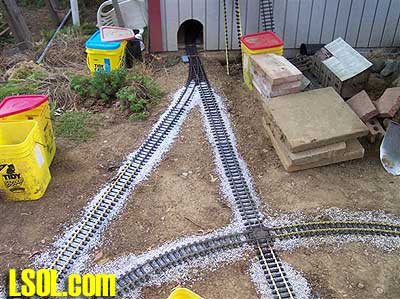 There you have it. Sure it may be a little overkill, but hey, it was fun to build and the building is multifunctional (important selling point when trying to convince the railroad's chief financial officer). Try to see if you have room to build a full side train shed to complement your layout or figure out if you can add some inside storage to an existing shed on your property if you have one. All you need is a sabre saw to cut the hole! Top of Page
|


