Power, Sound, R/C
:
Battery
Making Battery Packs
Sep 7, 2005


By Randy Mower |
Author
Bio
Making battery packs for onboard radio control is easier than you think.
|
Making battery packs for onboard radio control is easier than you think. Battery packs can be made as big or as small as space allows. When selecting batteries use the largest size that you can physically fit in the area you have. Precise dimensions for different sizes of batteries can be found in my previous article on batteries. The next consideration is to purchase an amp hour rating large enough to give you the performance you want. Large engines with multiple motors will draw more power so the larger the amp hour rating the longer your engine will run. NiMh batteries will usually have a higher amp hour rating than NiCad batteries of the same size. I needed to make a battery pack for my Hartland rail bus that would fit in the cargo area along with the sound card, and onboard receiver. You will find that the procedures I used in this article can be applied to any size battery pack. Rechargeable batteries are rated to provide a nominal output of 1.2 volts. Depending on the power consumption of your engine, the gearing and types of motors select a voltage that will allow you to operate at the speed you want. I use 14.4-volt packs in all my large-scale battery applications because I find that it is sufficient to operate my trains in excess of the speeds I like to operate at. If you want to run high speed passenger trains or intermodal hotshots you may want to add more batteries to make up a pack with more voltage. In this particular application I used NiMh batteries with a 1700 MAh (milliamp hour) rating since I was only powering a rail bus with a single power truck and it would not be pulling anything behind it so 1700 MAh will run it for a considerable amount of time. If you are installing batteries in a locomotive that will be pulling cars go for 2500-3000 MAh batteries to allow for a long run time.
My battery pack was made with AA size batteries, which I purchased on the Internet 
Specify you want batteries with tabs when ordering your batteries 
Button type batteries are for use in holders, however we want to solder the batteries together into a permanent pack configuration to fit the space we have available. This is done by connecting the small tin tabs on the ends with a bit of solder.
To solder the batteries together straighten the tabs on both ends of the batteries. 
and bend them in opposite directions (one to the left and one to the right) 
Next arrange the batteries in the configuration you need to fit the area you have available. This can be a square, rectangle or even a triangle (or two)I used a couple of blocks of wood to hold the first two batteries side by side. Connect the positive of one battery of the negative side of the next one. 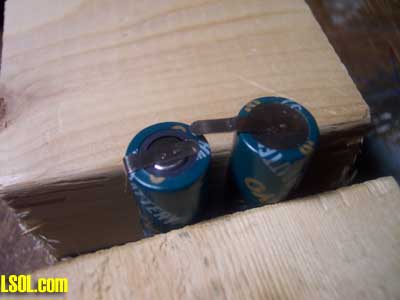
Lay the tab of negative side over the tab of the positive side 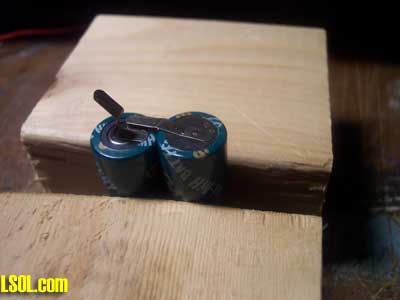
and bend the tab of the positive side over the tab. 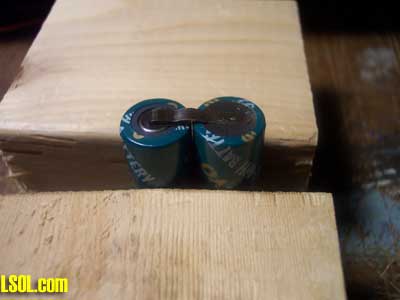
A quick hit with the soldering iron is all it takes to solder the tabs together. 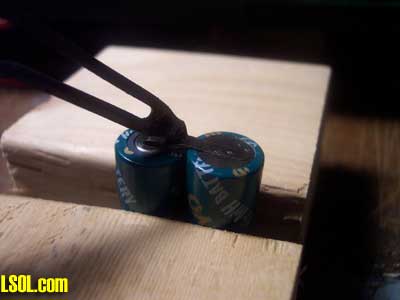
Now flip them over and add the next battery. 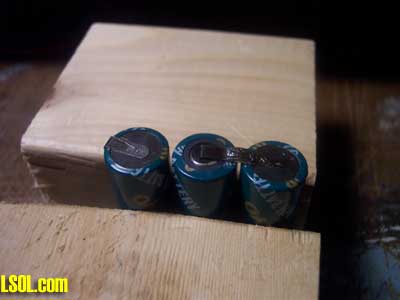
When I had finished a row. 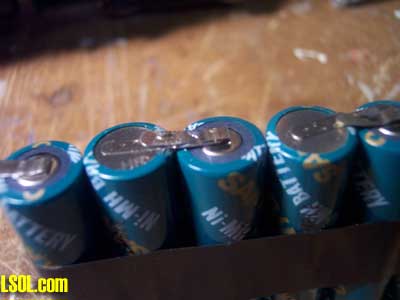
I gave it a single wrap of electrical tape. 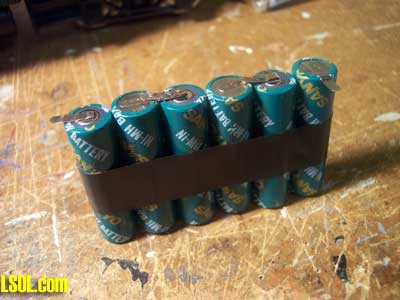
After I had made two rows I cross-connected them together. 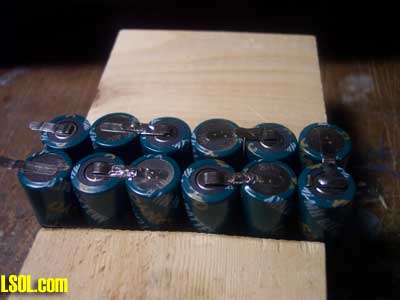
After I had them soldered together I used electrical tape to wrap around the batteries to make the pack stable. 
Add a wire lead to the positive and negative outputs of your battery. 
, and finish wrapping everything up with electrical tape. 
Depending on your application you can permanently install the battery in your engine, or add a plug to the pack and a socket to the engine if you plan to make the packs removable.
| Charging your constructed battery pack |
| This does look easy. I've considered making my own. Now, what kind of charger does one use to charge their 'home made' battery pack without the risk of over heating, leaking, explosions, over charging? |
| Matt Kirichok - 01/25/2011 - 13:29 |
Top of Page
|


